Creating an Azure Data Factory

In the introduction to Azure Data Factory, we learned a little bit about the history of Azure Data Factory and what you can use it for. In this post, we will be creating an Azure Data Factory and navigating to it.
Spoiler alert! Creating an Azure Data Factory is a fairly quick click-click-click process, and you’re done. But! Before you can do that, you need an Azure Subscription, and the right permissions on that subscription. Let’s get that sorted out first.
Azure Subscription and Permissions
If you don’t already have an Azure Subscription, you can create a free account on azure.microsoft.com/free. (Woohoo! Free! Yay!) Some of the Azure services will always be free, while some are free for the first 12 months. You get $200 worth of credits that last 30 days so you can test and learn the paid Azure services. One tip: Time your free account wisely ⏳
If you already have an Azure subscription, make sure that you have the permissions you need. To create an Azure Data Factory, you need to either:
- Be a member of the Owner or Contributor role
- Be a classic Service Administrator (but I totally recommend using the new roles above instead 👆🏻 )
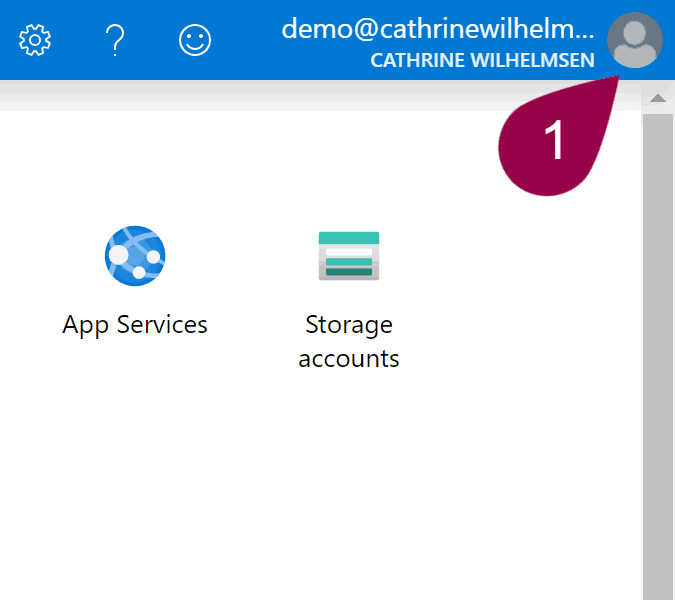
You can view your permissions in the Azure Portal:
- Click on your username in the top-right corner
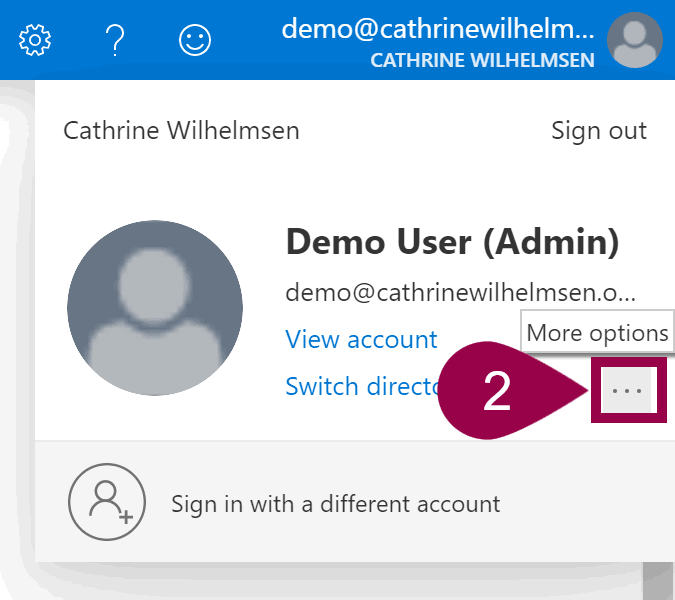
- Click the more options ellipsis (…) next to “Switch directory”
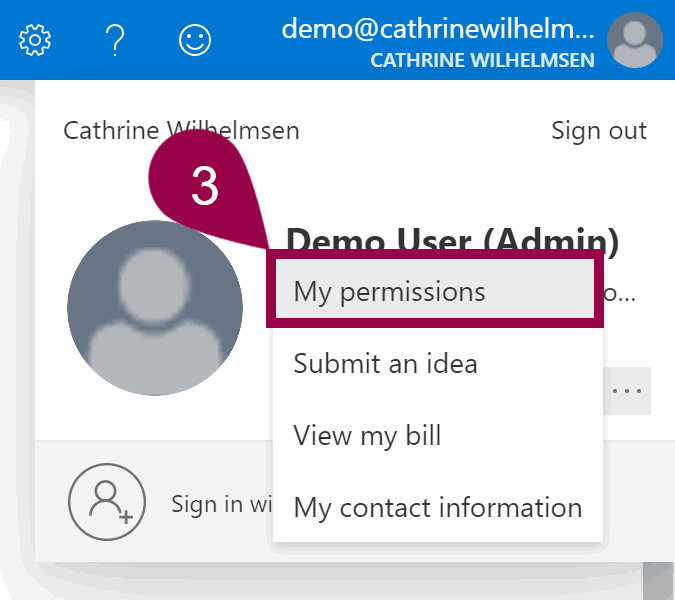
- Select my permissions
Creating an Azure Data Factory
Alrighty! From this point, I assume that you have an Azure Subscription, and that you have the permissions you need on it. All set? Perfect! Let’s do this click-click-click thingy.
In the Azure Portal, click around until you get to the New Data Factory page. Look for “create a resource” or “Data Factories” and keep clicking until you get there. No, seriously, there are probably at least six different ways that I know of that you can get to the New Data Factory page. They also keep changing the portal, and I’m sure you hate outdated descriptions and screenshots as much as me. You could also use this fancy direct link: Create Data Factory. That might be easier 😉
Create Data Factory: Basics
Under Basics, fill out the required information:
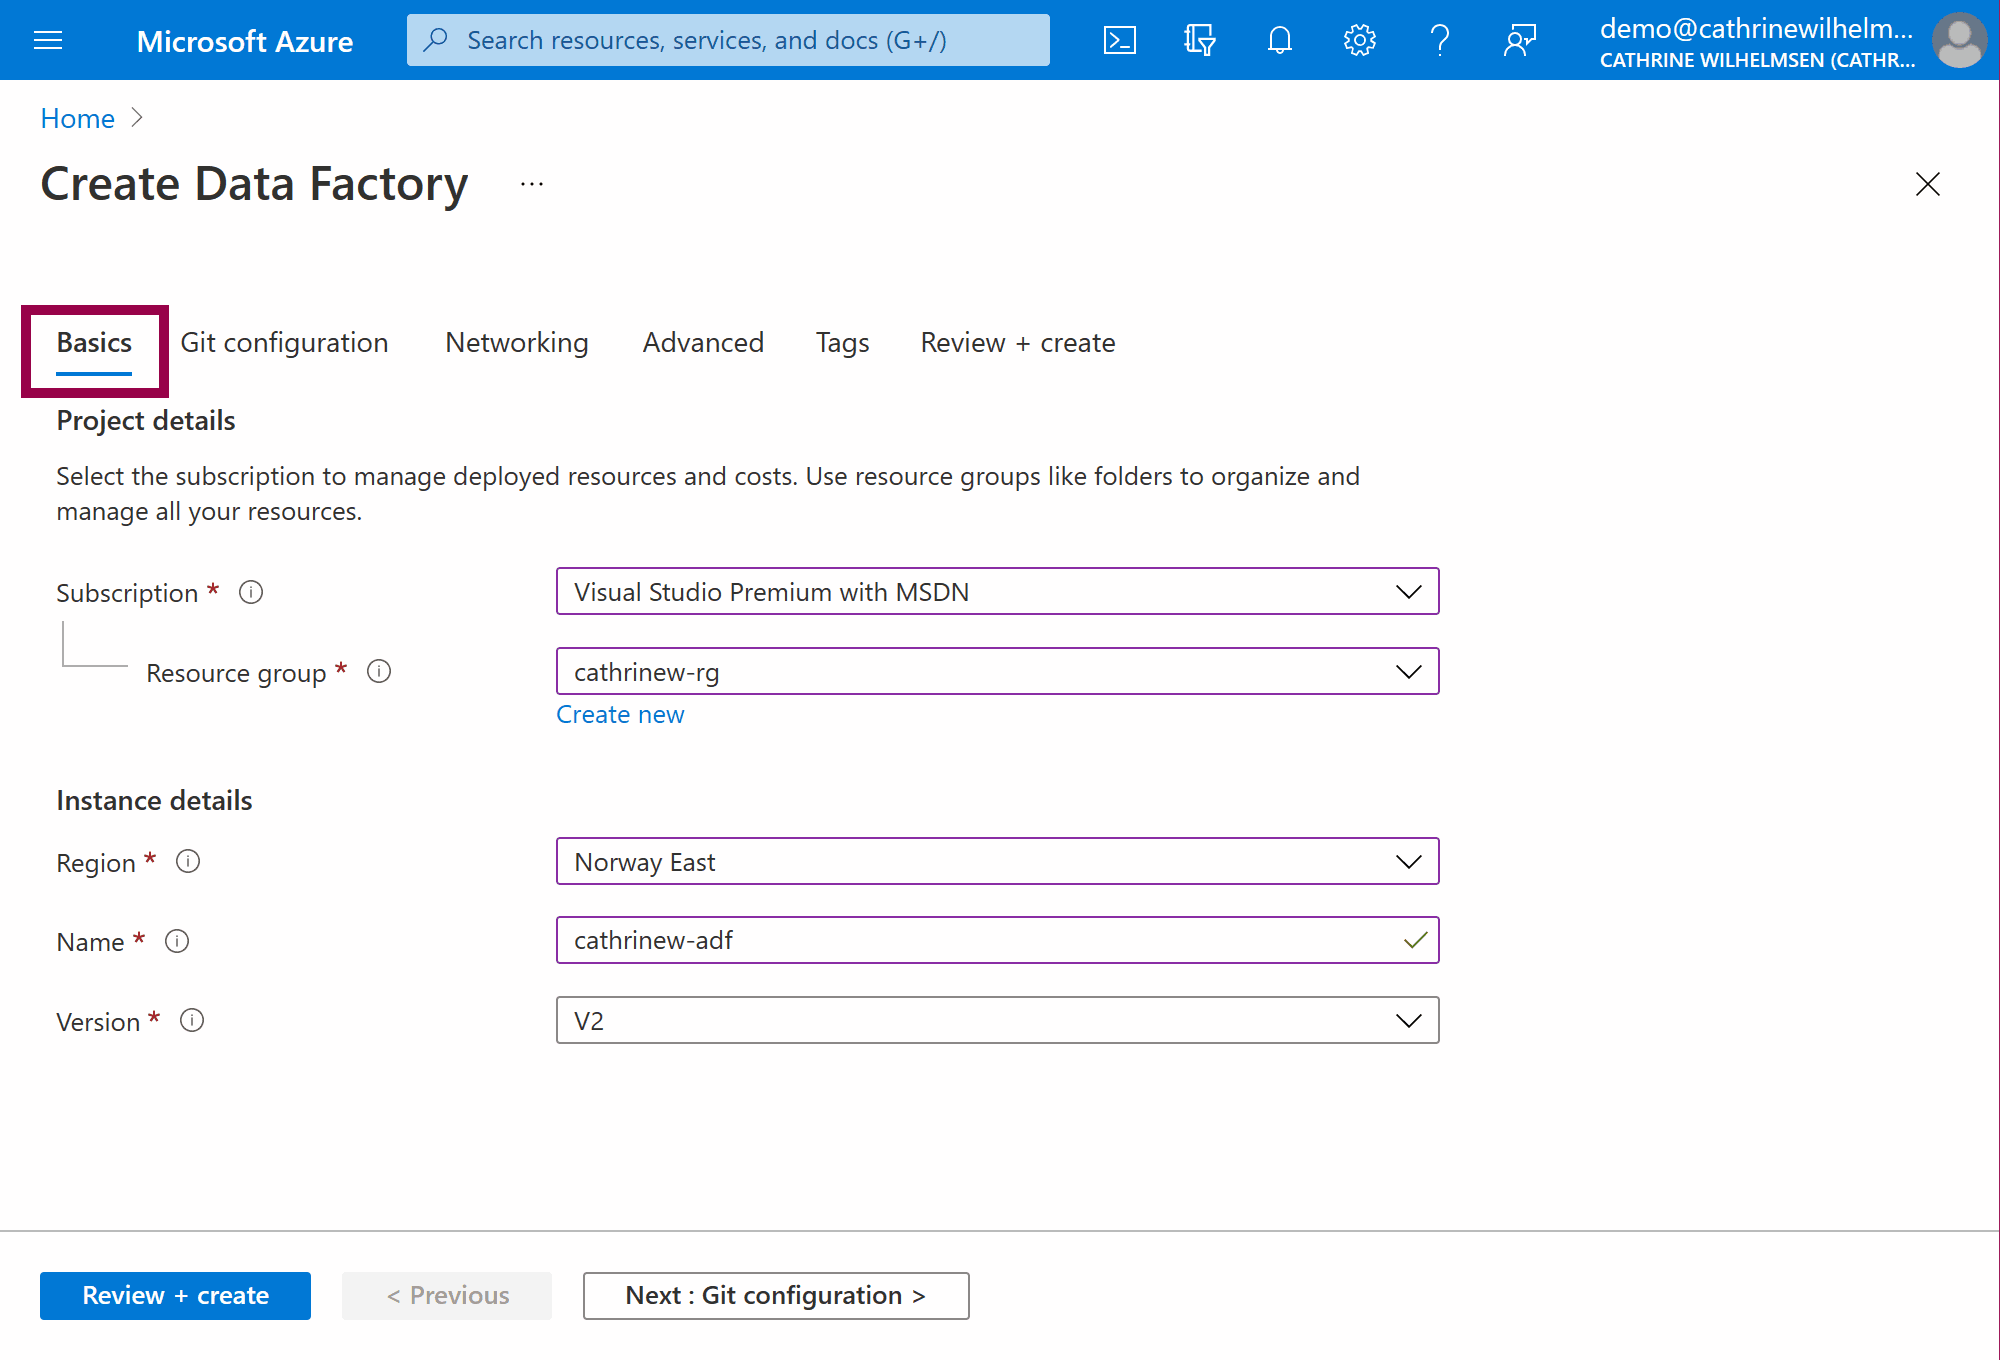
A resource group is a logical container to group your resources. You can choose an existing one or create a new one. I created cathrinew-rg.
Choose the region closest to you where Azure Data Factory is generally available. I chose Norway East.
The name of your Azure Data Factory has to be unique across all of Azure. That means that you may have to try a few options before finding something that hasn’t already been taken. I can tell you right away that “adf” is unavailable. So is “asdfasdf” :) I used cathrinew-adf.
Use version V2. (I’m still pretending v1 doesn’t exist.)
Create Data Factory: Git Configuration
Under Git configuration, select configure Git later:
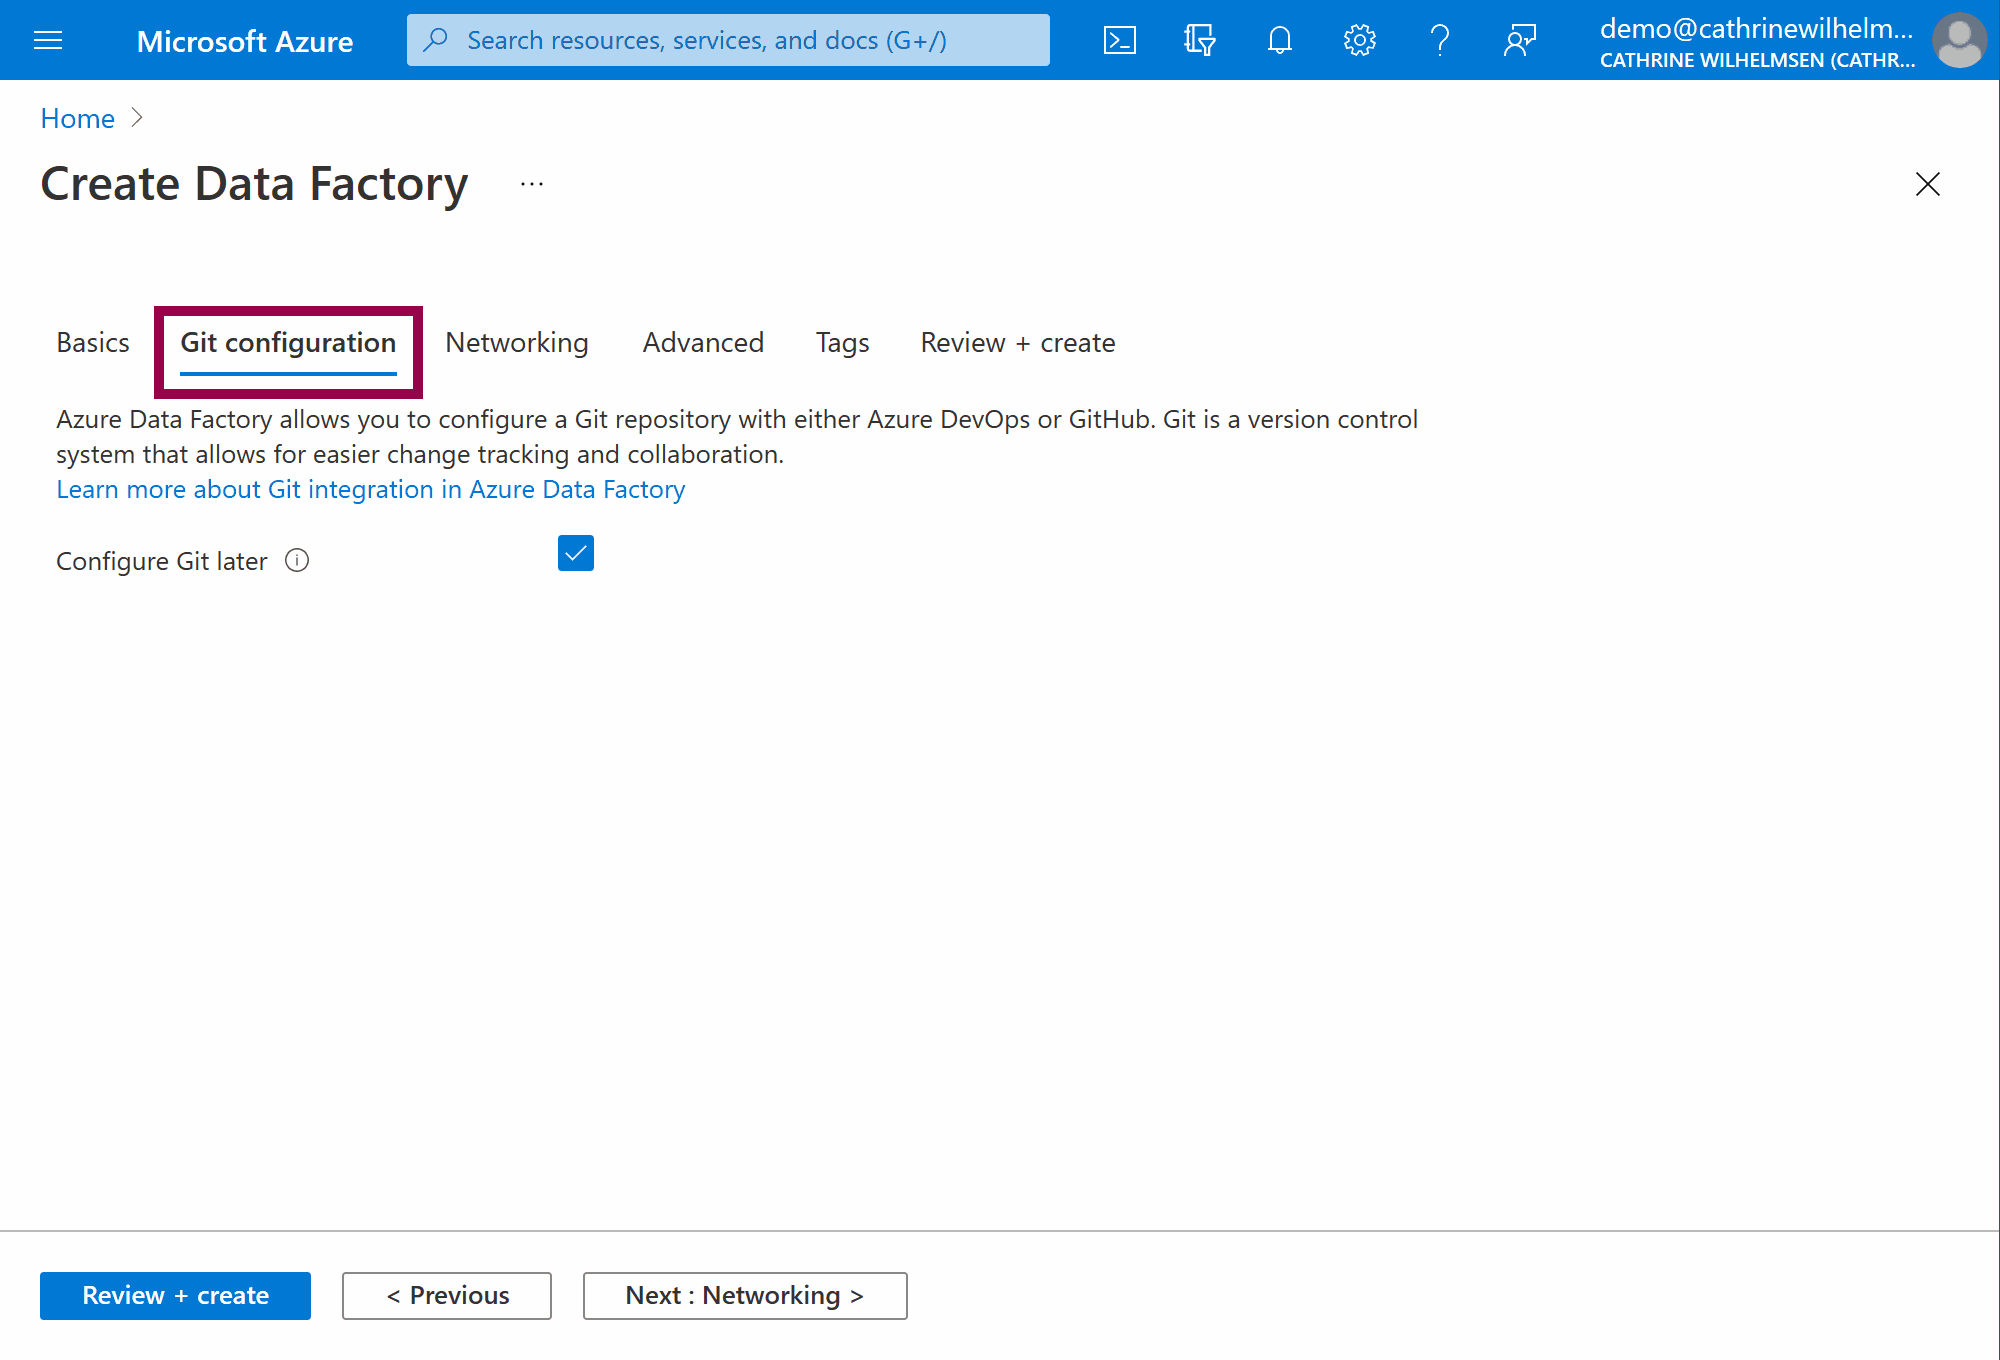
(We will get back to this in the Source Control post 😊 )
Create Data Factory: Networking
Under Networking, leave the defaults:
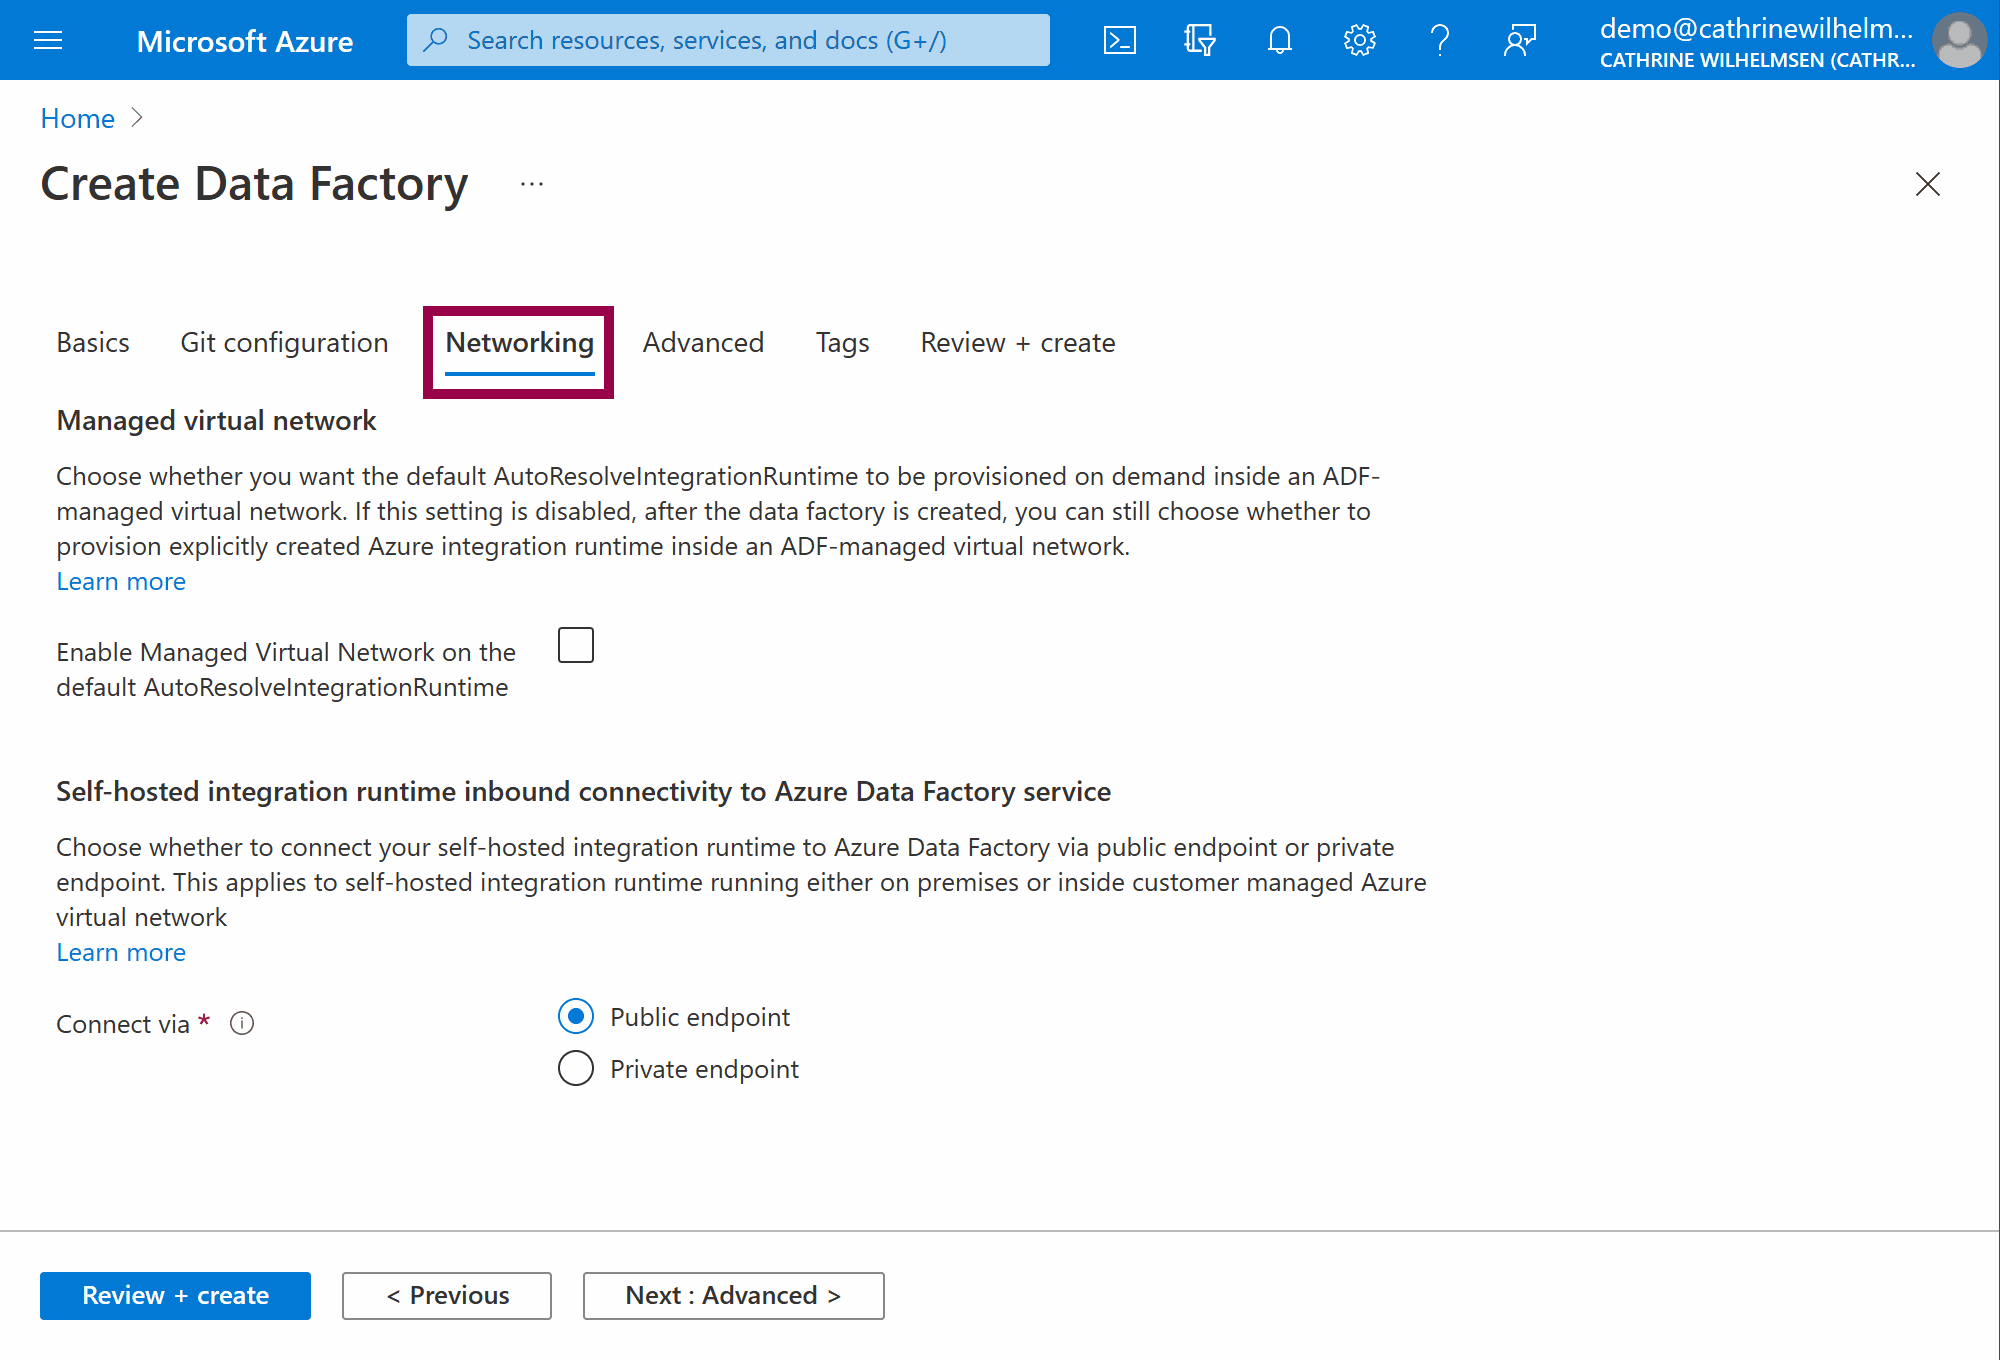
(These are advanced networking options that I will not cover in this series. If you want to know more about these options, click on the Learn More links.)
Create Data Factory: Advanced
Under Advanced, leave the defaults:
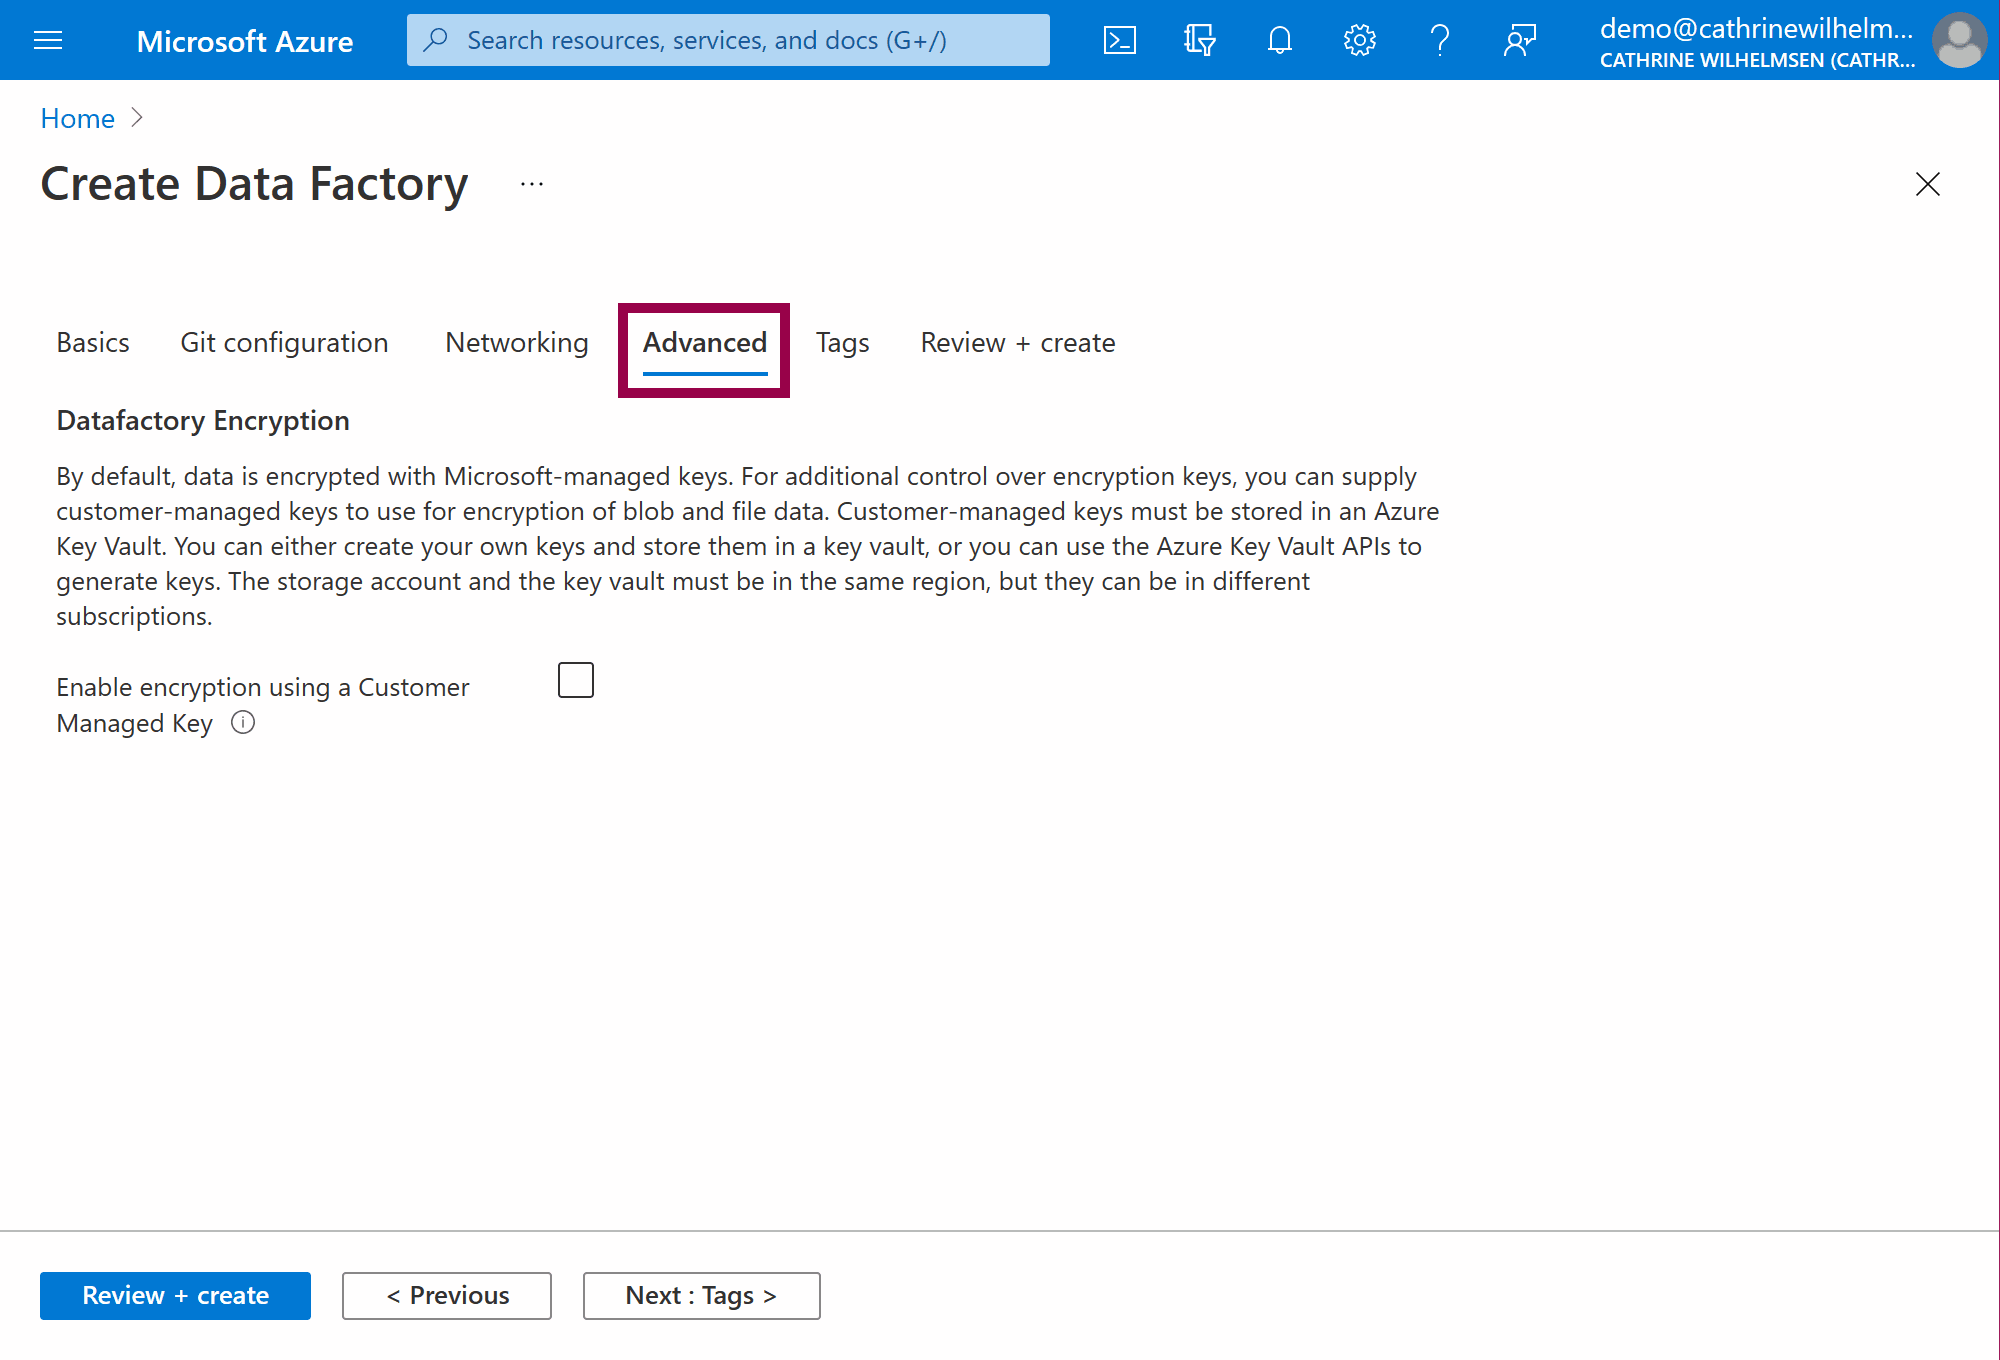
(This is an advanced encryption option that I will not cover in this series.)
Create Data Factory: Tags
Under Tags, leave the tags blank:
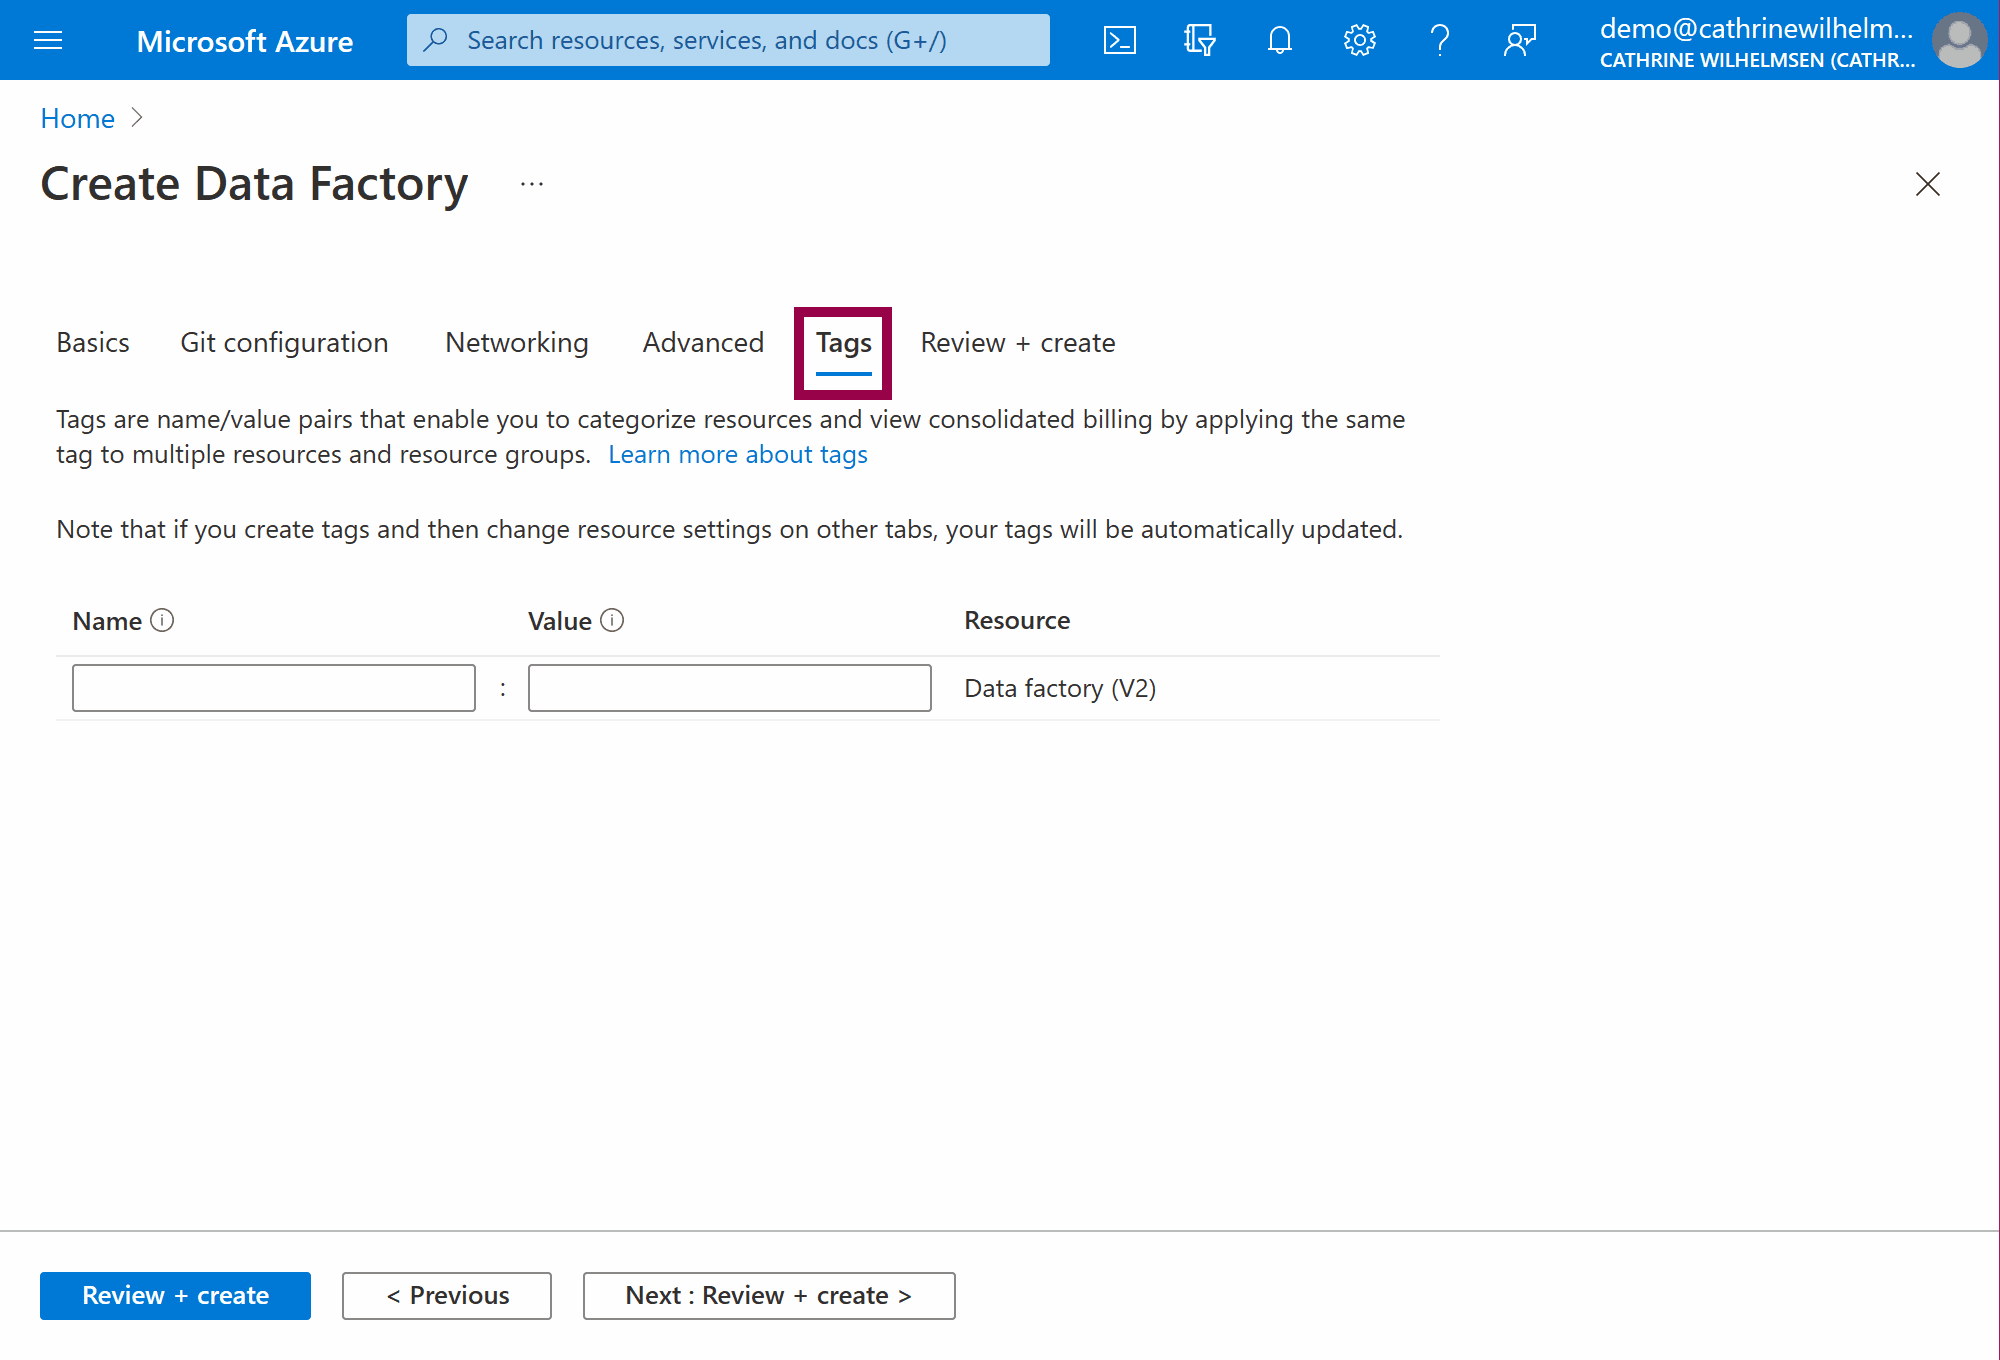
(If you want to add tags, however, feel free to do so! Tags are only metadata in the Azure Portal and will not affect our Azure Data Factory.)
Create Data Factory: Review + Create
Under Review + Create, verify the information:
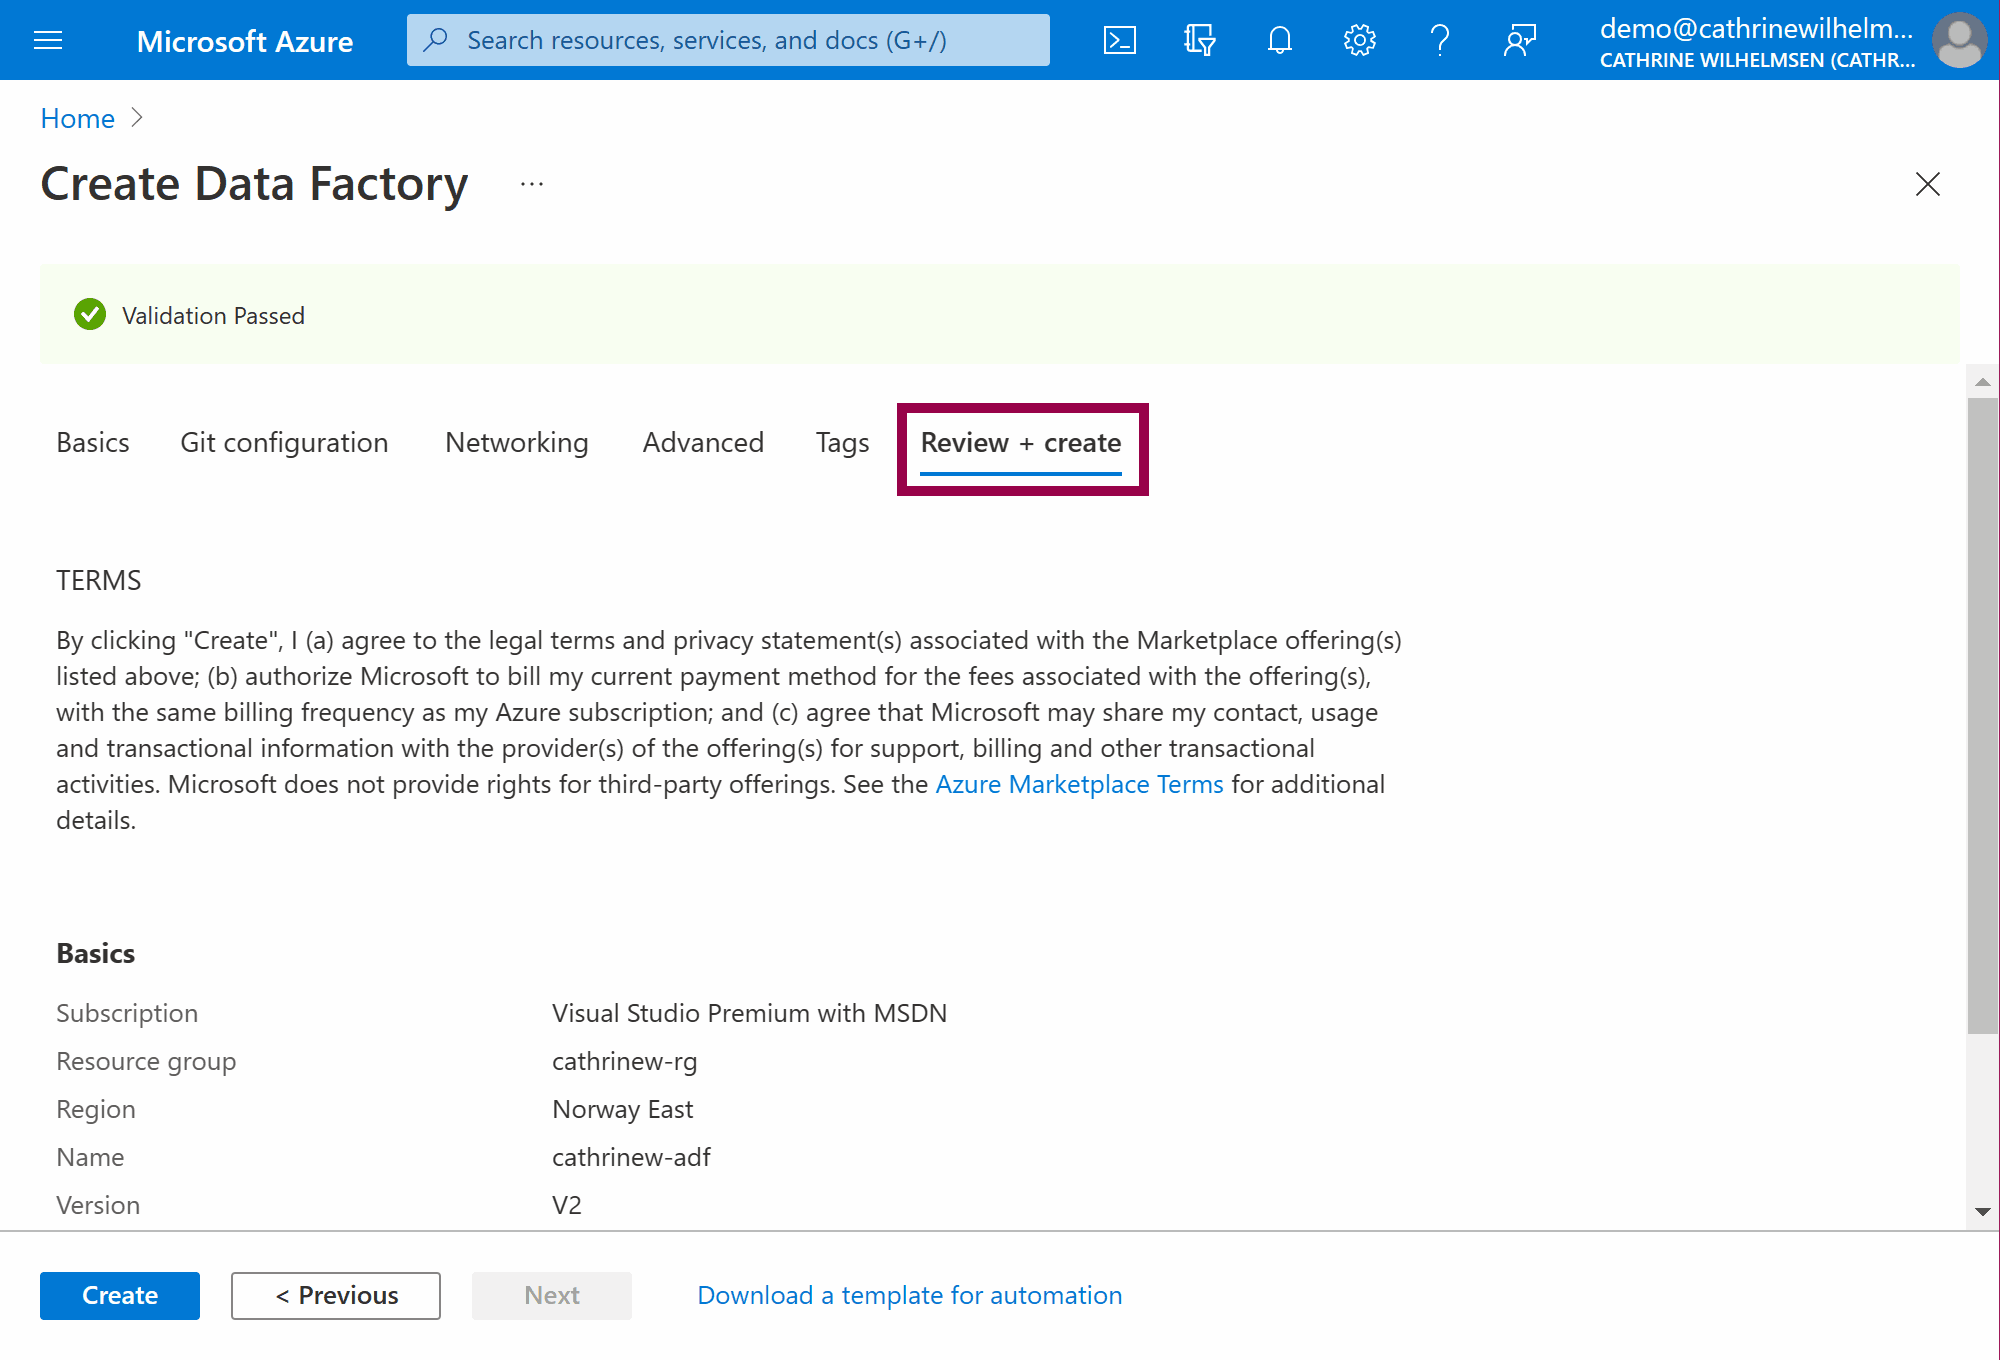
Click Create, and wait for the deployment to finish.
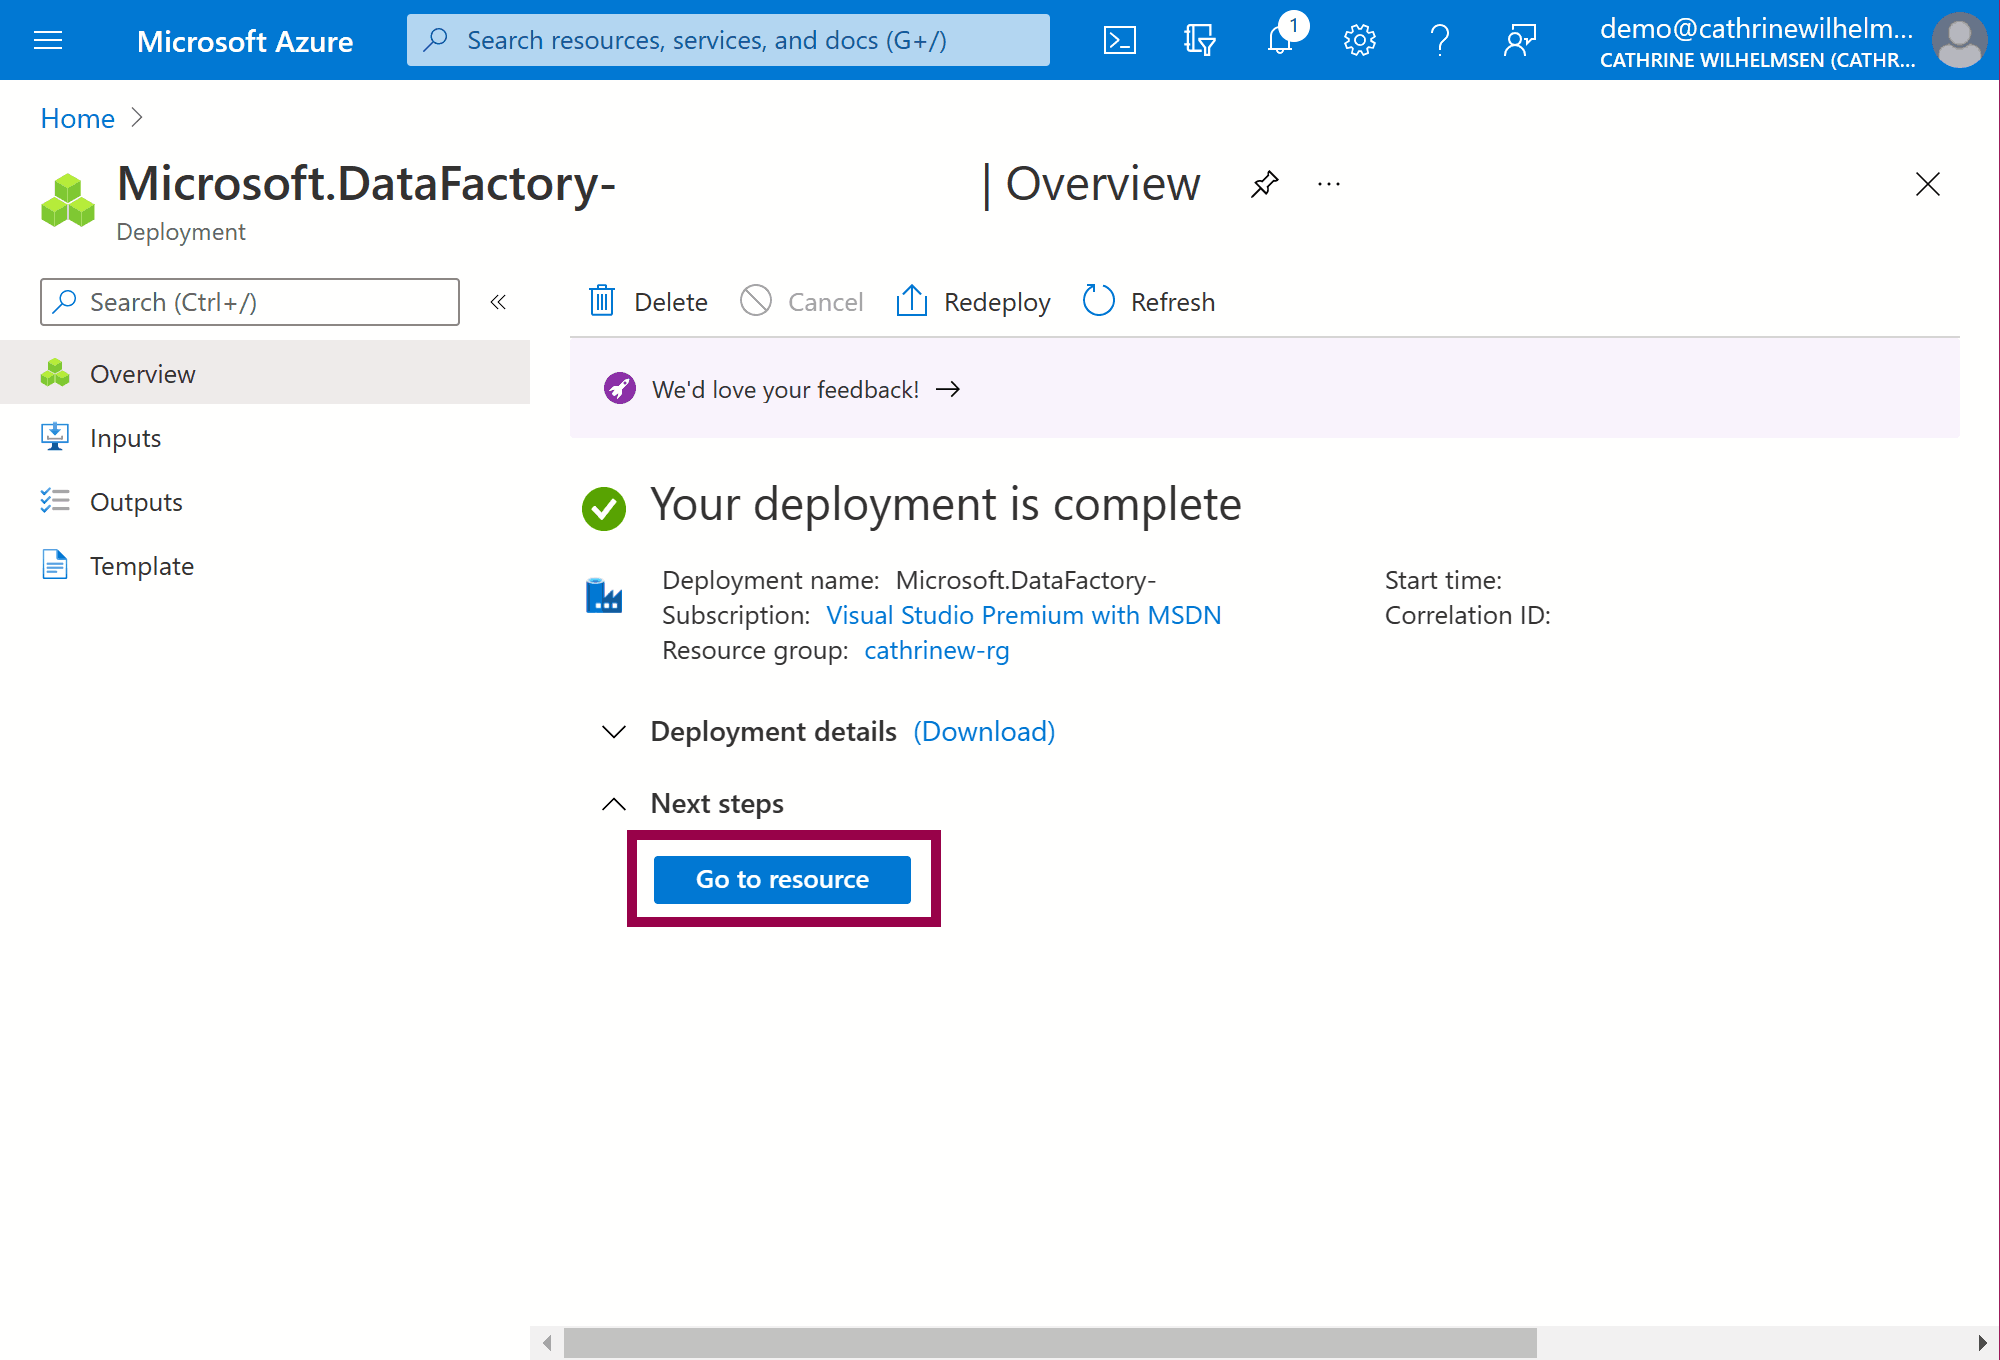
Create Data Factory: Deployment Overview
Once the deployment has finished, click go to resource:
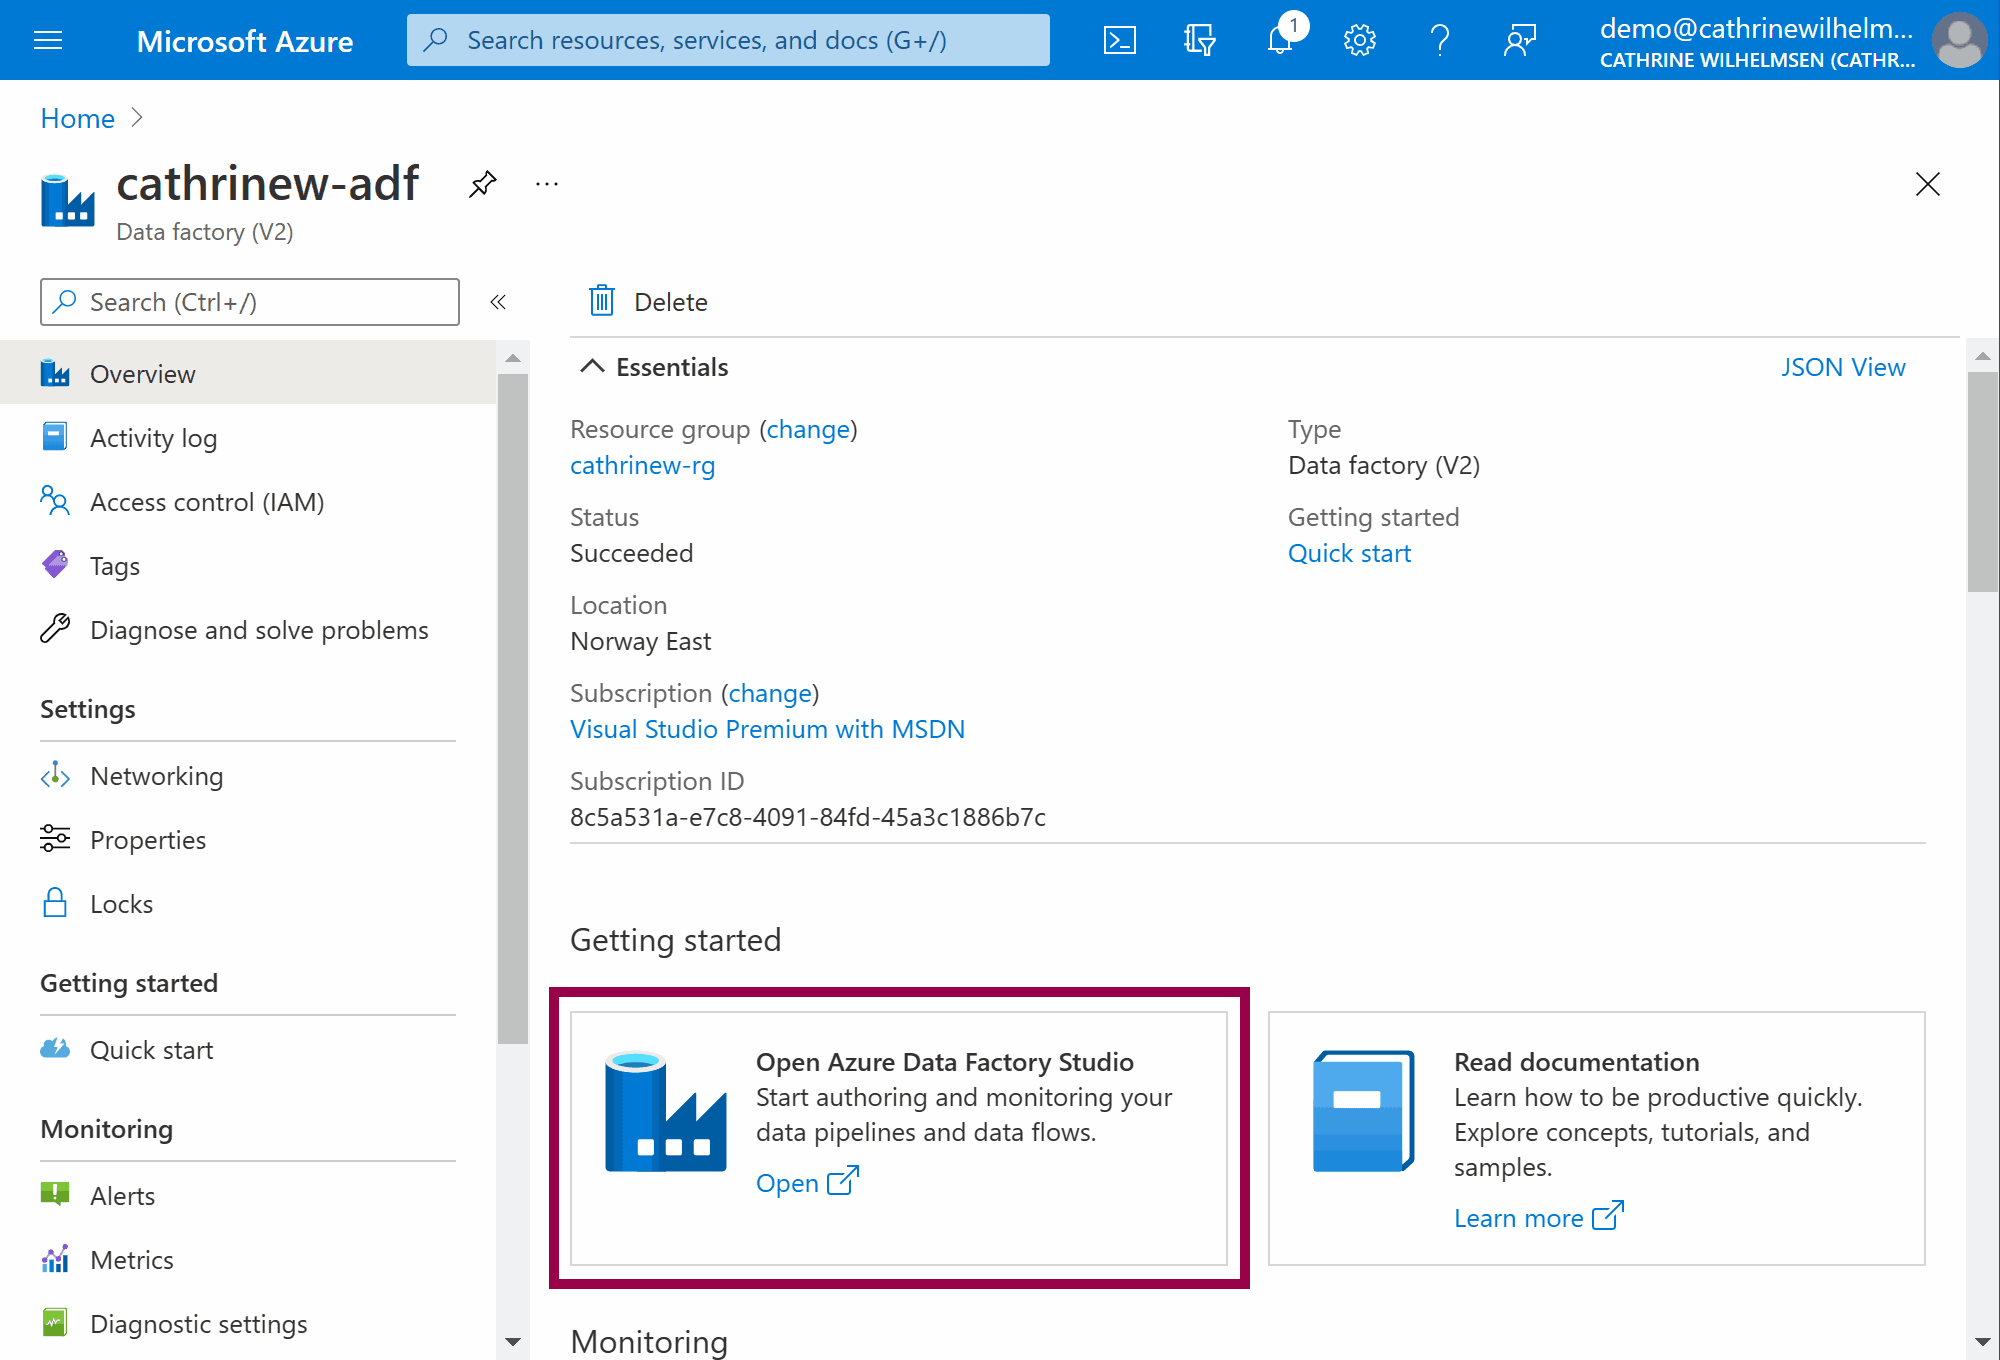
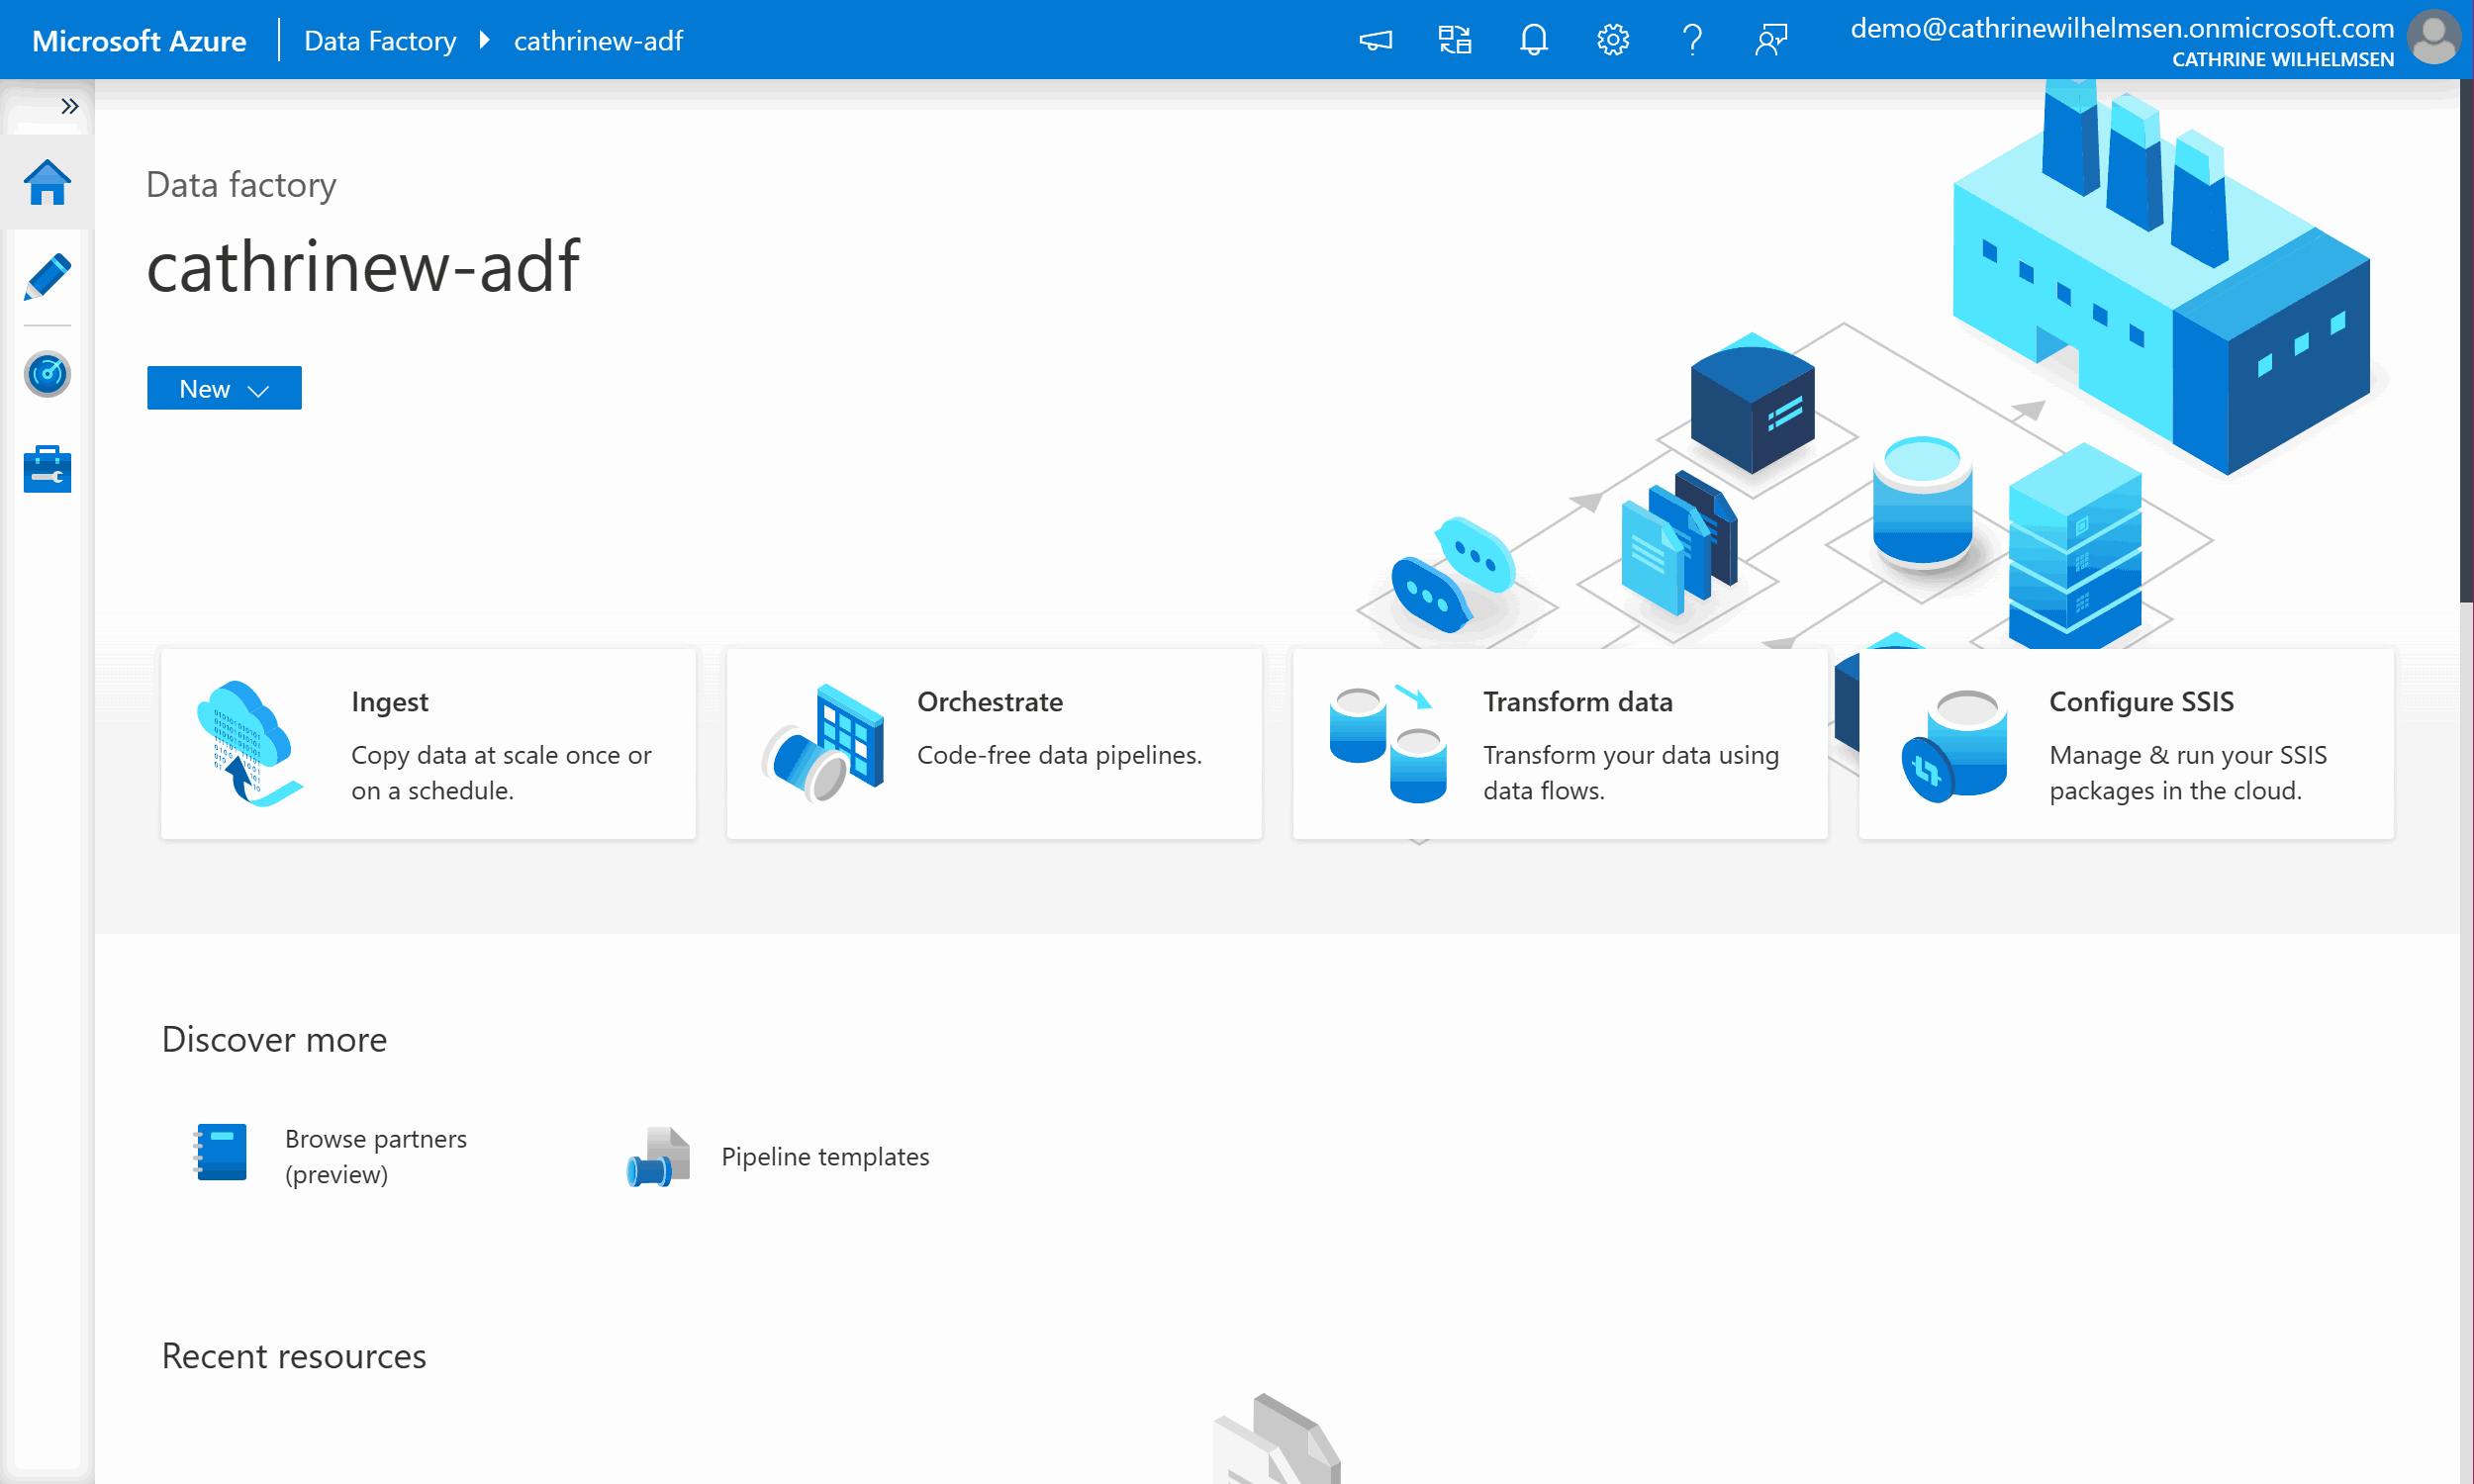
Navigating to the Azure Data Factory
From the Azure Data Factory resource page, you can click on Open Azure Data Factory Studio:
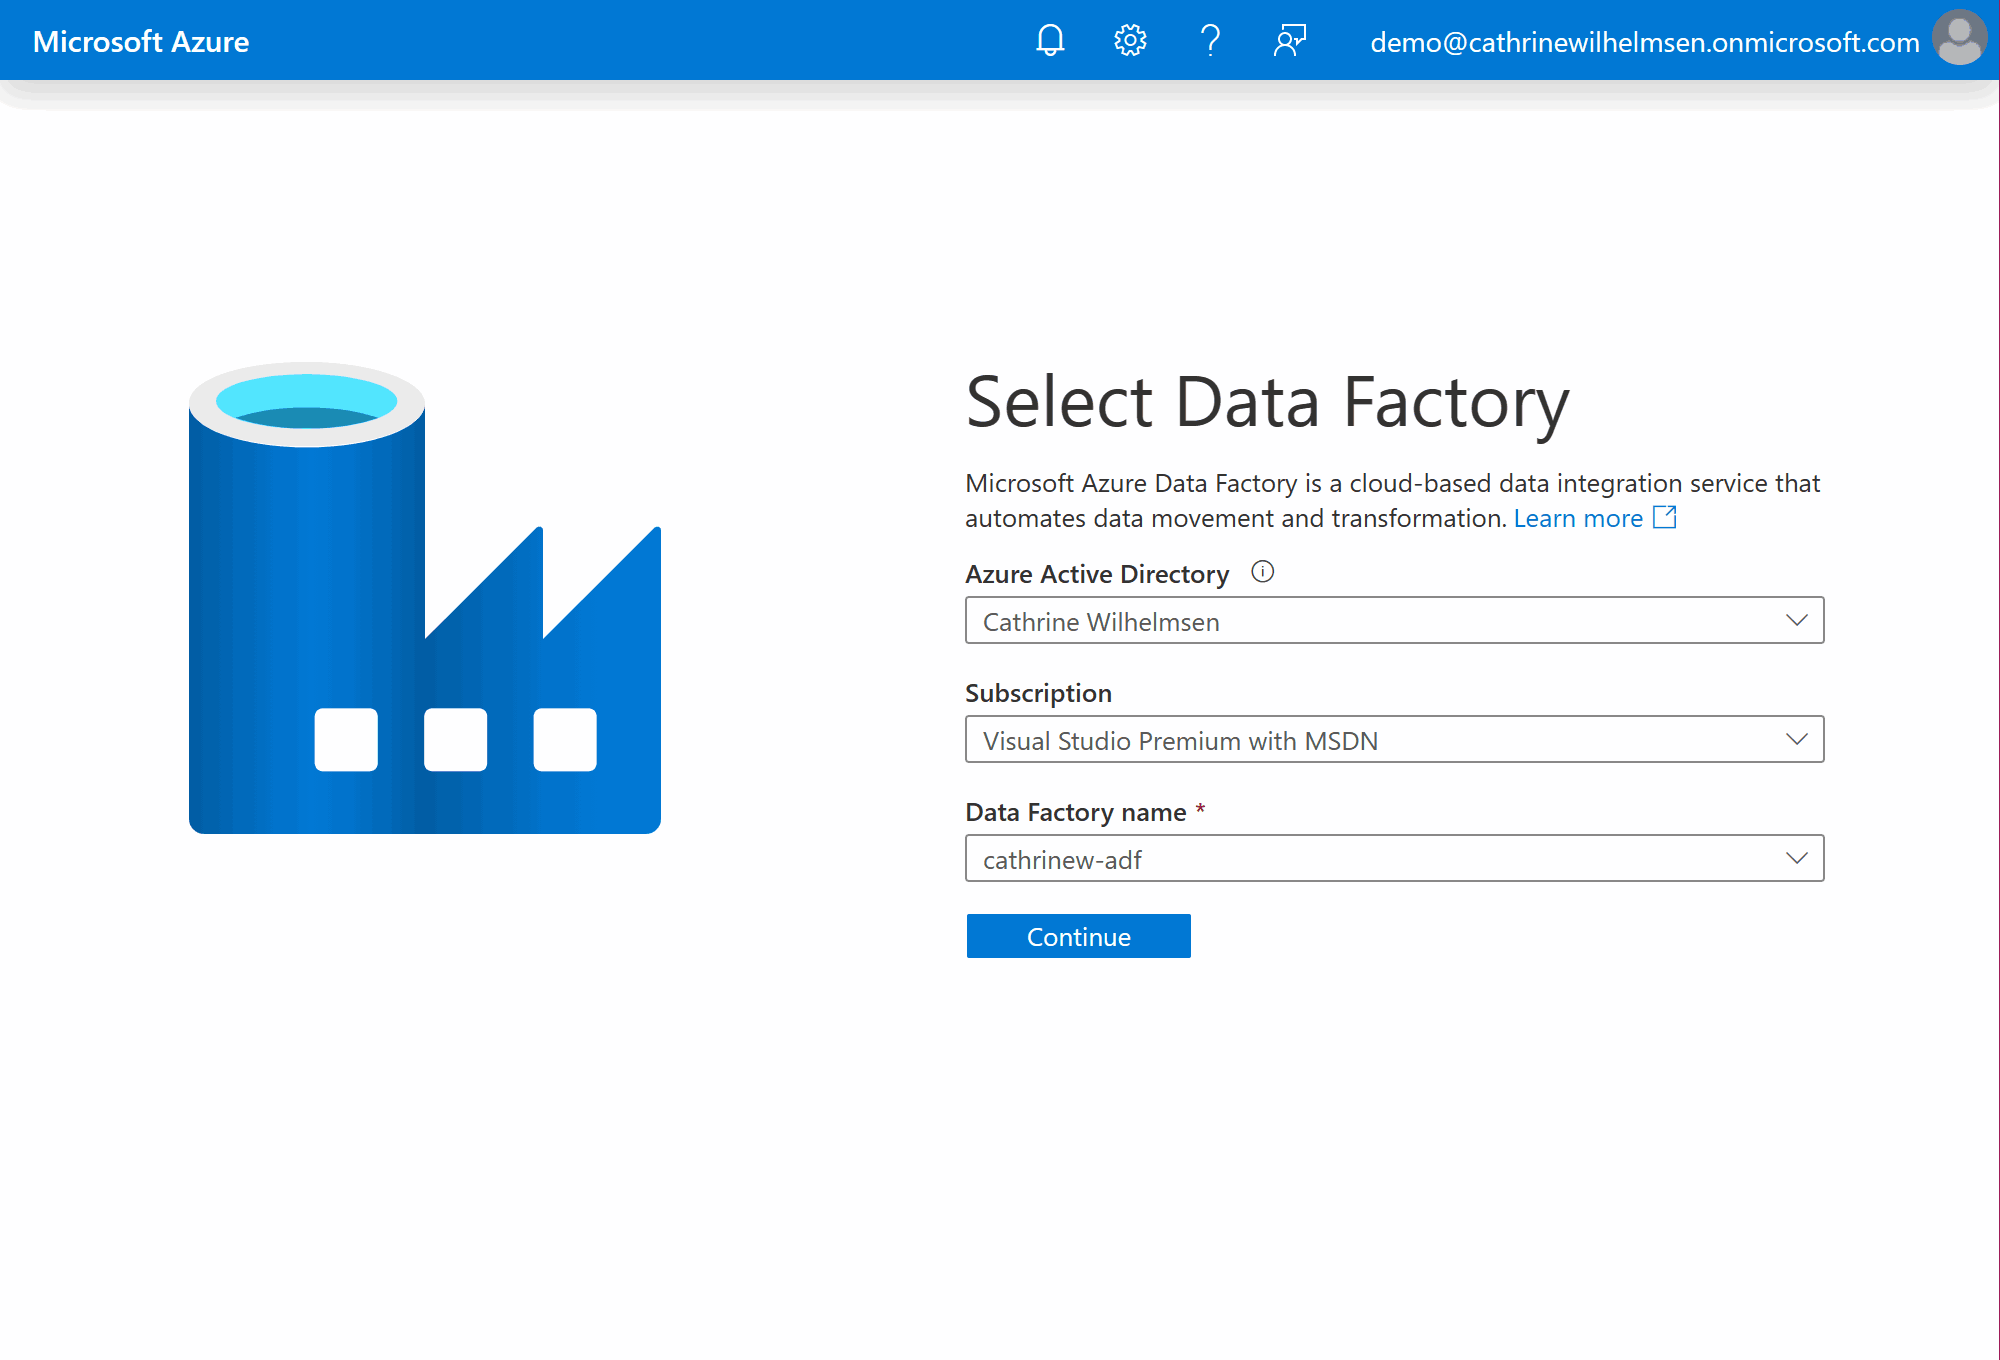
You can also access Azure Data Factory directly by navigating to adf.azure.com and selecting the Azure Data Factory you want to open:
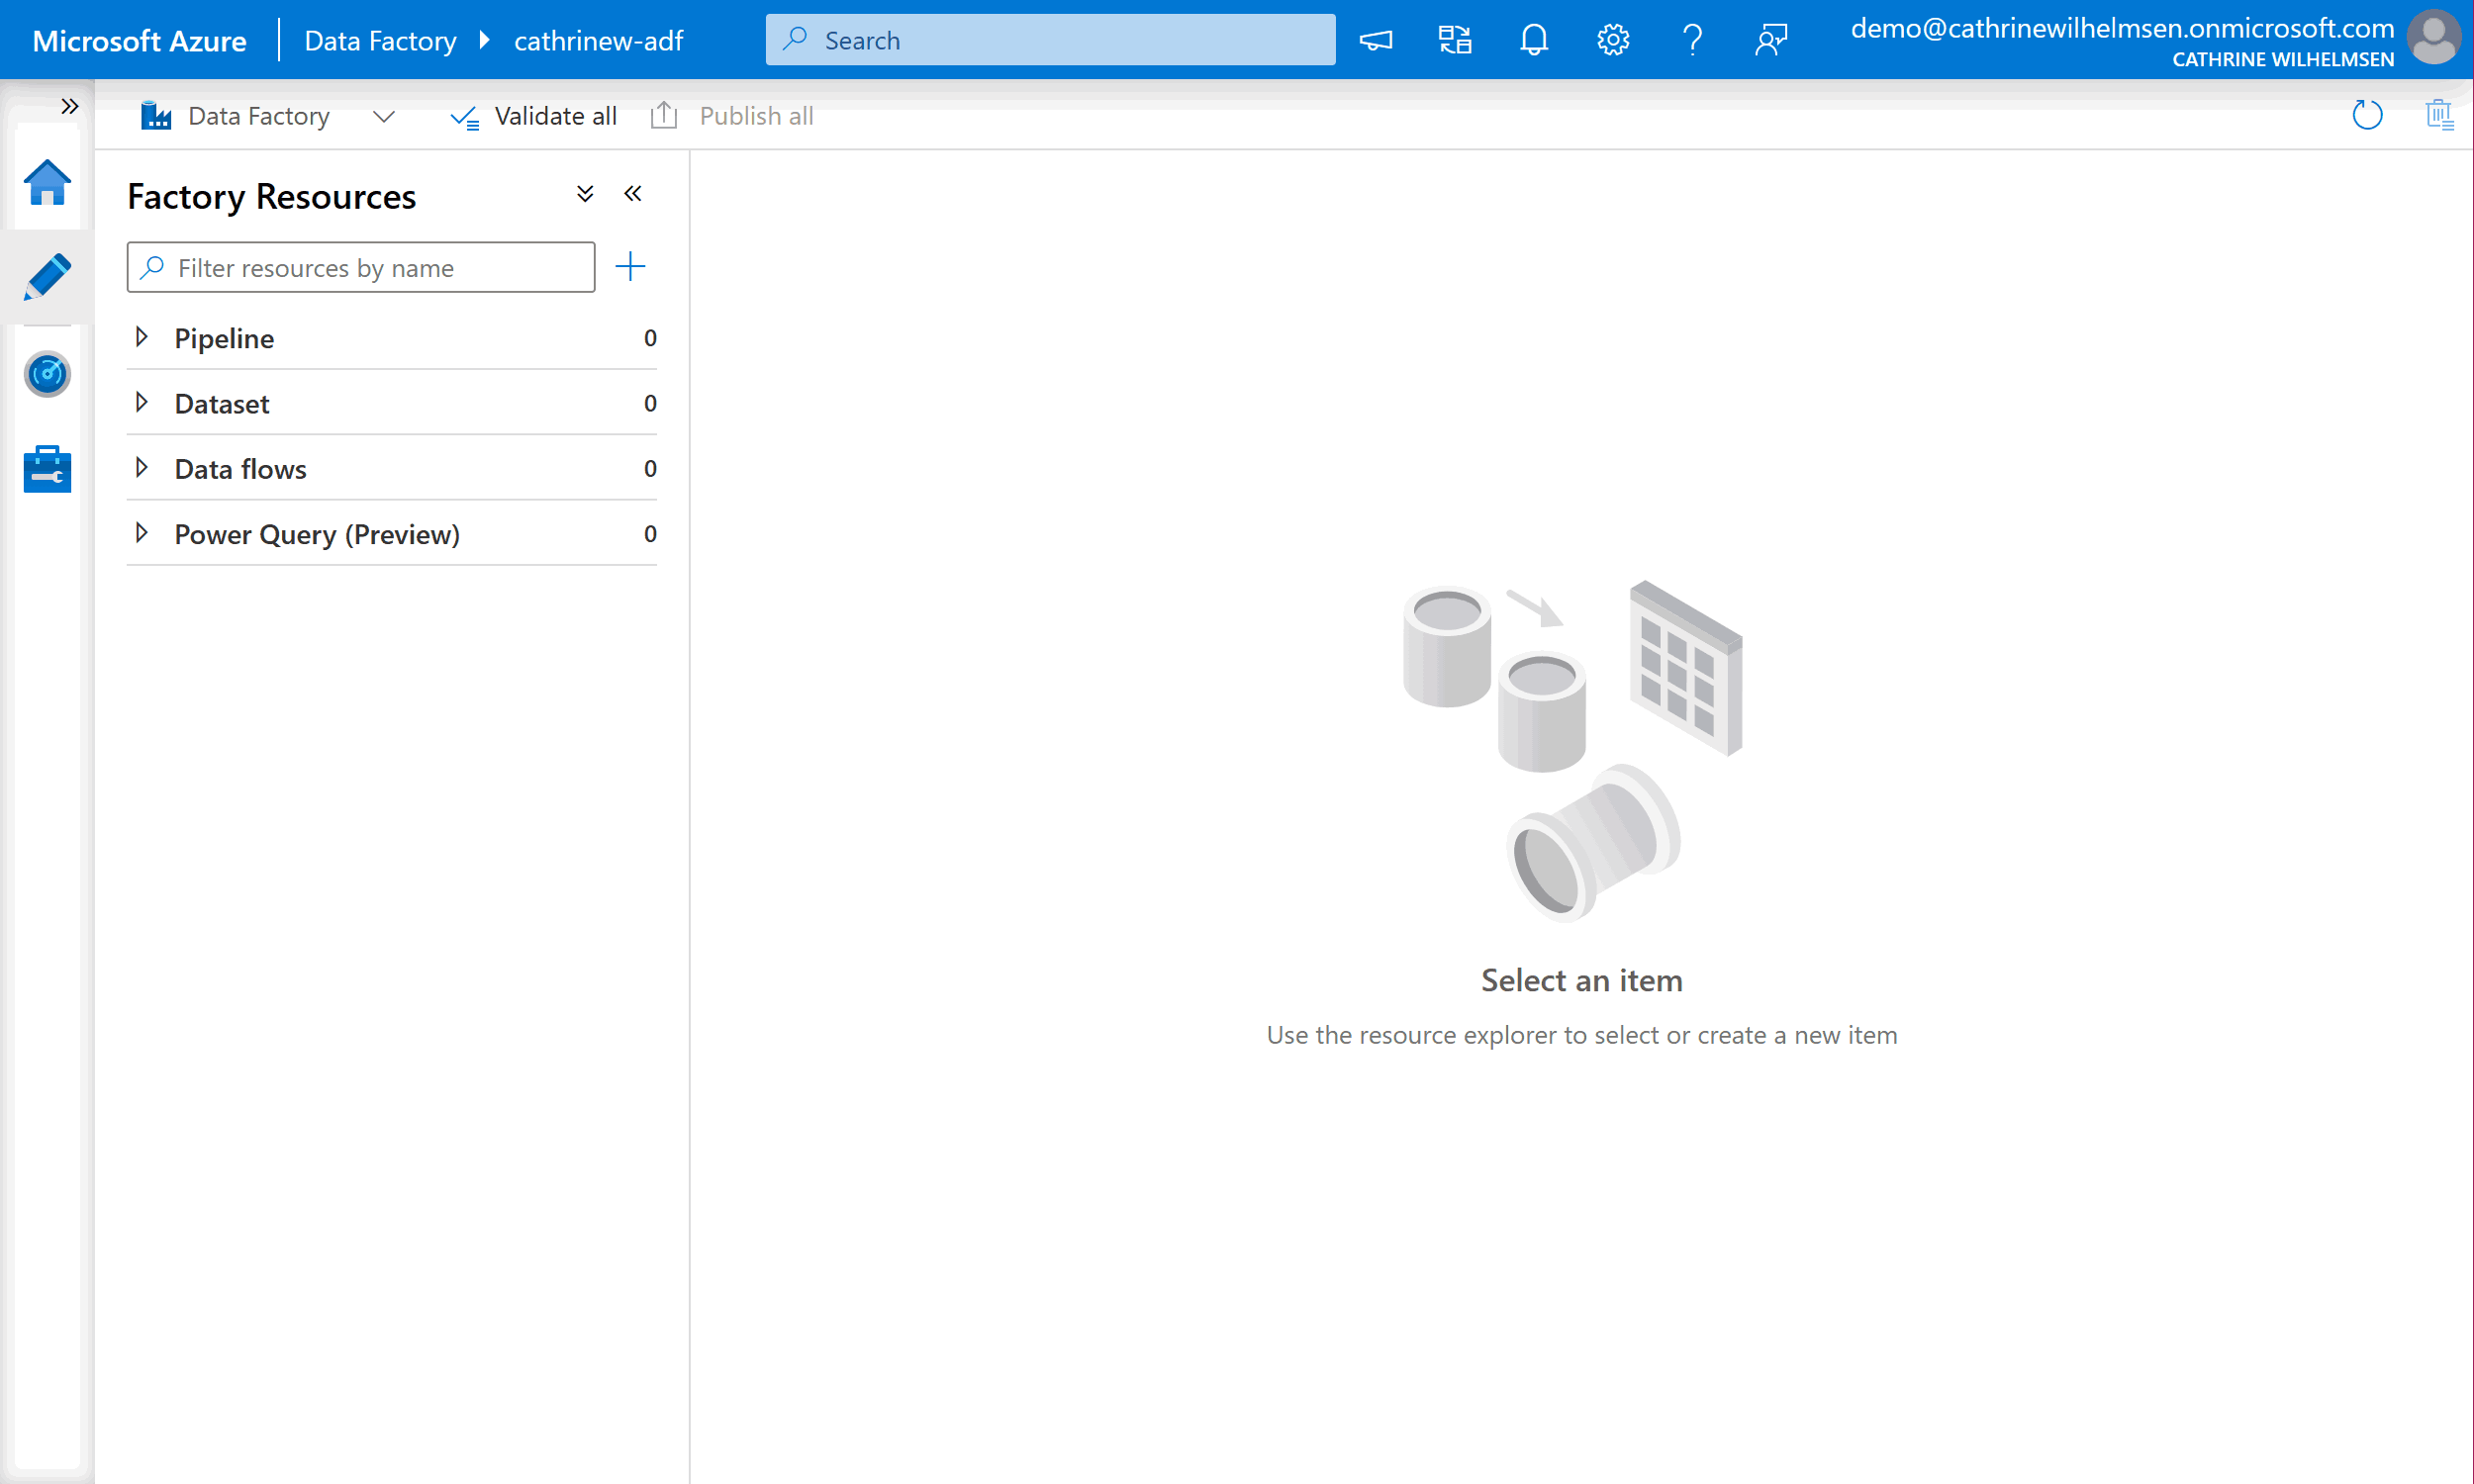
Depending on where you are navigated from, you will end up on either the Home page or the Author page:
Summary
In this post, we started by looking at Azure subscriptions and permissions. Then we created an Azure Data Factory and navigated to it.
In the next post, we will navigate inside the Azure Data Factory. Let’s look at the Azure Data Factory user interface!
About the Author
 Cathrine Wilhelmsen is a Microsoft Data Platform MVP, international speaker, author, blogger, organizer, and chronic volunteer. She loves data and coding, as well as teaching and sharing knowledge - oh, and sci-fi, gaming, coffee and chocolate 🤓