Connecting to HubSpot from Azure Synapse Analytics or Azure Data Factory

I spent a couple of hours today figuring out how to connect to HubSpot from Azure Synapse Analytics. Since it wasn’t straightforward for me, I decided to blog about how I did it. Hopefully, this post can help one or two others (or future me!) save some time 😊
The HubSpot Linked Service
The Azure Synapse Analytics (or Azure Data Factory) linked service connects to HubSpot using a Client ID, Client Secret, Access Token, and Refresh Token:
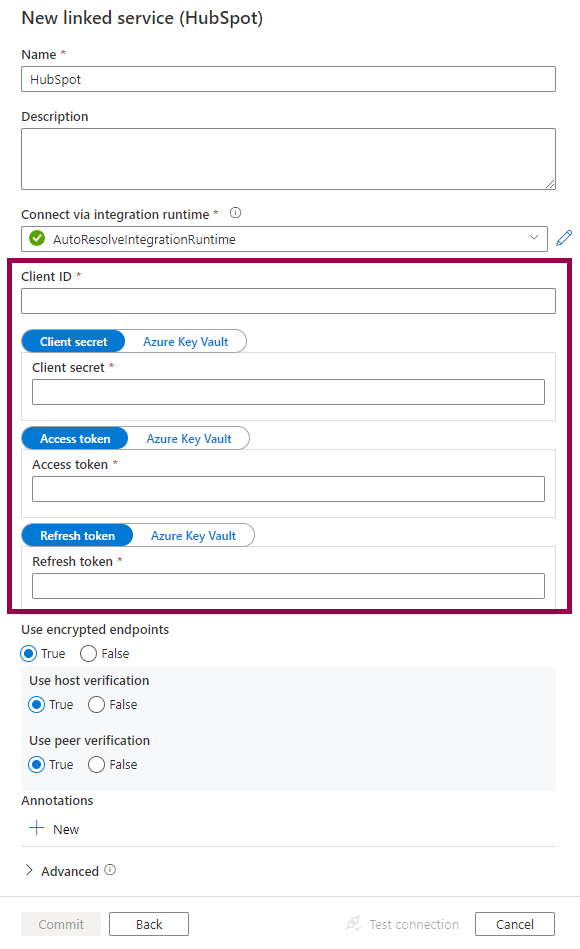
How do we get these values from HubSpot?
The overall process is to:
- Create a private app in HubSpot to get the Client ID and Client Secret
- Authorize the private app and get authorization code
- Exchange authorization code for Access Token and Refresh Token
- Create linked service in Azure Synapse Analytics or Azure Data Factory
Let’s dig into the details! 🤓
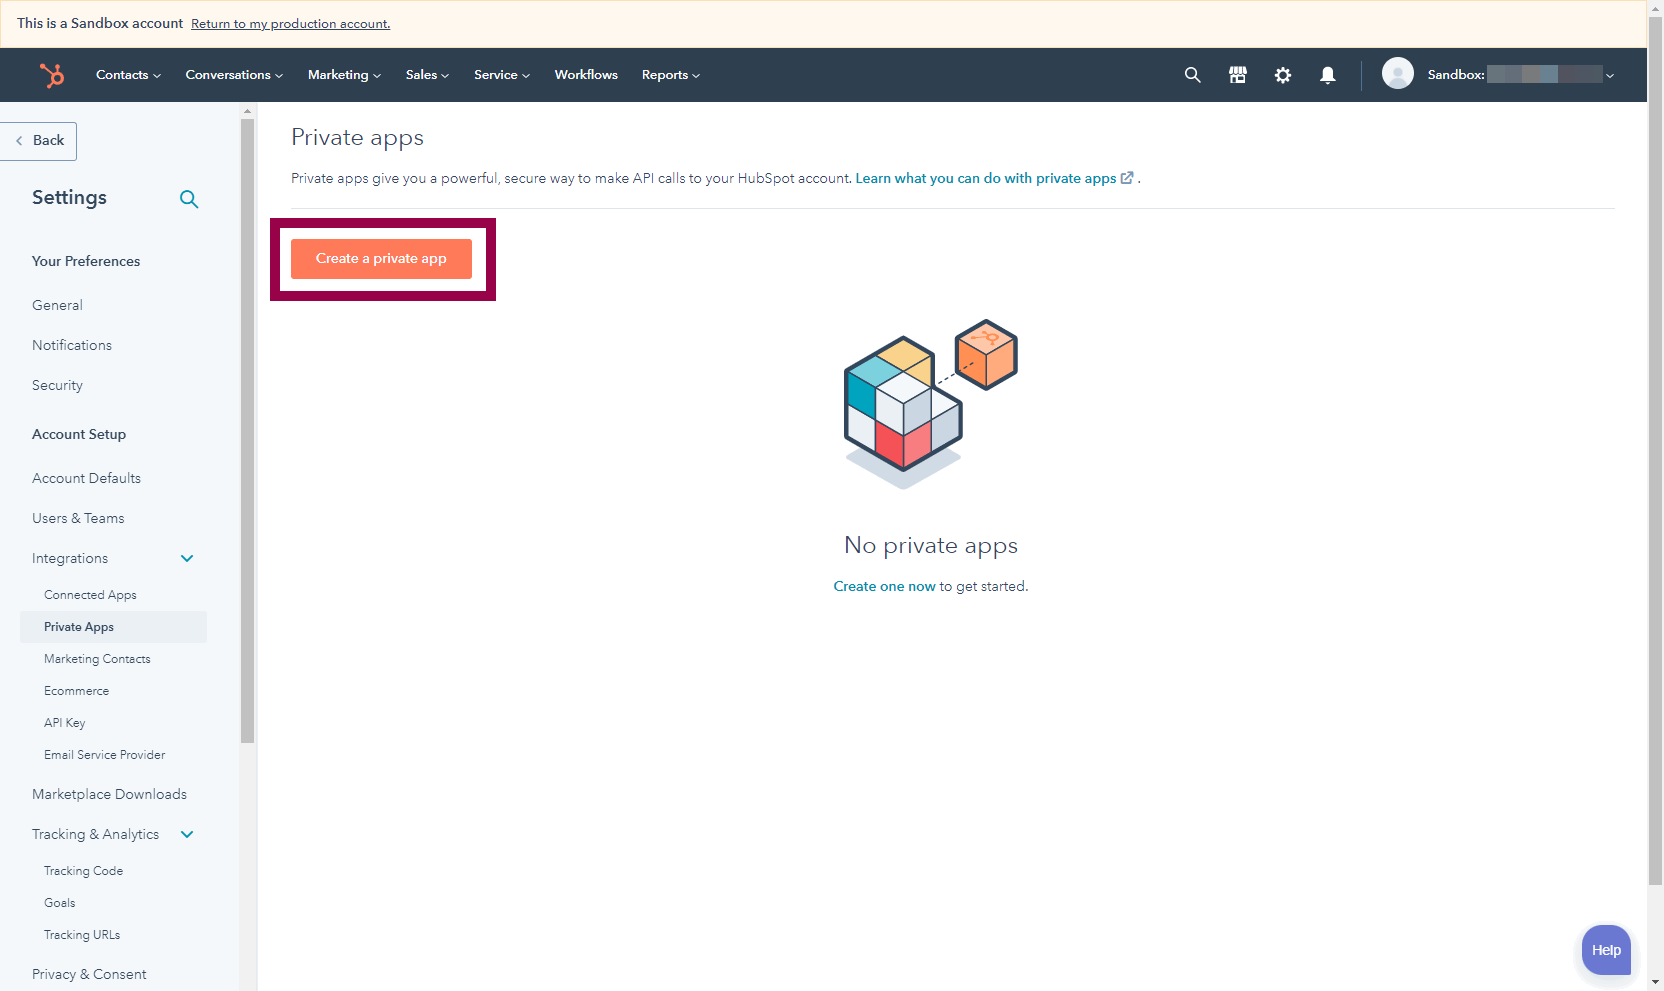
Create a private app in HubSpot to get the Client ID and Client Secret
(You need to be a super admin in HubSpot to create private apps. If you see a “try out private apps?” message, click yes.)
Under Settings → Integrations → Private Apps, click create a private app:
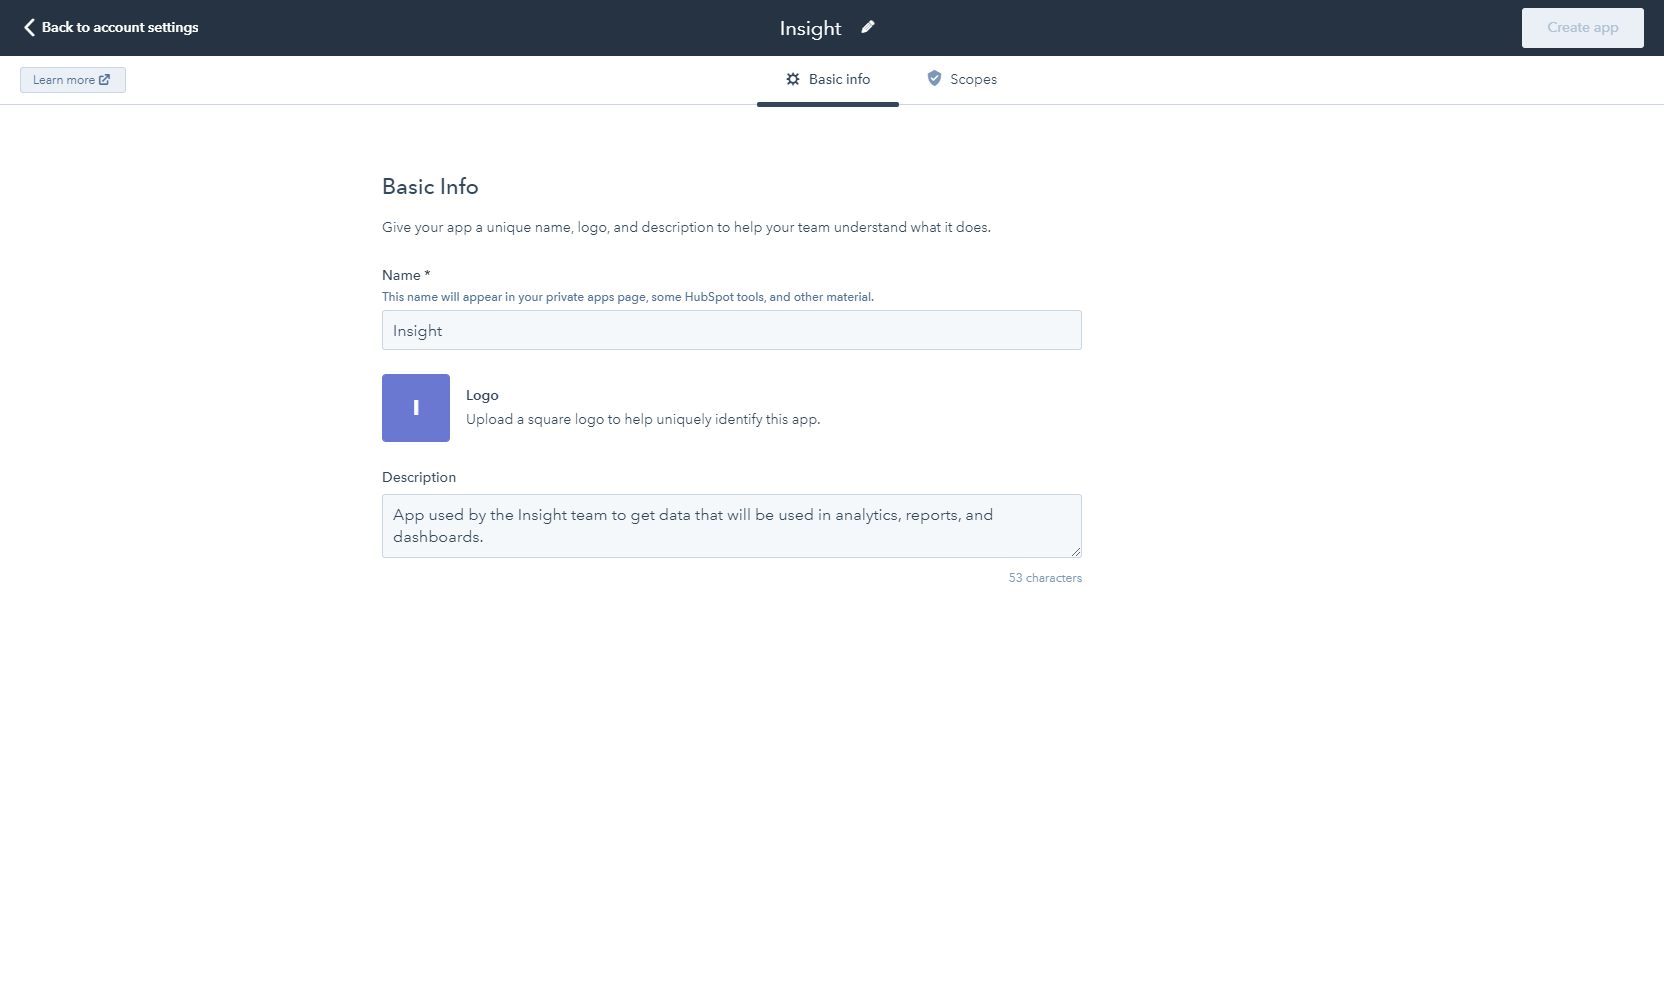
Under Basic Info, give your app a name and description:
Under Scopes, choose what your app can access:
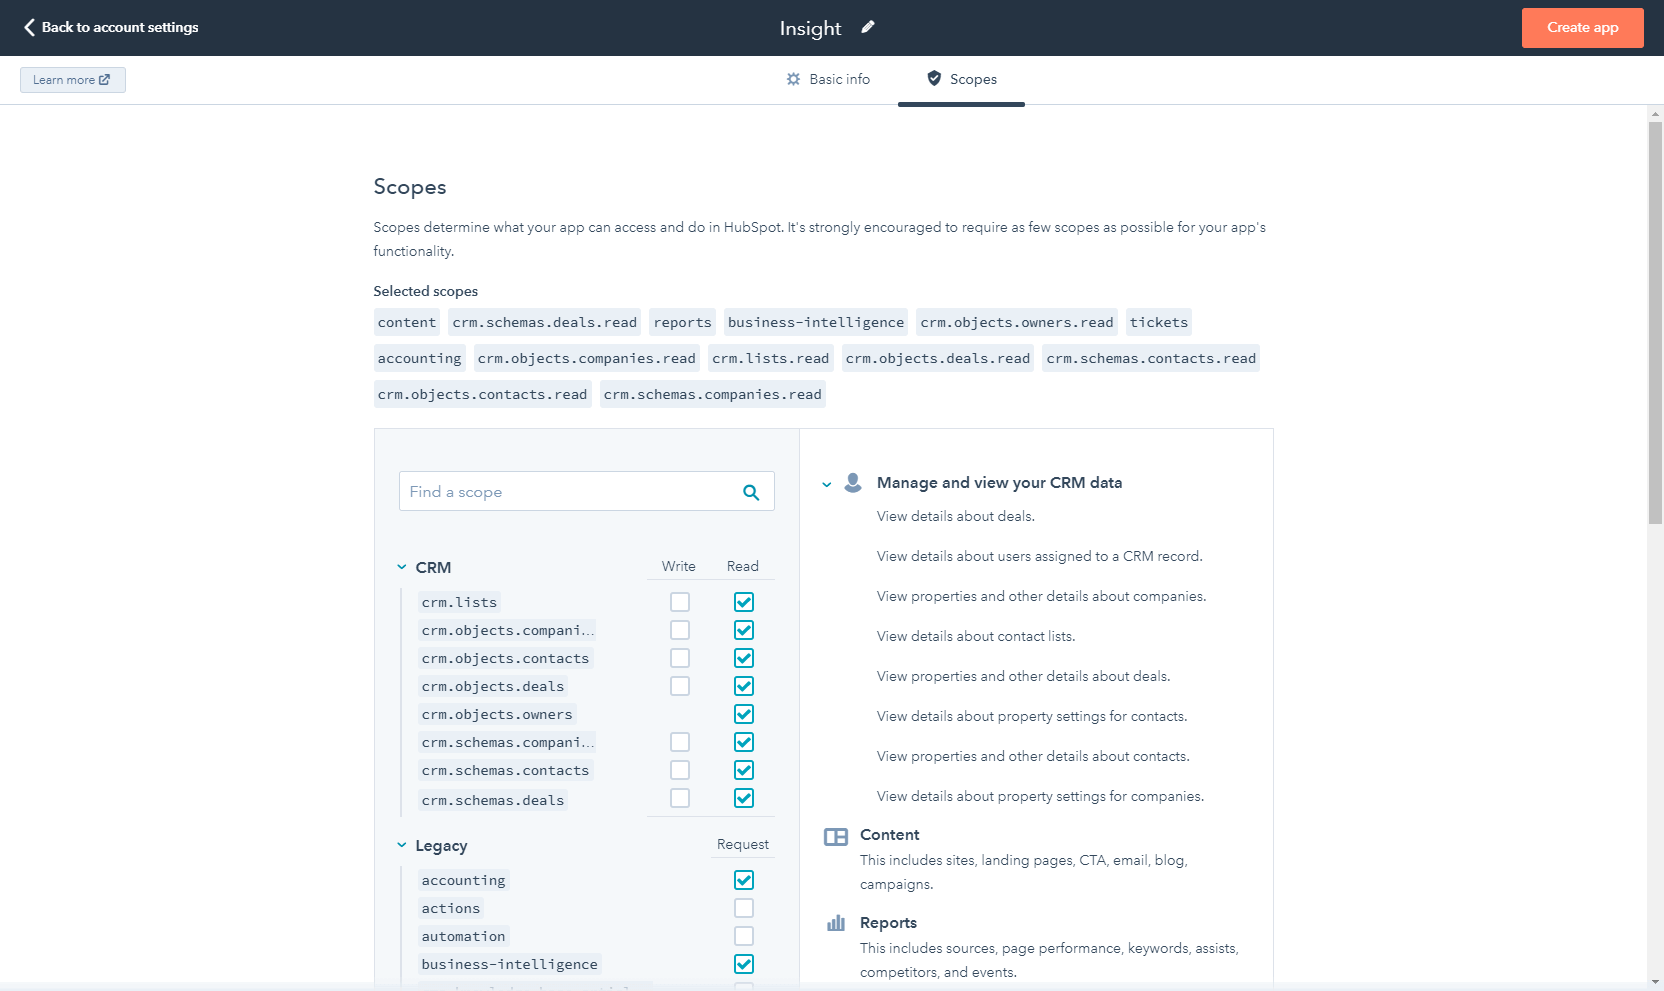
Click Create App.
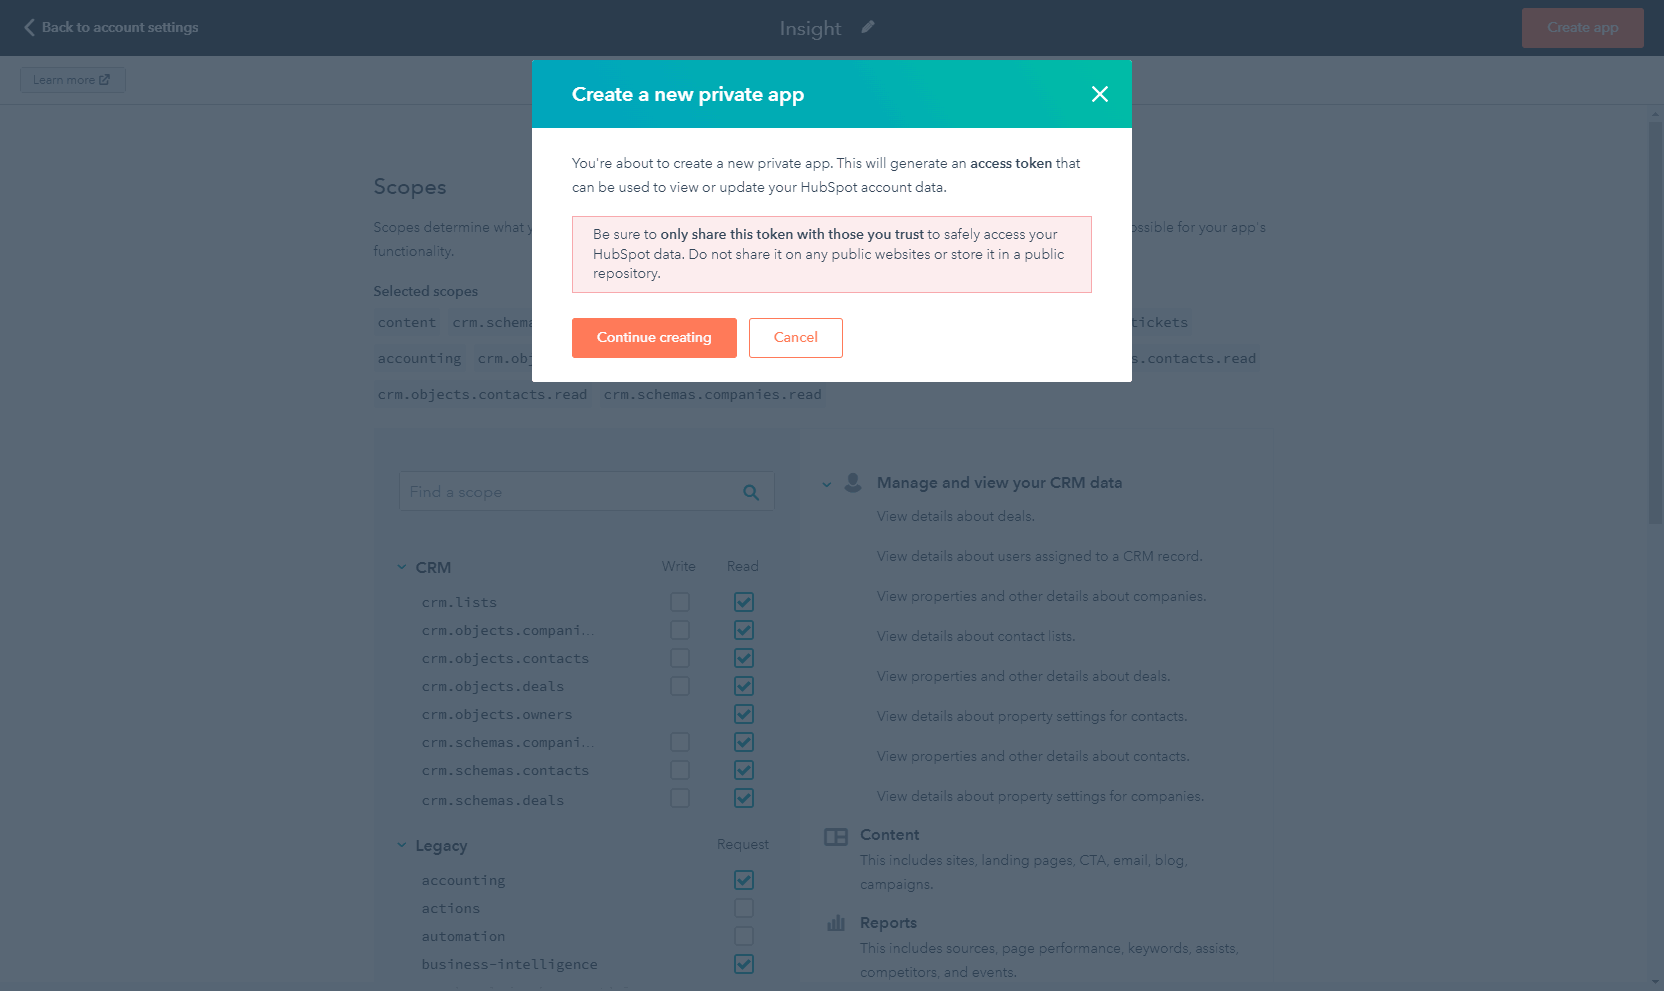
On the next page, acknowledge that you know that you should never share secrets, and click Continue Creating:
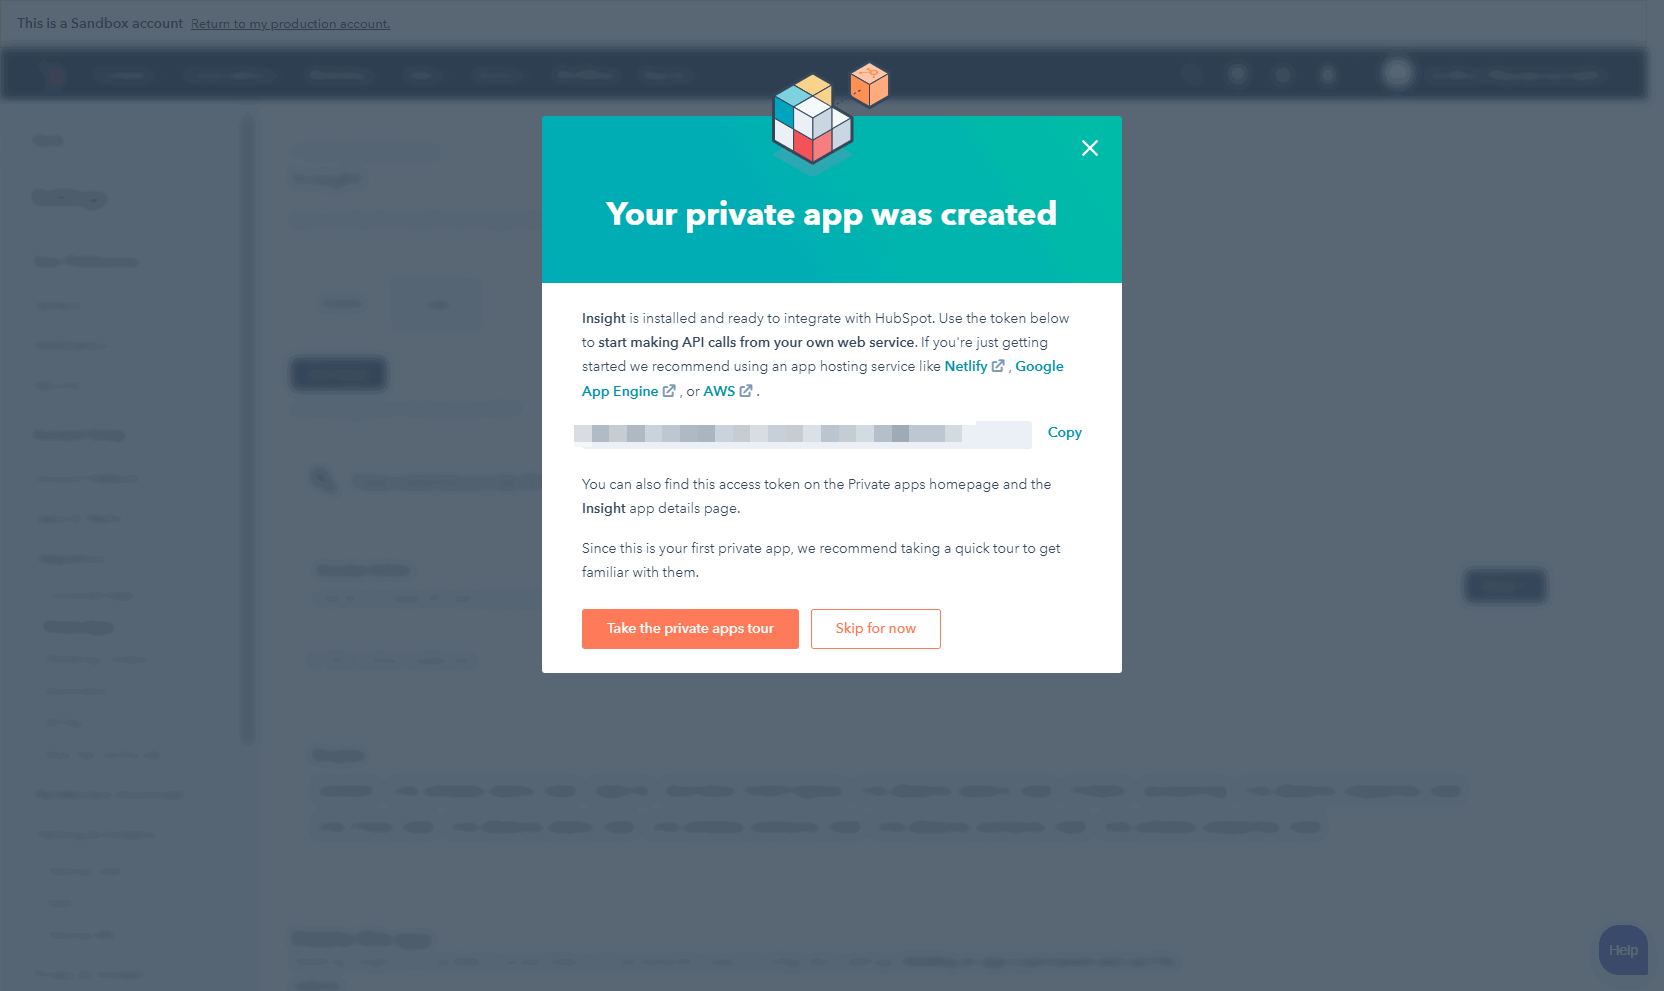
Your private app was created! 🥳
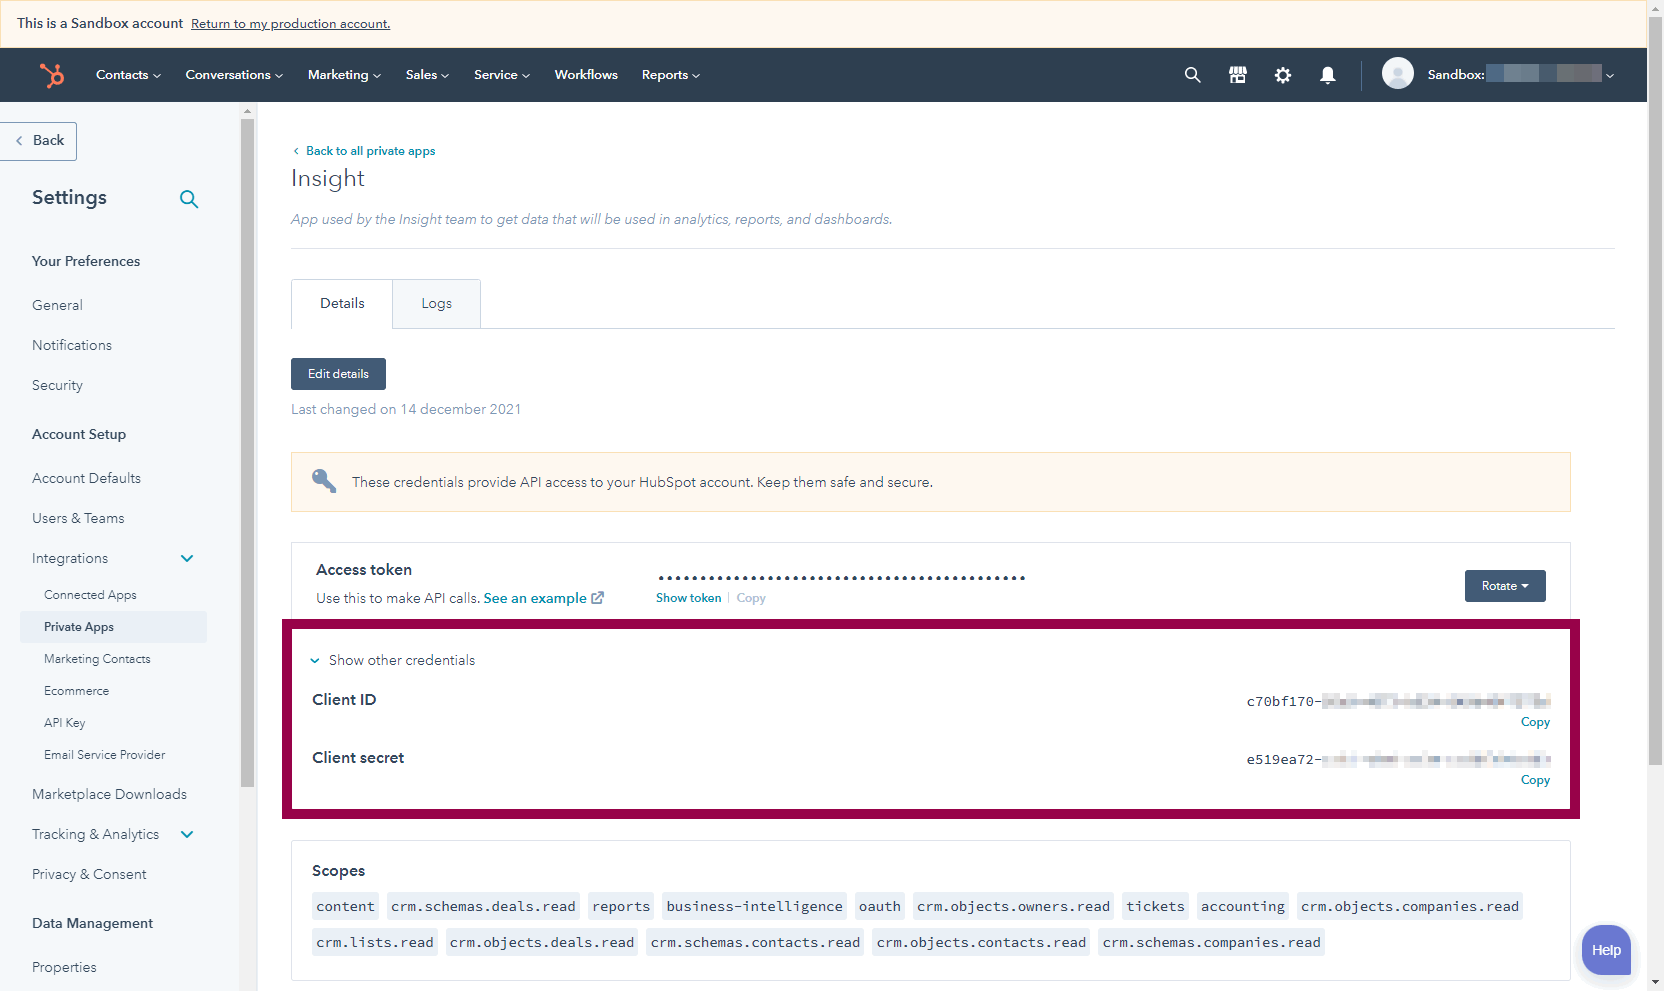
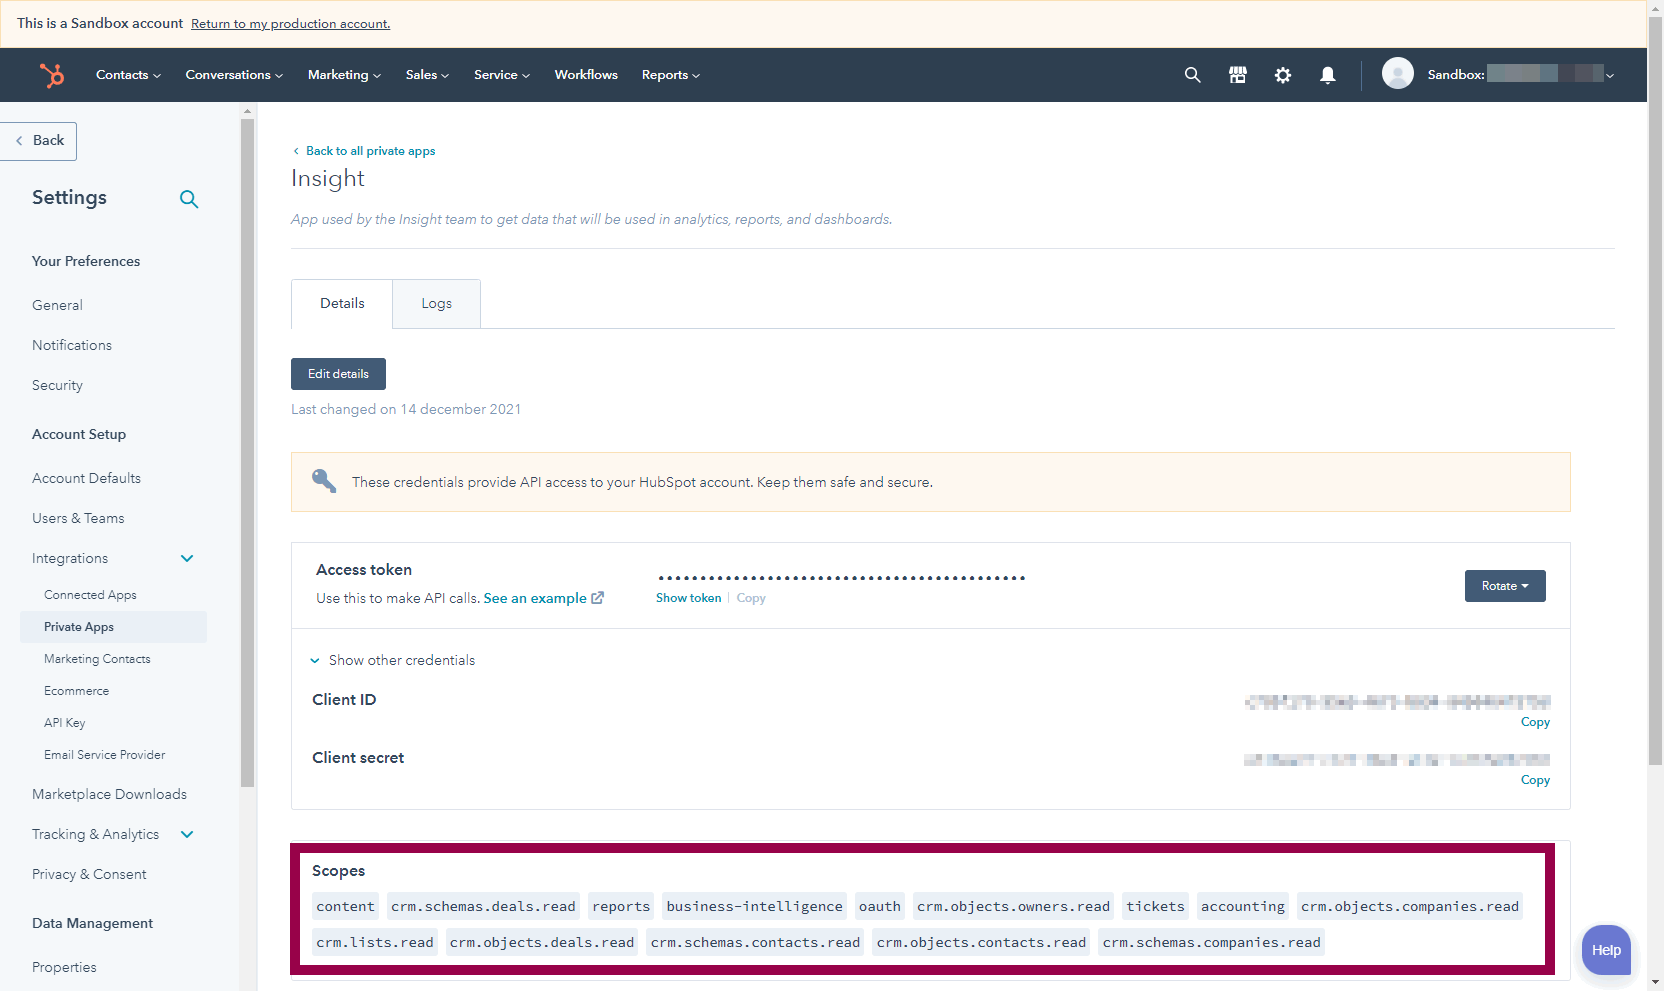
Under Show Other Credentials, you will find the Client ID and Client Secret:
Authorize the private app and get authorization code
Next, you need to authorize the private app. You do this by navigating to an authorization URL that looks like this:
https://app.hubspot.com/oauth/authorize?client_id=[Client ID]&scope=[Scope List]&redirect_uri=[Company URL]
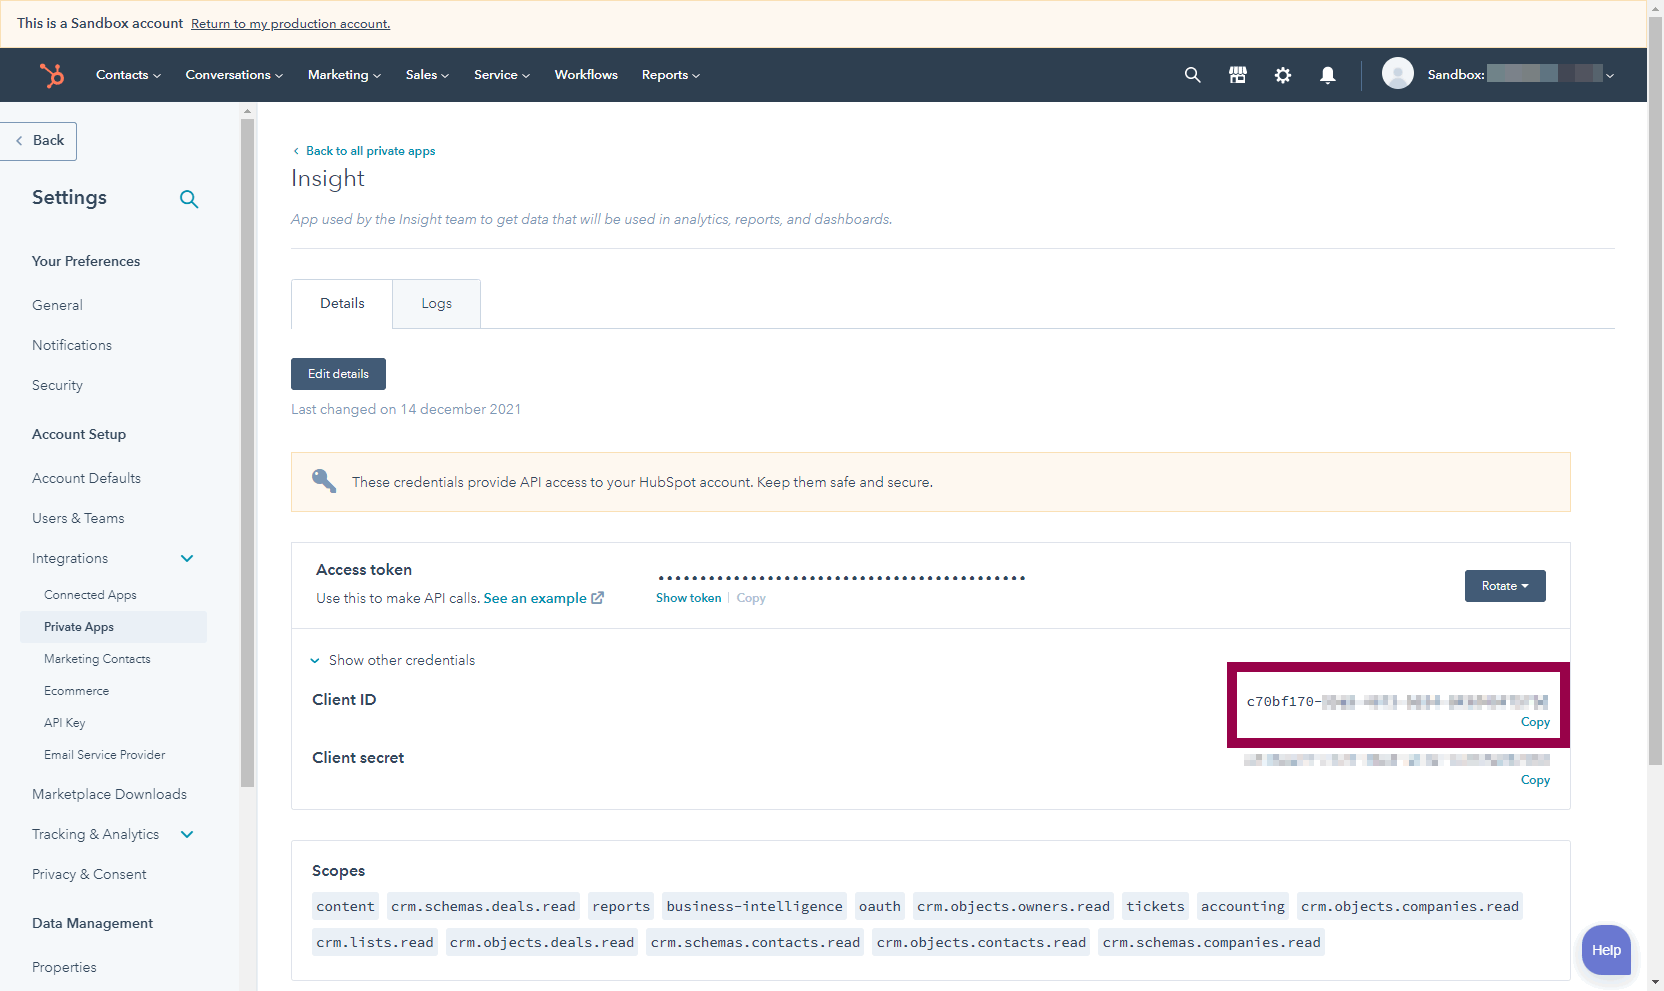
Replace [Client ID] with your actual Client ID:
Replace [Scope List] with a list of all the Scopes you selected when creating the app, separated by spaces (or separated by encoded spaces using %20):
Replace [Company URL] with your Company URL.
For example, if I had chosen the scopes business-intelligence, contacts, content, and tickets, and my company URL was cathrinewilhelmsen.net, I would end up with an authorization URL like this:
https://app.hubspot.com/oauth/authorize?client_id=c70bf170-XXXX-XXXX-XXXX-XXXXXXXXXXXX&scope=business-intelligence%20contacts%20content%20tickets&redirect_uri=https://www.cathrinewilhelmsen.net
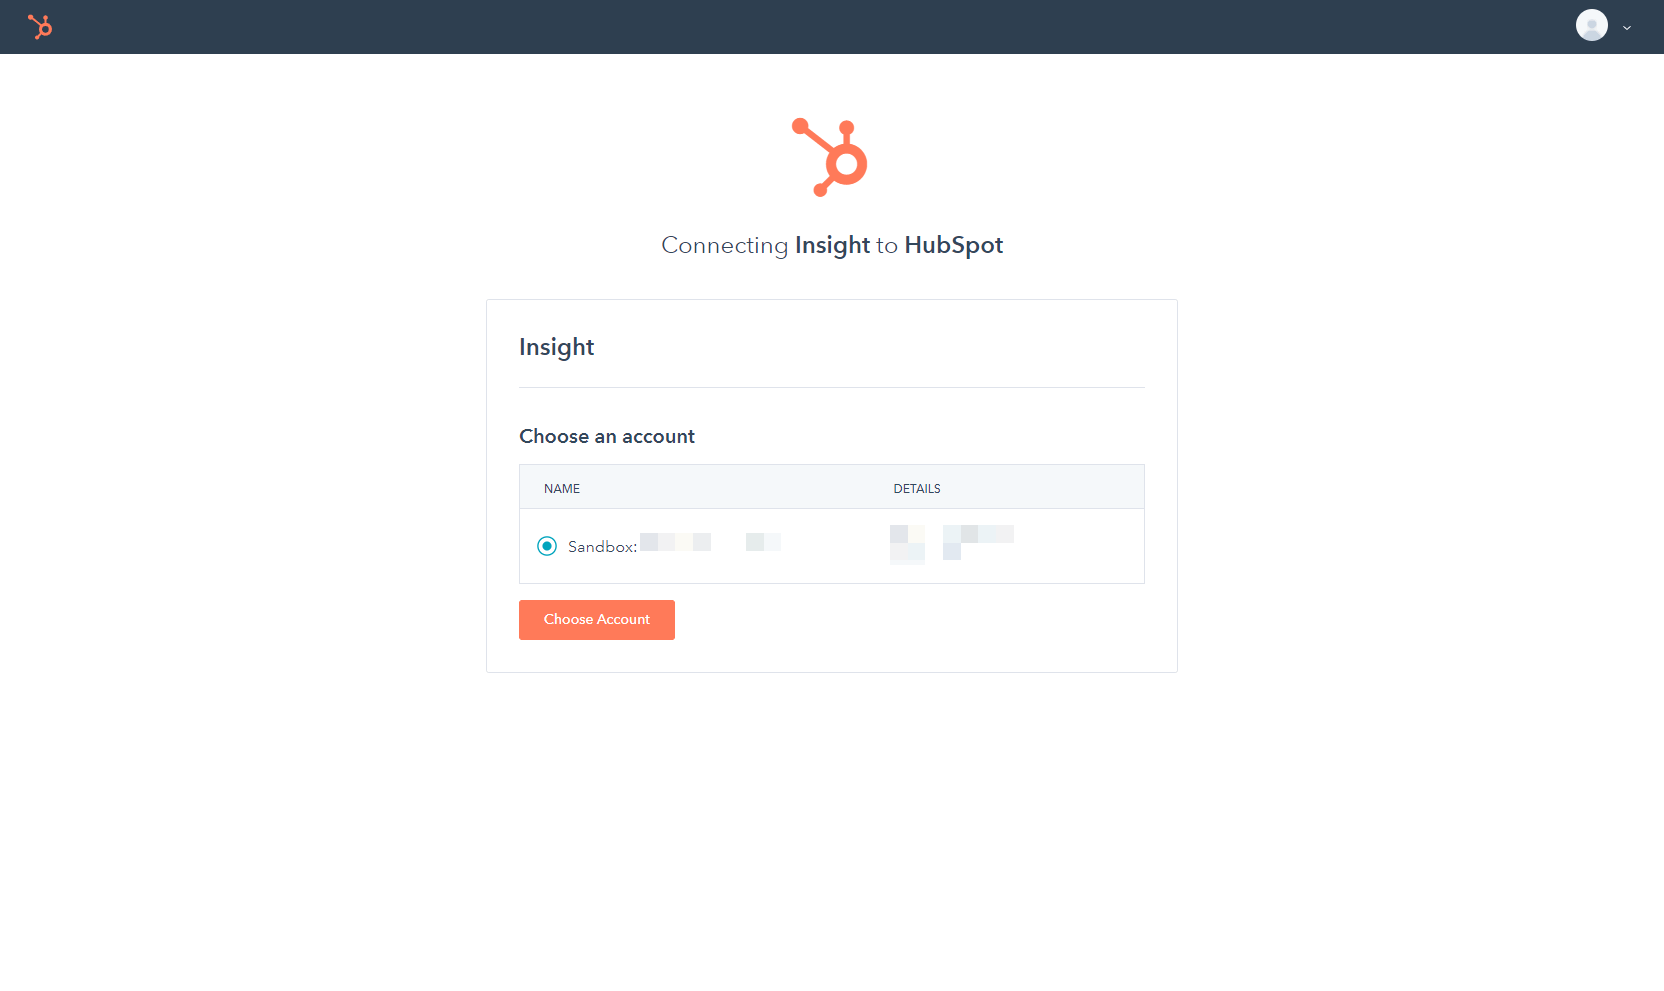
Open the authorization URL in your browser and choose your HubSpot account:
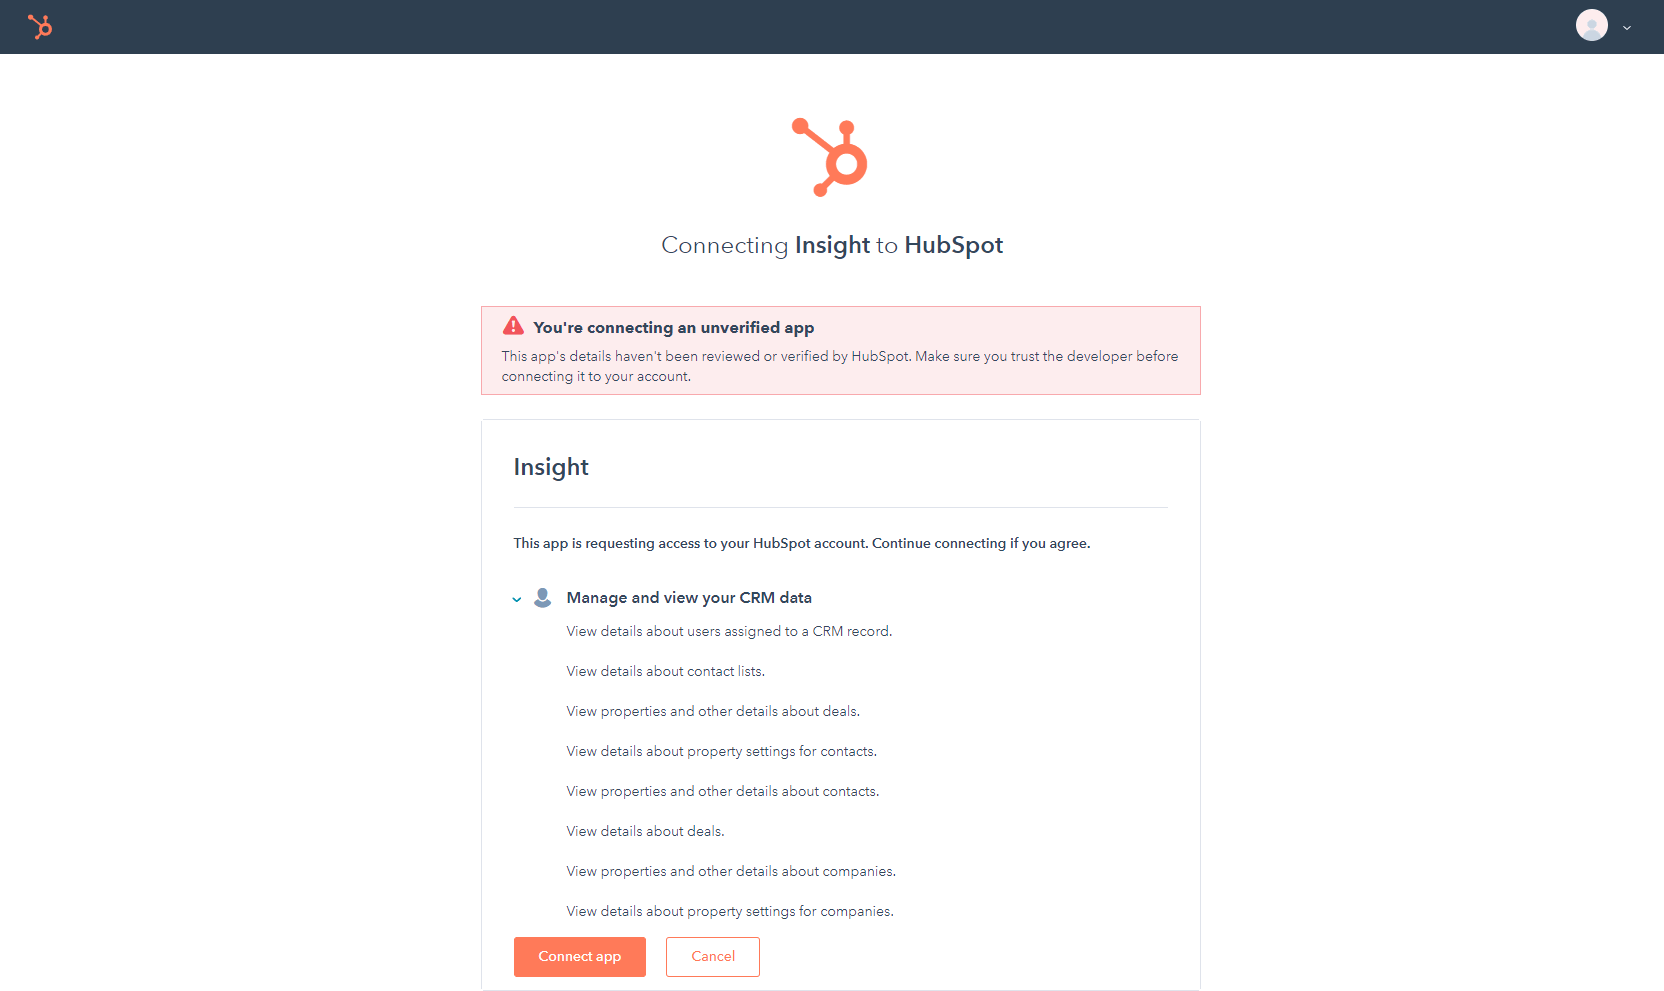
Review the connection information, and click Connect App:
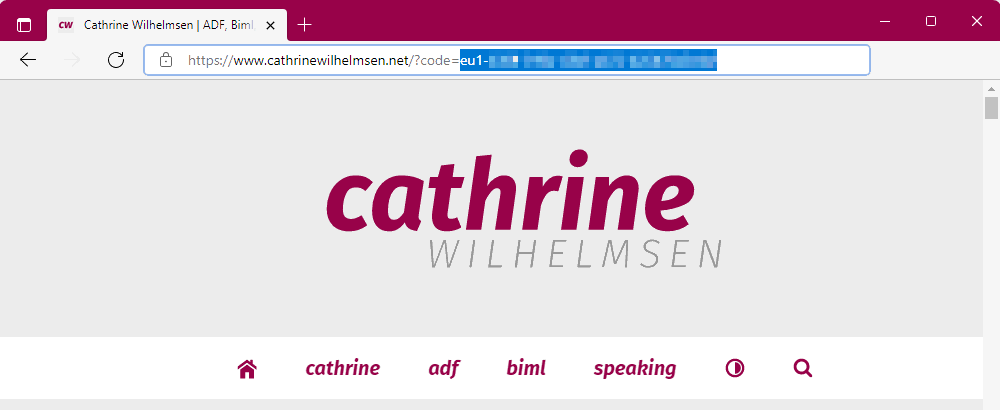
You will be redirected to your company website. Save the authorization code that has been added to the URL:
Exchange authorization code for an Access Token and Refresh Token
Next, you need to exchange the authorization code for an Access Token and Refresh Token. You do that by submitting a POST request to the HubSpot API. This was the part that took me the longest to figure out! I hope that I can save you some headache by describing the two methods I tried 🤓
Using Postman
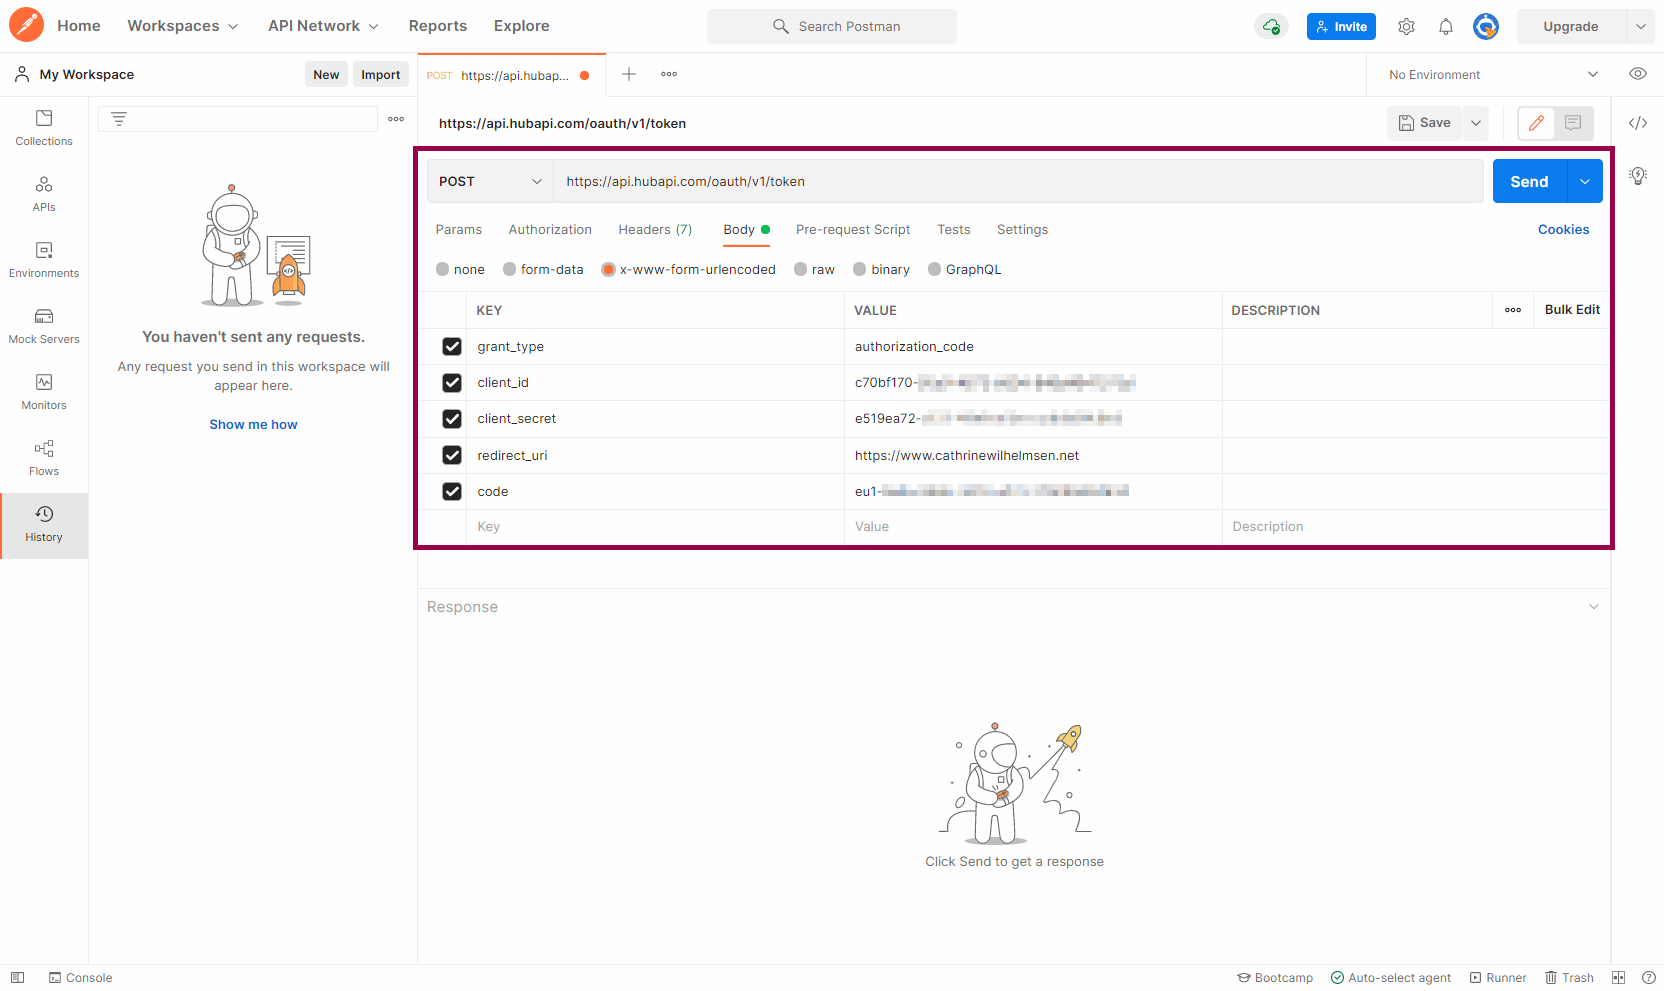
Create and/or login to your Postman account and create a new POST request to https://api.hubapi.com/oauth/v1/token.
In the Body, select x-www-form-urlencoded and set the following keys and values:
- grant_type: authorization_code
- client_id: [Client ID]
- client_secret: [Client Secret]
- redirect_uri: [Company URL] (Must be exactly the same as what you used in the authorization URL, even an extra trailing slash will cause an error!)
- code: [Authorization Code]
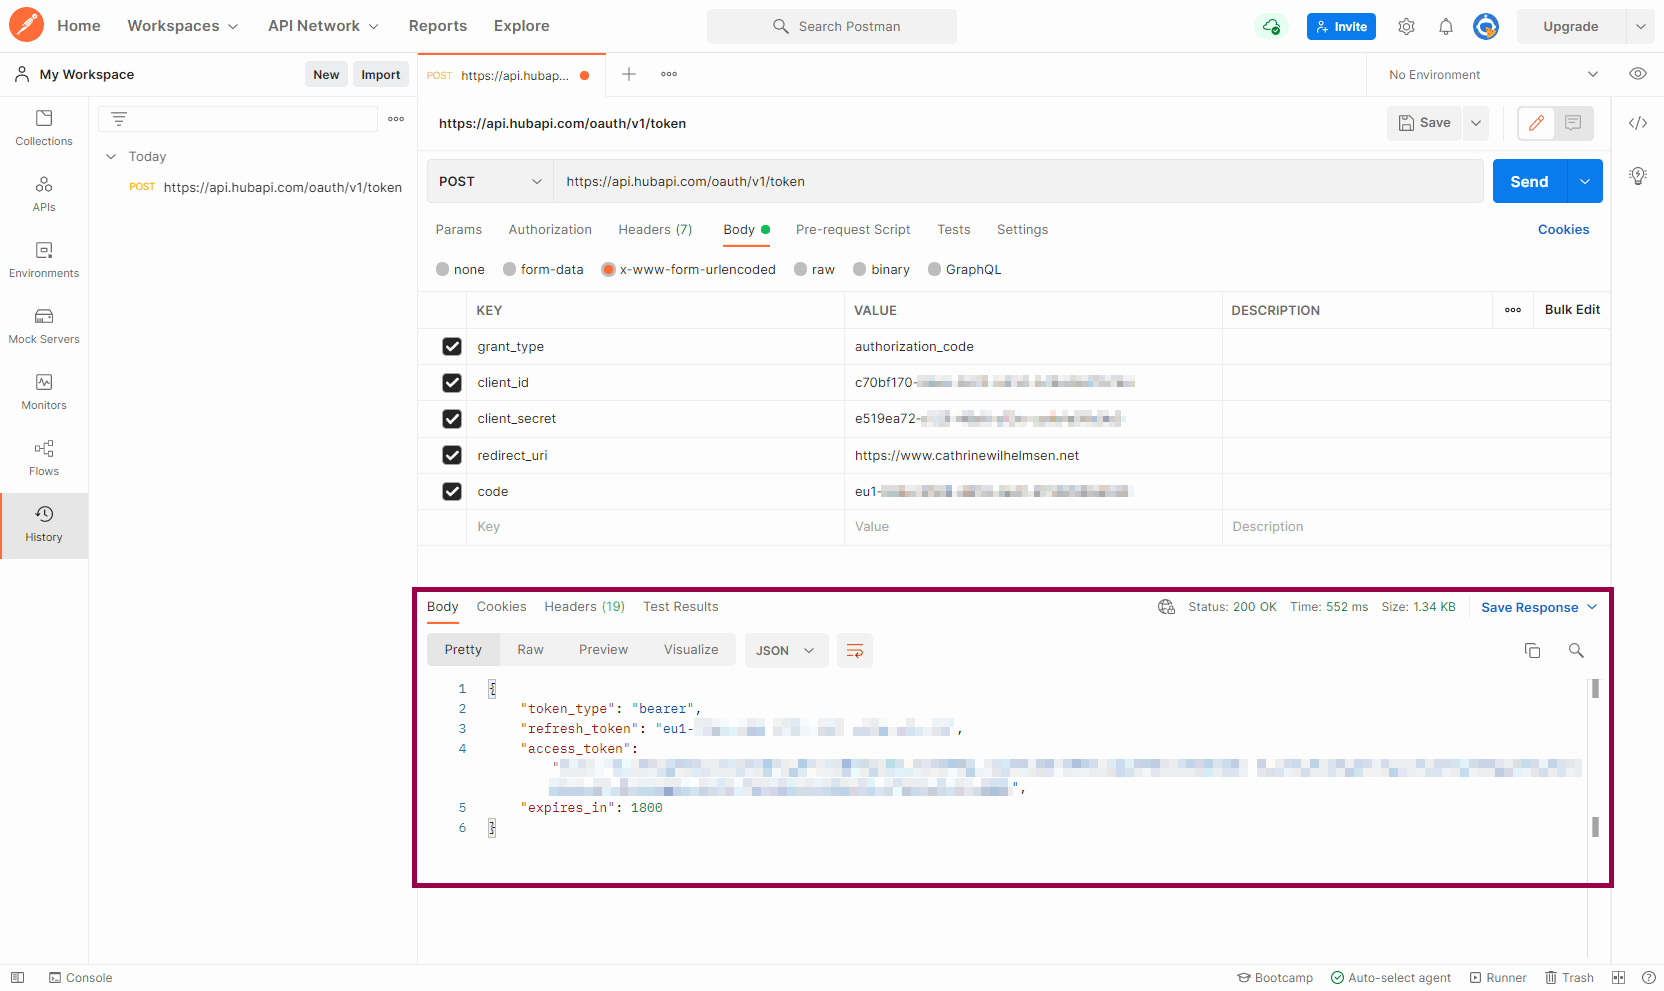
Click Send and voila! The response will contain the Access Token and Refresh Token:
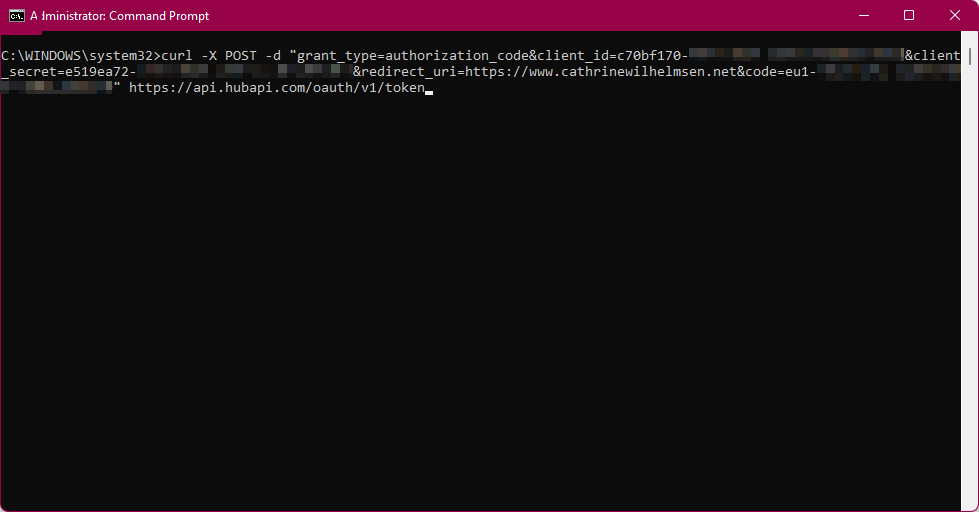
Using curl
You can also use curl with the same keys and values as listed above.
Open Command Prompt and create a new POST request to https://api.hubapi.com/oauth/v1/token:
curl -X POST -d "grant_type=authorization_code&client_id=[Client ID]&client_secret=[Client Secret]&redirect_uri=[Company URL]&code=[Authorization Code]" https://api.hubapi.com/oauth/v1/token
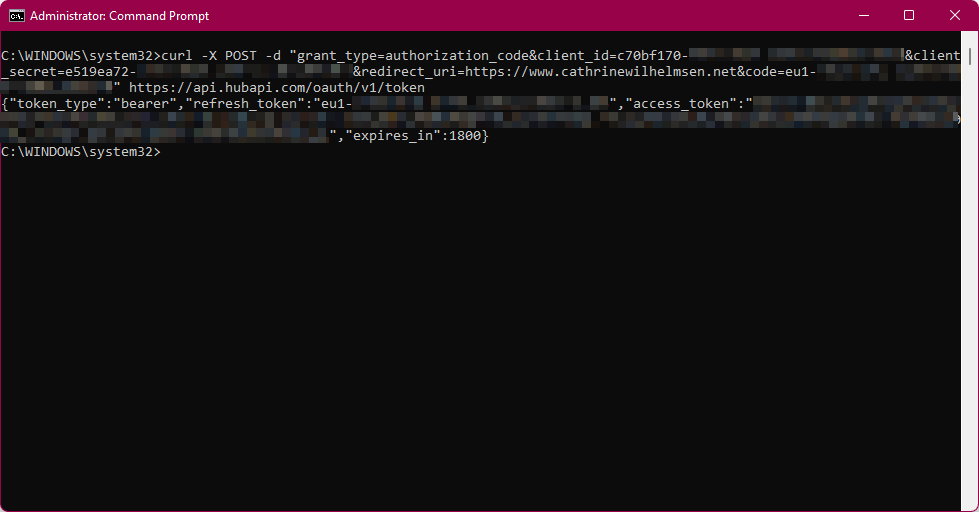
Click Enter and voila! The response will contain the Access Token and Refresh Token:
Create linked service in Azure Synapse Analytics or Azure Data Factory
Now you can finally create the linked service in Azure Synapse Analytics or Azure Data Factory:

(I strongly recommend storing these secrets in Azure Key Vault! Do as I say and not as I show, my screenshots are for demo purposes only 😉)
Summary
The Azure Synapse Analytics (or Azure Data Factory) linked service connects to HubSpot using a Client ID, Client Secret, Access Token, and Refresh Token. You get the Client ID and Client Secret values by creating a private app in HubSpot. To get the Access Token and Refresh Token, you need to authorize the private app and then exchange the authorization code for the two tokens.
Hope this can help one or two others save some time! (Especially you, future Cathrine 🤓)
About the Author
 Cathrine Wilhelmsen is a Microsoft Data Platform MVP, international speaker, author, blogger, organizer, and chronic volunteer. She loves data and coding, as well as teaching and sharing knowledge - oh, and sci-fi, gaming, coffee and chocolate 🤓