Annotations and User Properties in Azure Data Factory

In the previous post, we looked at how monitoring and alerting works. But what if we want to customize the monitoring views even further? There are a few ways to do that in Azure Data Factory. In this post, we will add both annotations and custom properties.
But before we do that, let’s look at a few more ways to customize the monitoring views.
Customizing Monitoring Views
In the previous post, we mainly looked at how to configure the monitoring and alerting features. We saw that we could change filters and switch between list and Gantt views, but it’s possible to tweak the interface even more to our liking.
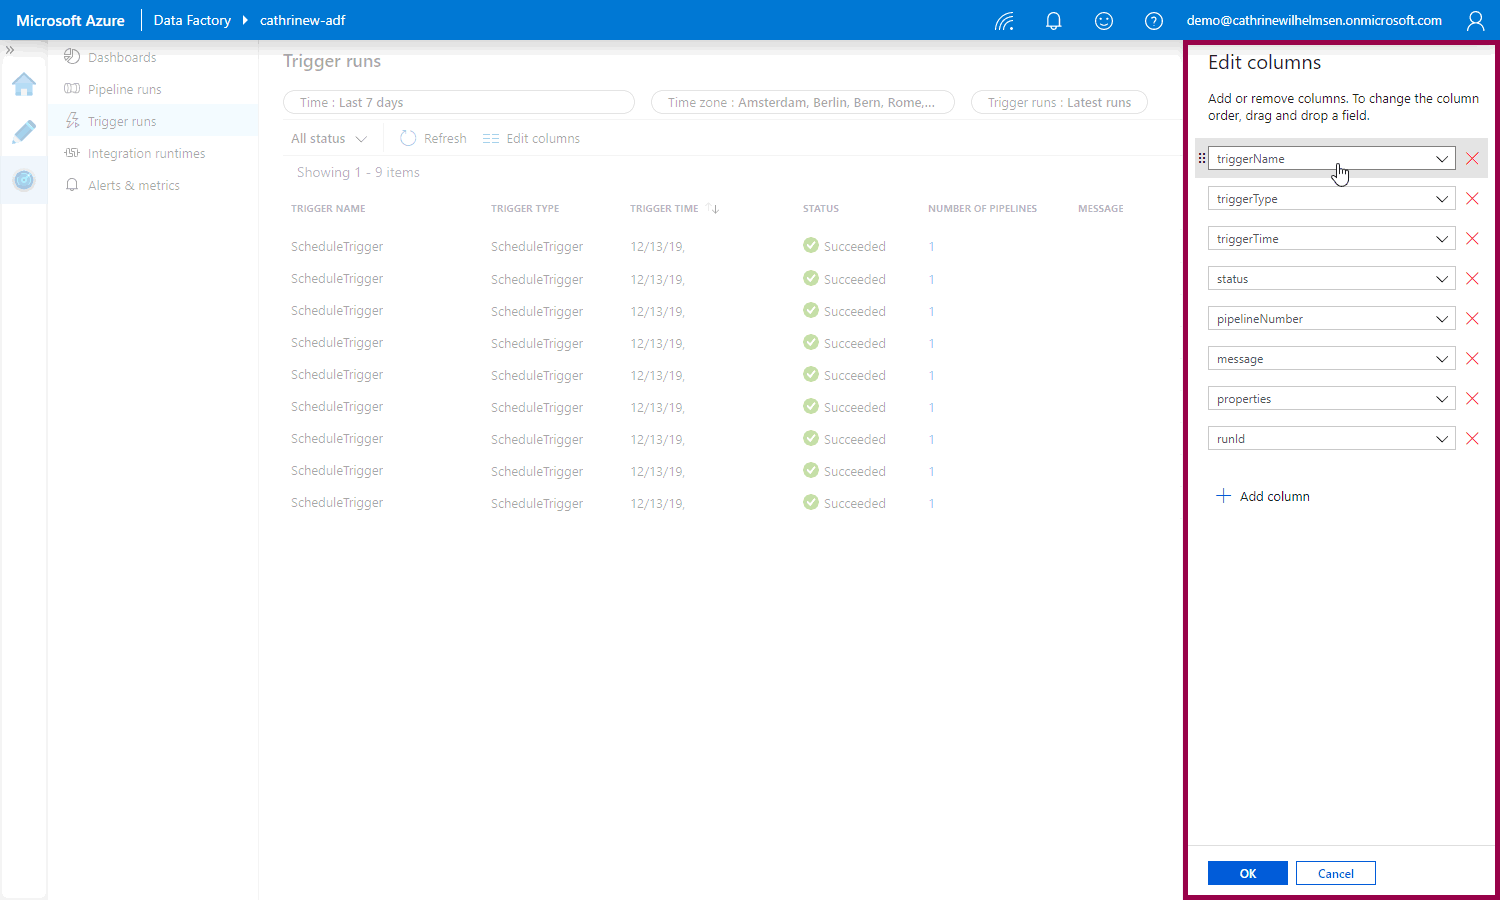
However… it’s not very consistent at the moment. Under trigger runs, you can click the edit columns button:

And then add, remove, and reorder columns in the edit columns pane:
But under pipeline runs, you have to right-click on a column header to choose the columns you want to display:

I don’t know if this is because they are in the middle of revamping the user interface or if it’s a result of gradually adding new features that are more modern 🤷🏼♀️ What I do know is that a) I need to keep checking back to see if I have to change my post and screen shots, and b) you need to get comfortable adapting to change. Because things change often in Azure 😅
Anyway! What I really want to show is that under pipeline runs, you can filter on annotations:
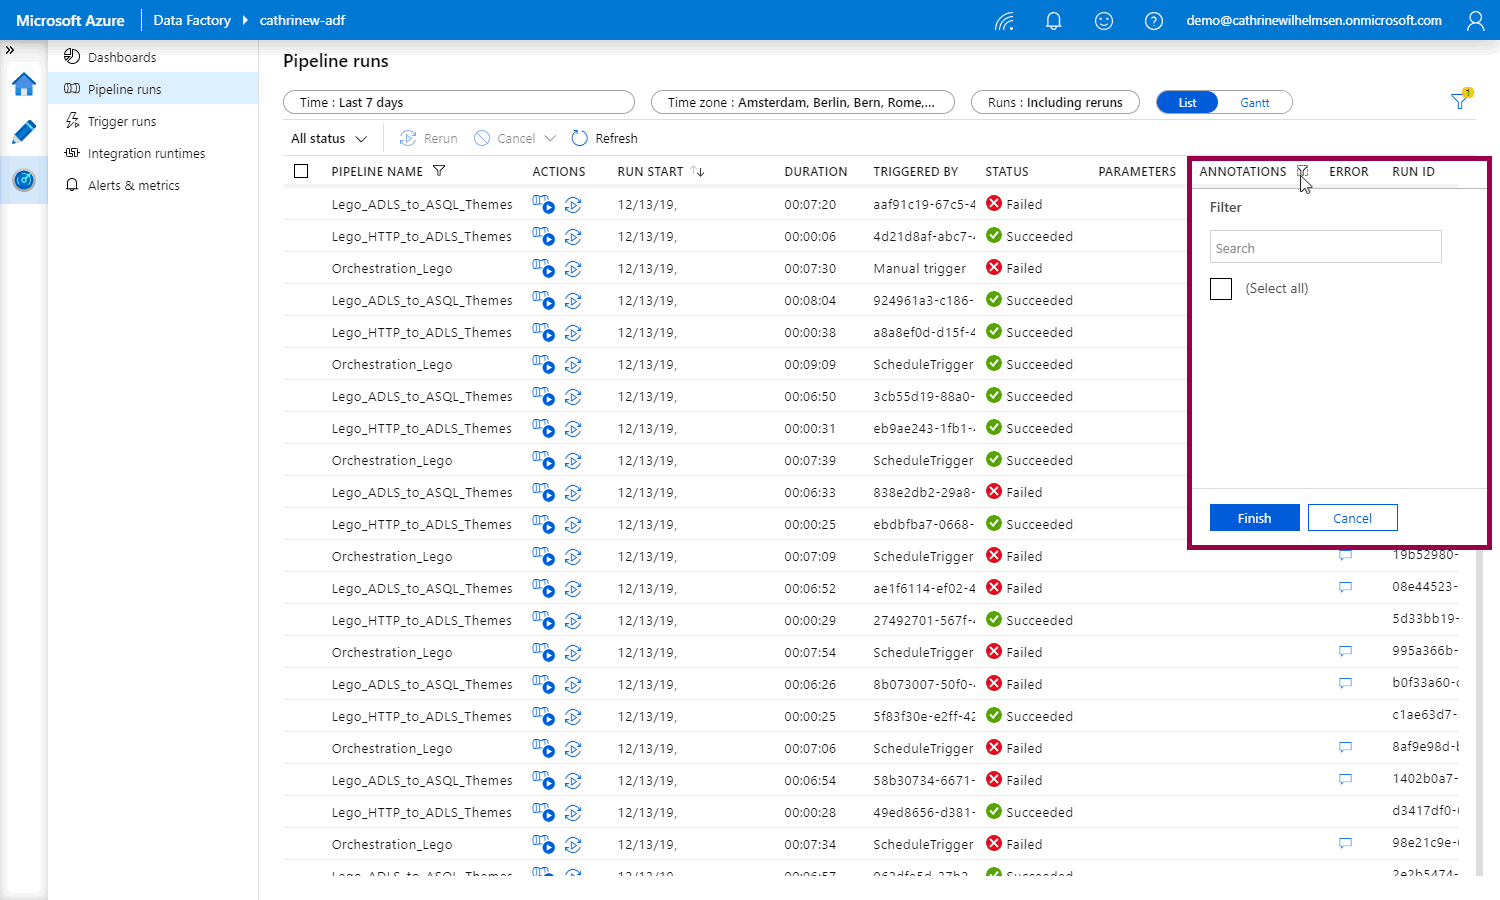
Right now, the list is blank, because we haven’t added any annotations. How do we do that?
Annotations

Annotations are additional, informative tags that you can add to specific factory resources: pipelines, datasets, linked services, and triggers. By adding annotations, you can easily filter and search for specific factory resources.
You need to figure out what kind of annotations make sense to you. Maybe you want to filter on the different logical steps of your solution, so you add the tags extract and transform? Perhaps ingest and prepare? Or maybe you want to tag resources with a business unit or a project name? It’s entirely up to you. All I recommend is that you’re consistent :)
How do I add annotations?
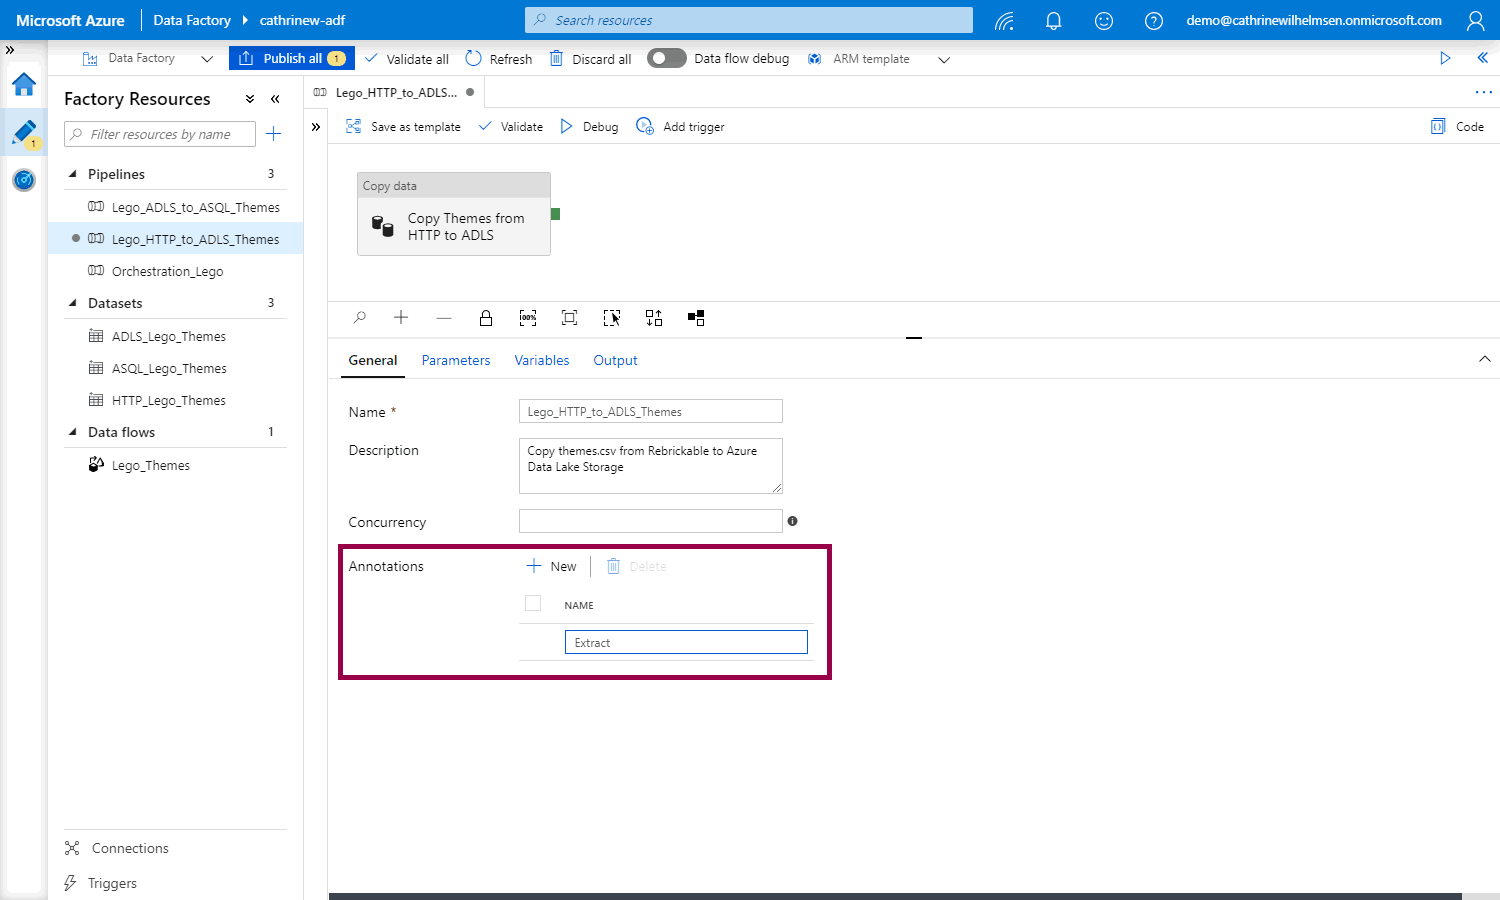
For pipelines and datasets: In the properties pane, under general settings, click + new annotation, then add the annotation value:
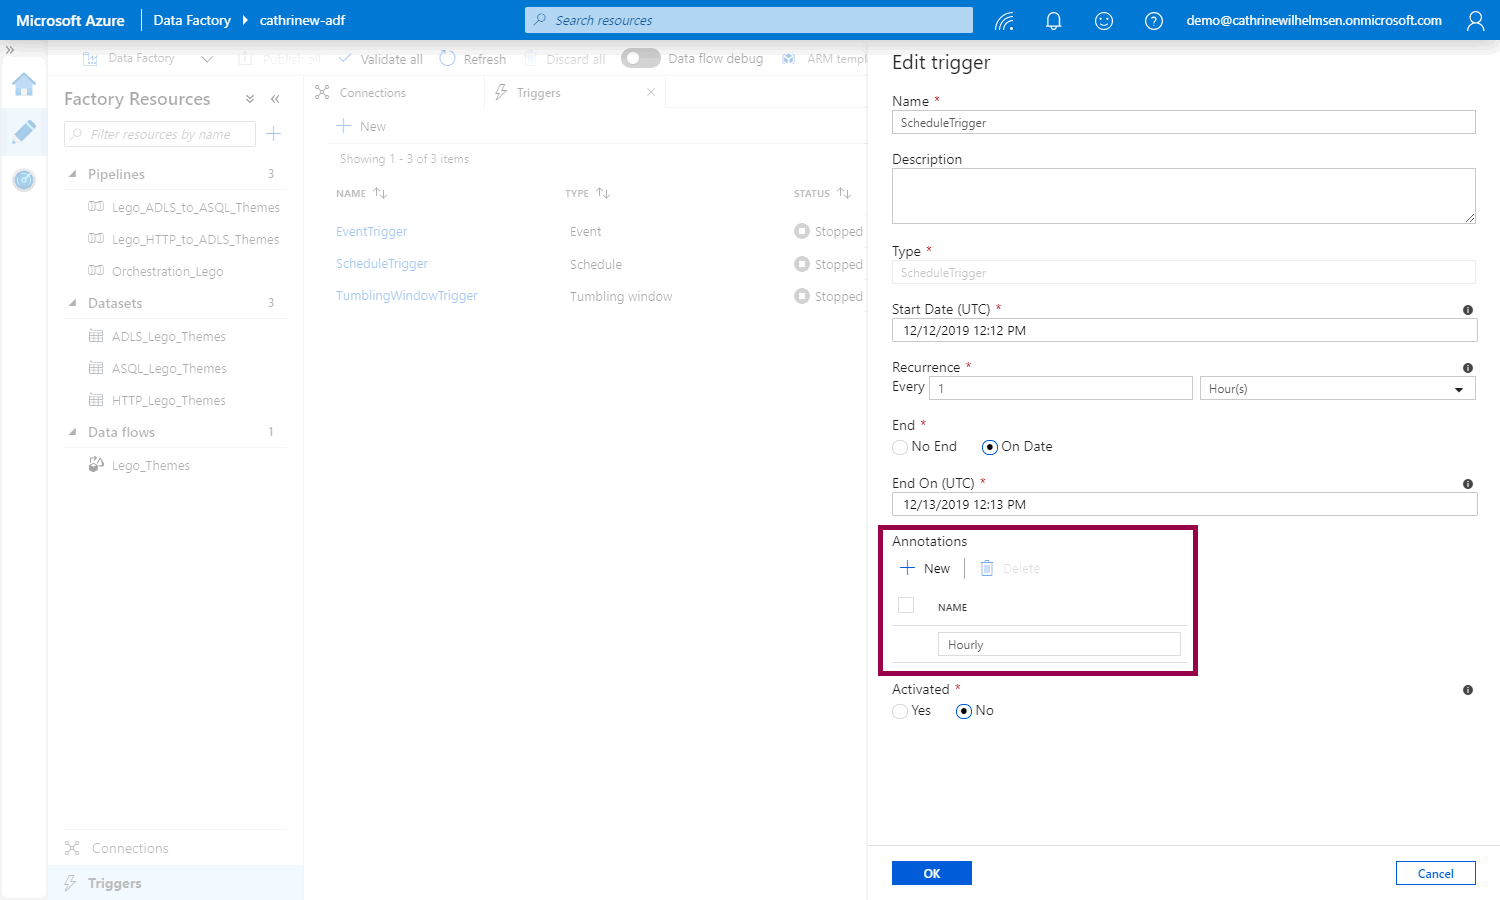
For linked services and triggers: In the configuration pane, click + add annotation, then add the annotation value:
Remember to publish your changes :)
How do I use annotations?
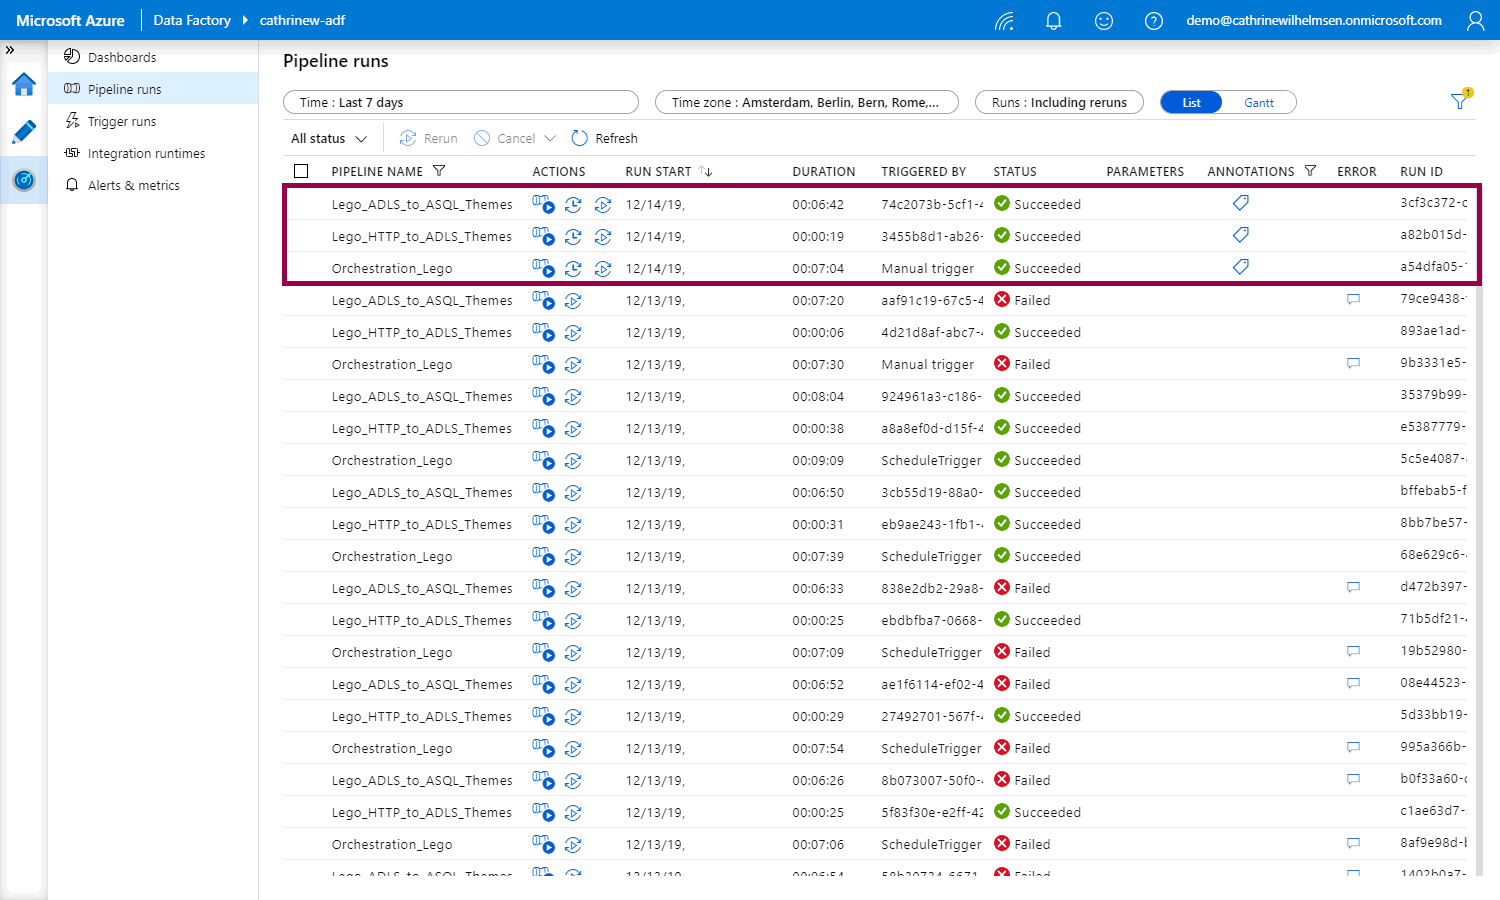
Once you publish and rerun your pipeline, you will now see the annotation icons under pipeline runs:
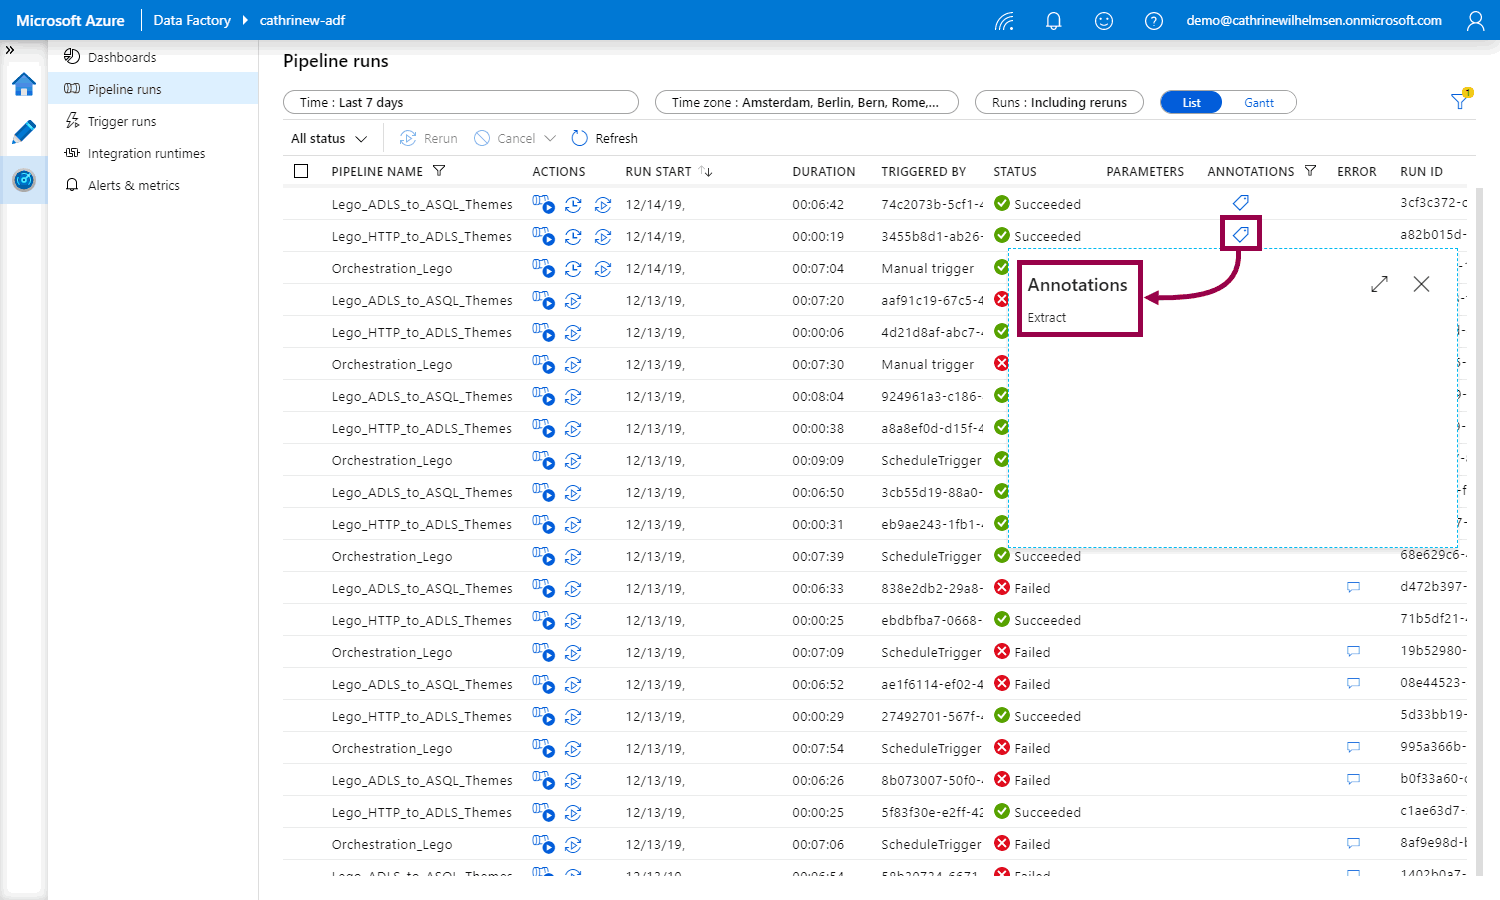
Click on one of the annotation icons to view the annotation value:
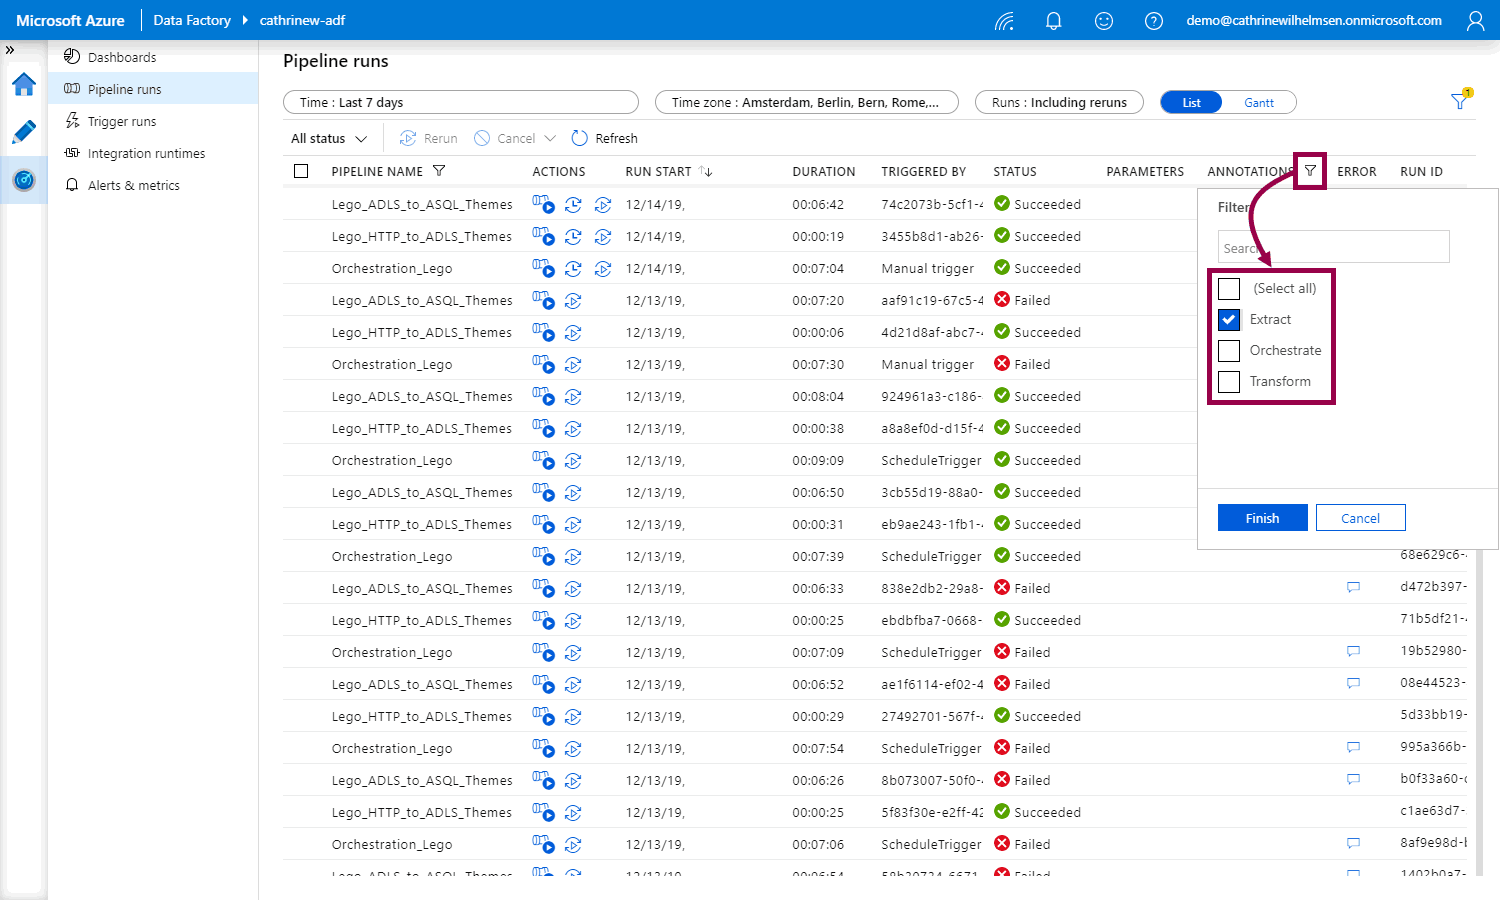
Click on the annotation filter button and select an annotation to filter on:
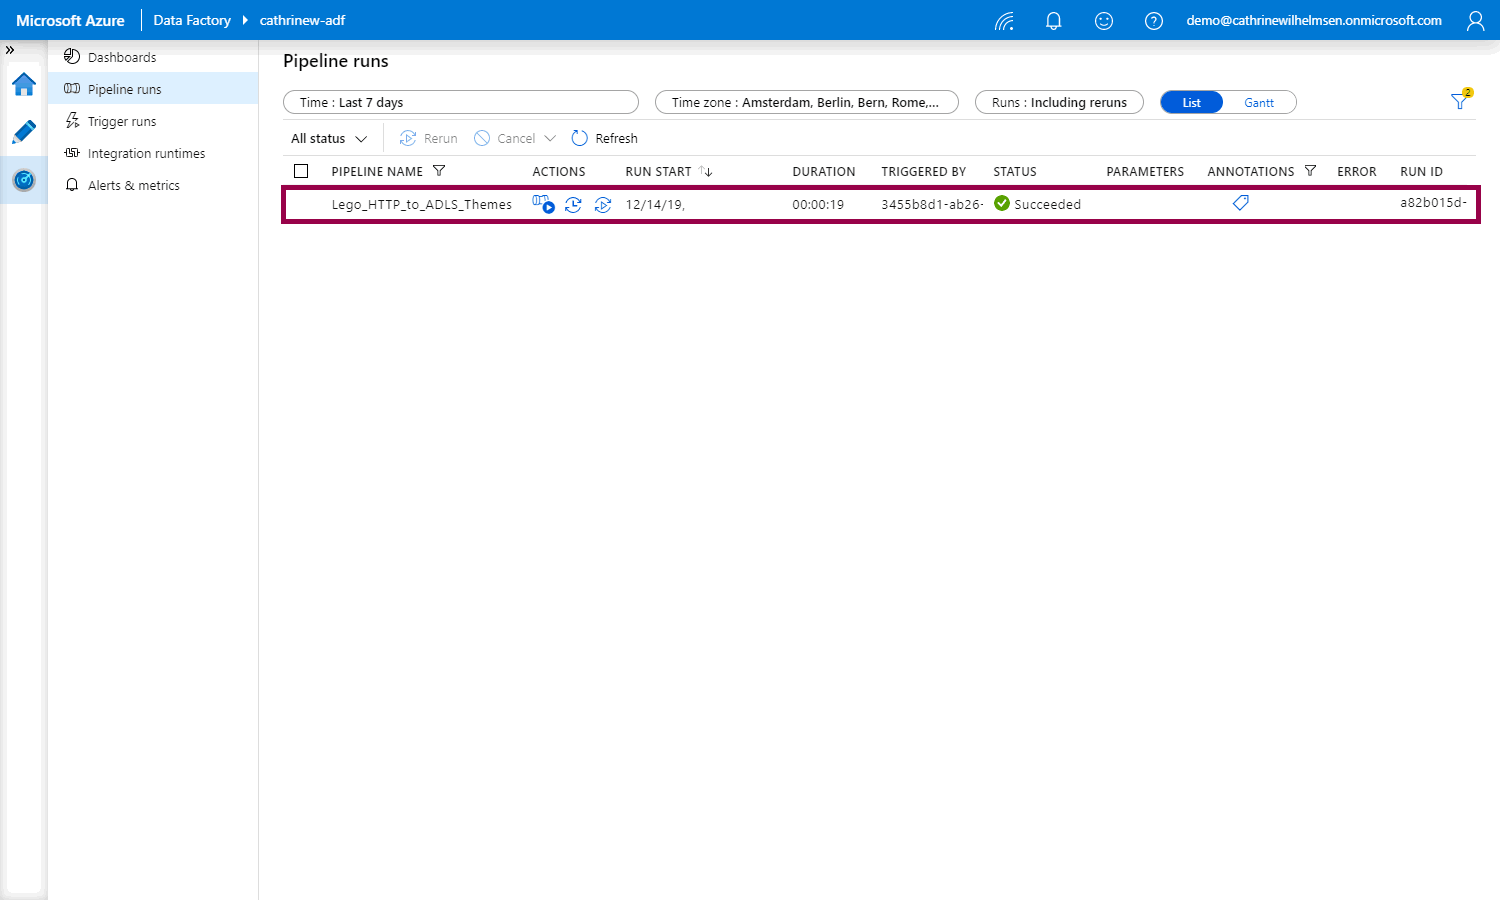
You will now see the filtered list of pipeline runs with that annotation:
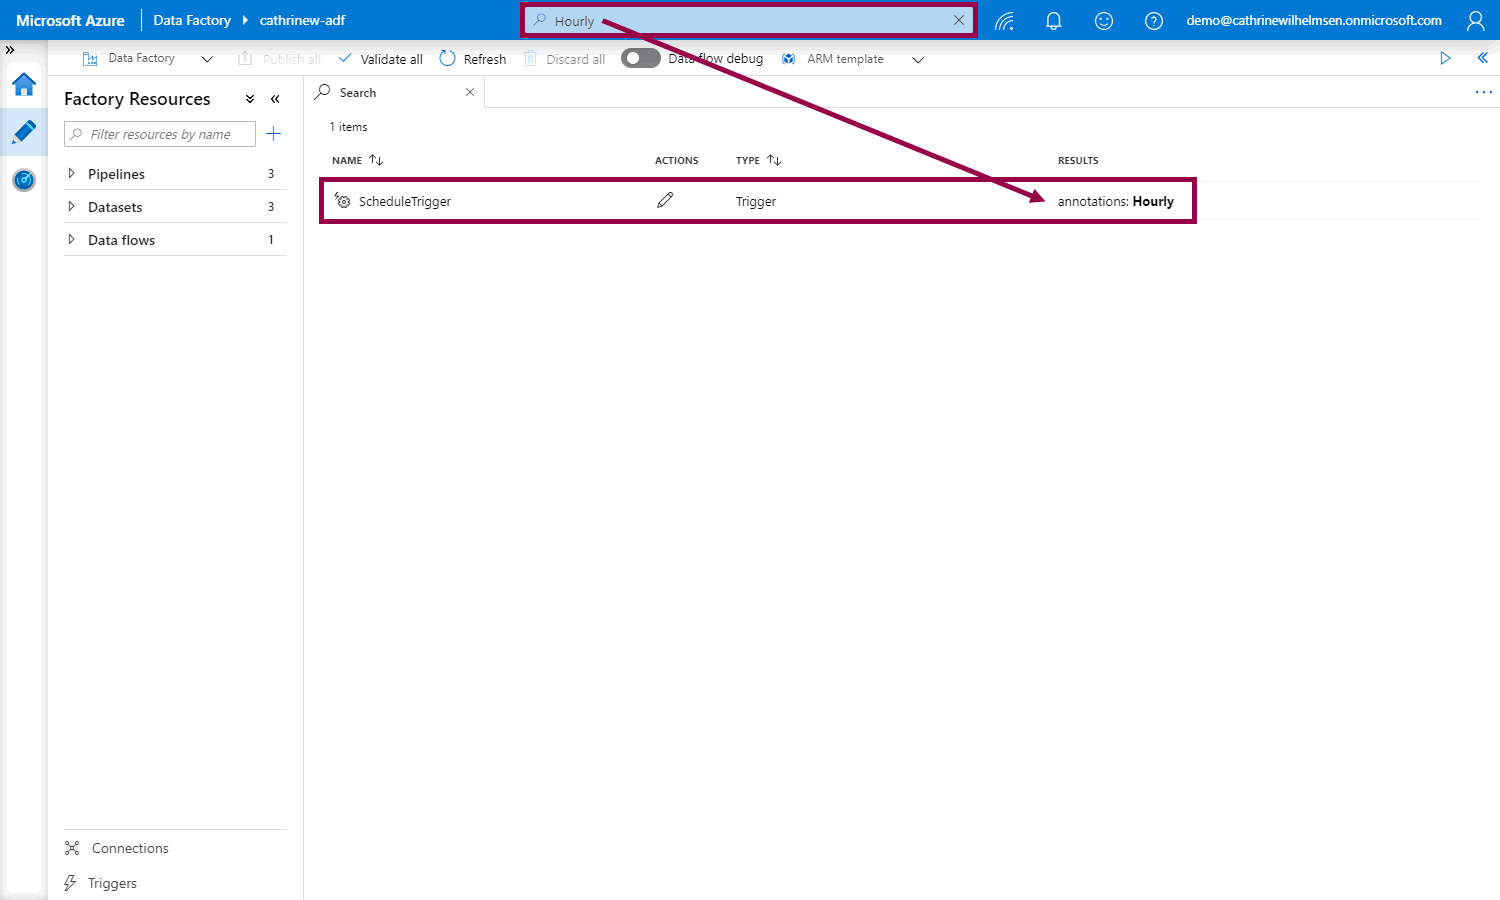
On tha Author page, you can also use the search bar to search for factory resources with specific annotations:
User Properties

User properties are basically the same as annotations, except that you can only add them to pipeline activities. By adding user properties, you can view additional information about activities under activity runs.
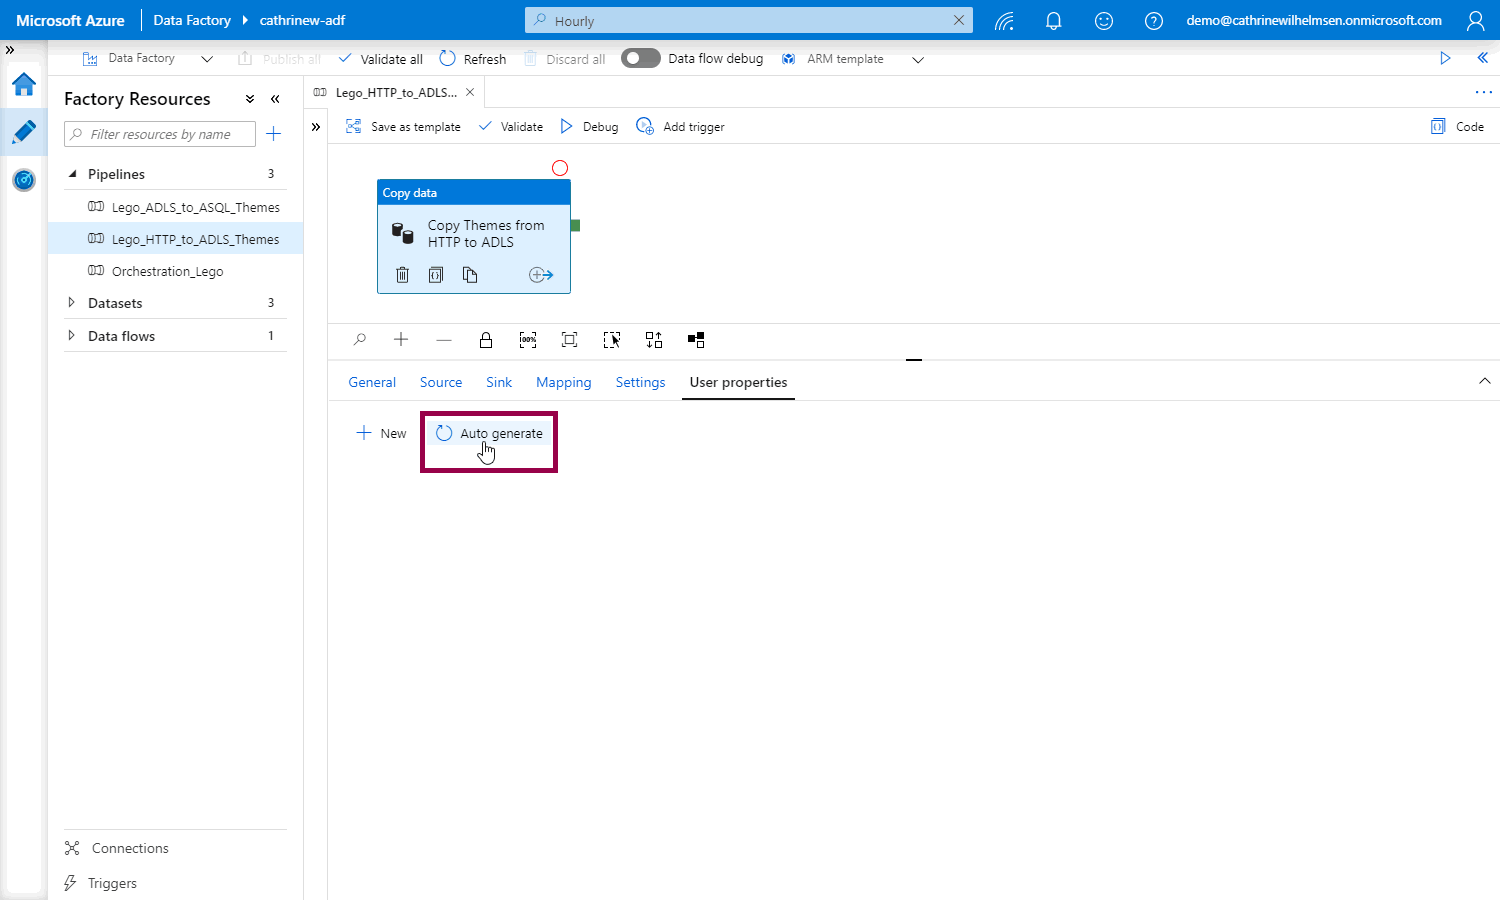
For the copy data activity, Azure Data Factory can auto generate the user properties for us. Whaaat! :D
Open up a pipeline, click the copy data activity, and go to the user properties. Click auto generate:
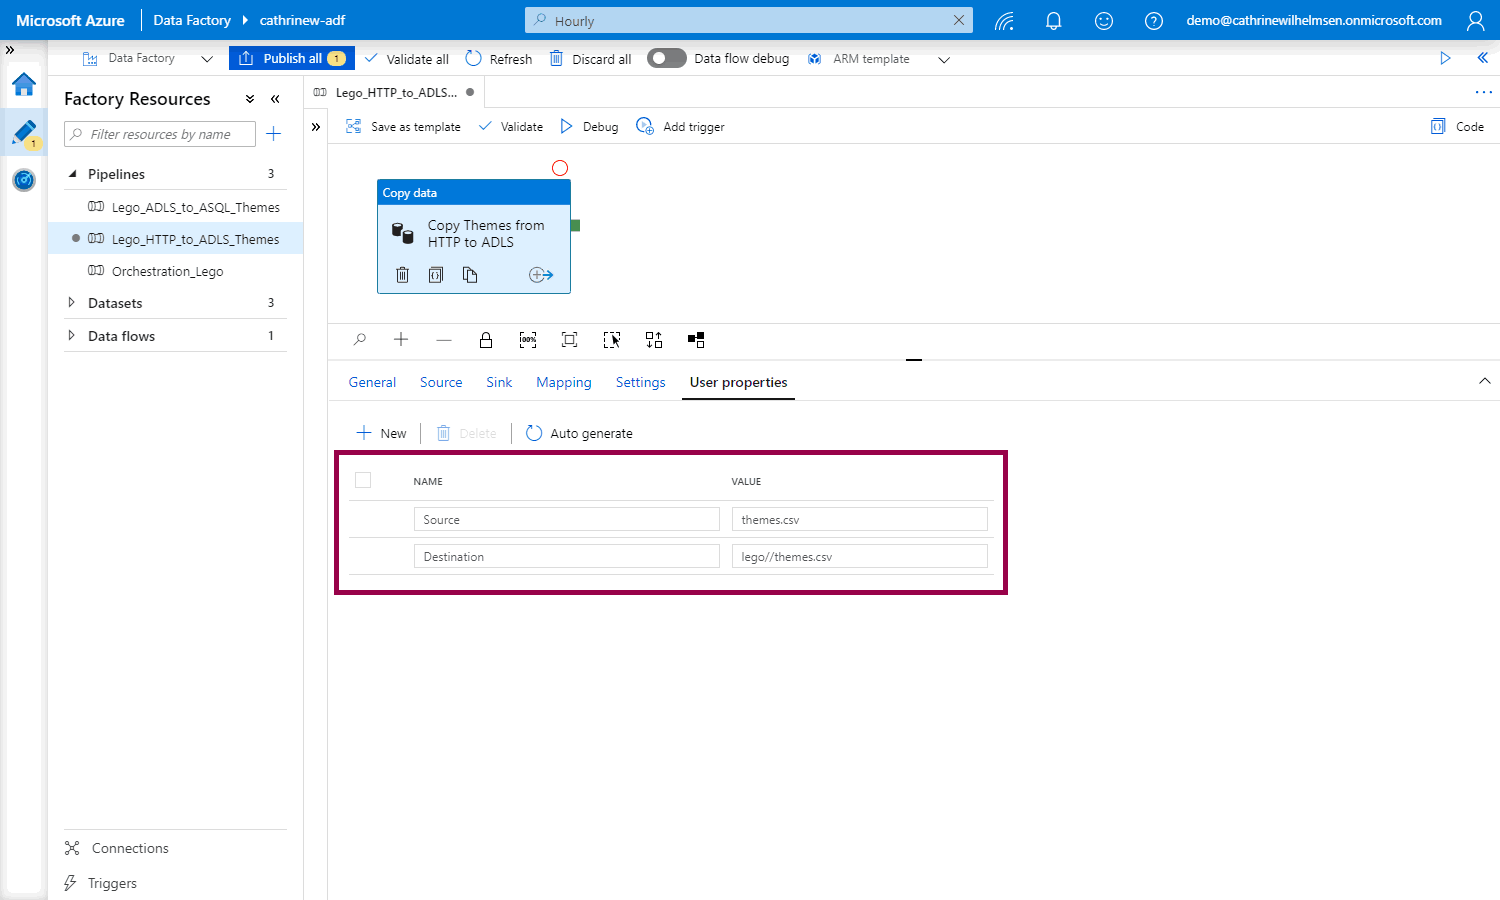
Azure Data Factory creates the source and destination user properties for you, based on the copy data activity settings:
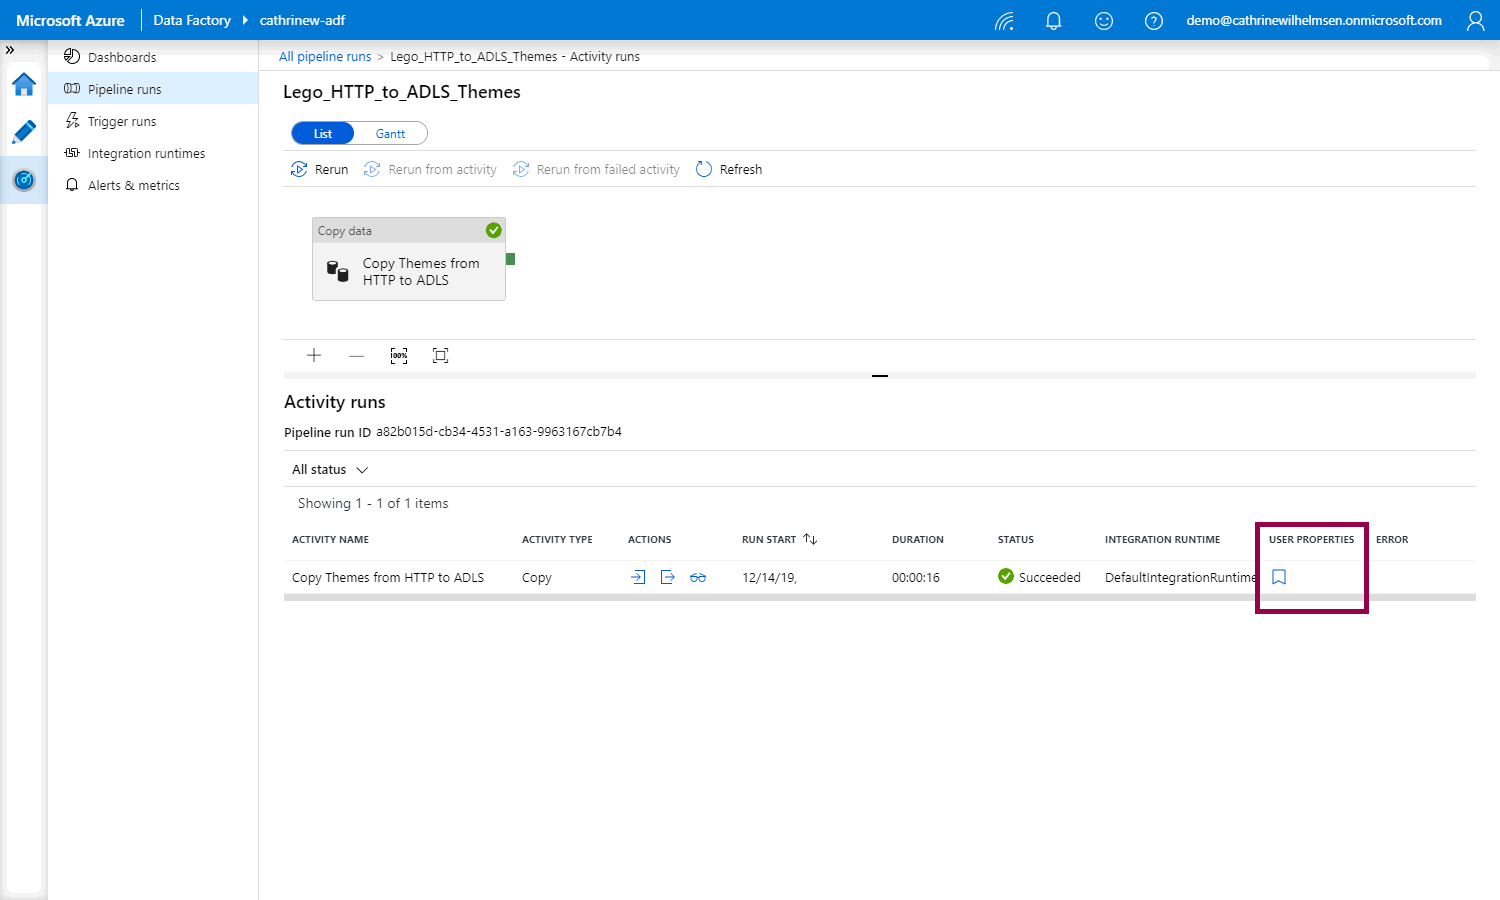
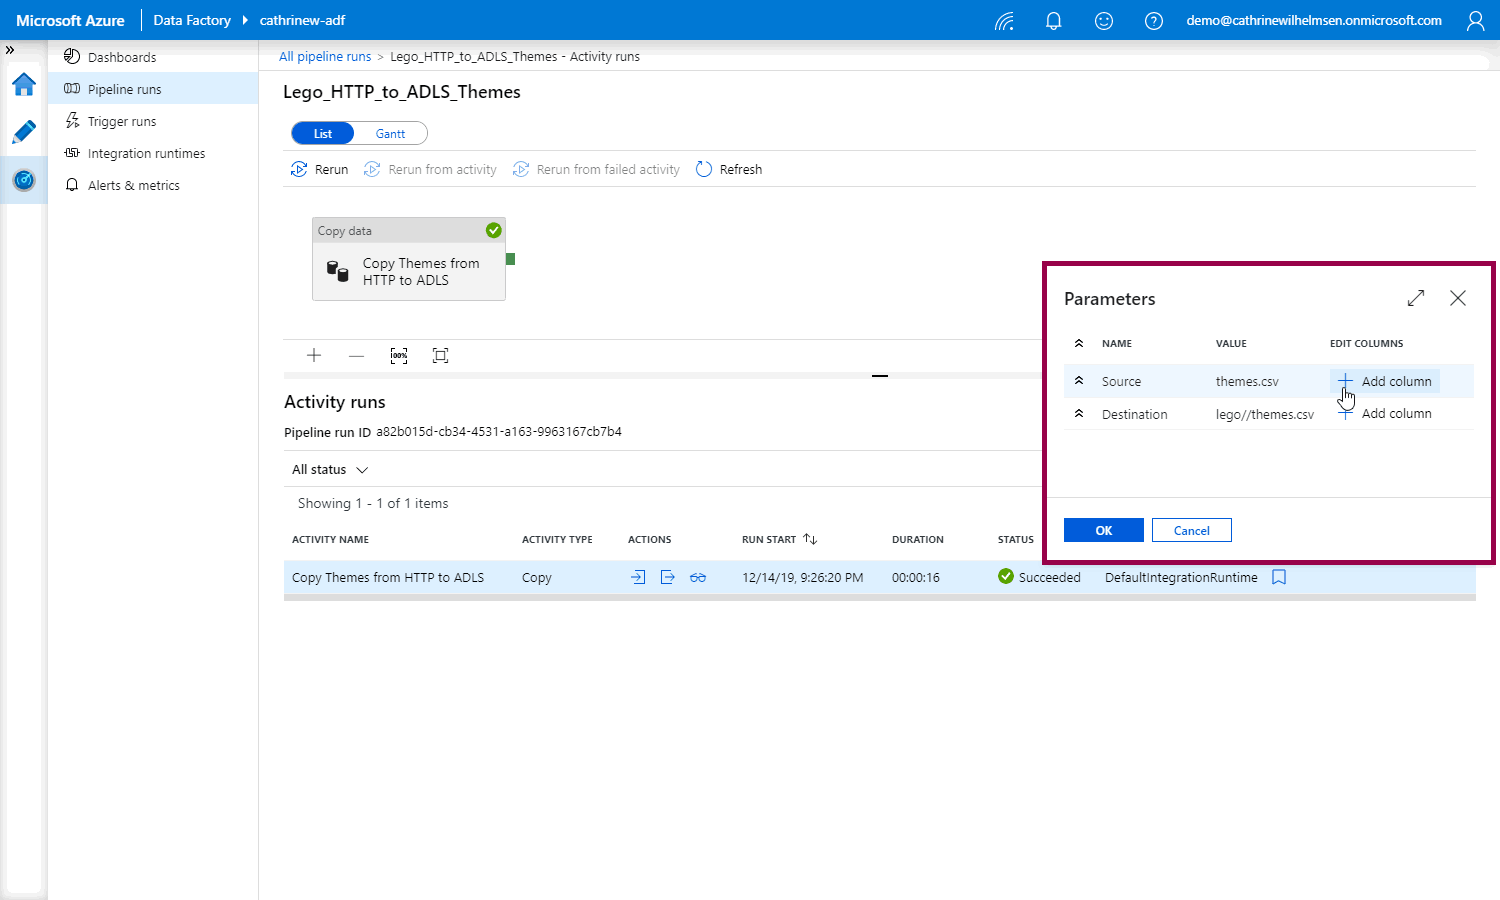
Once you publish and rerun your pipeline and go to the activity runs, you will see the user properties button:
When you click the button, you can choose to add each user property as a new column:
The new user properties columns will show up in the monitoring view:
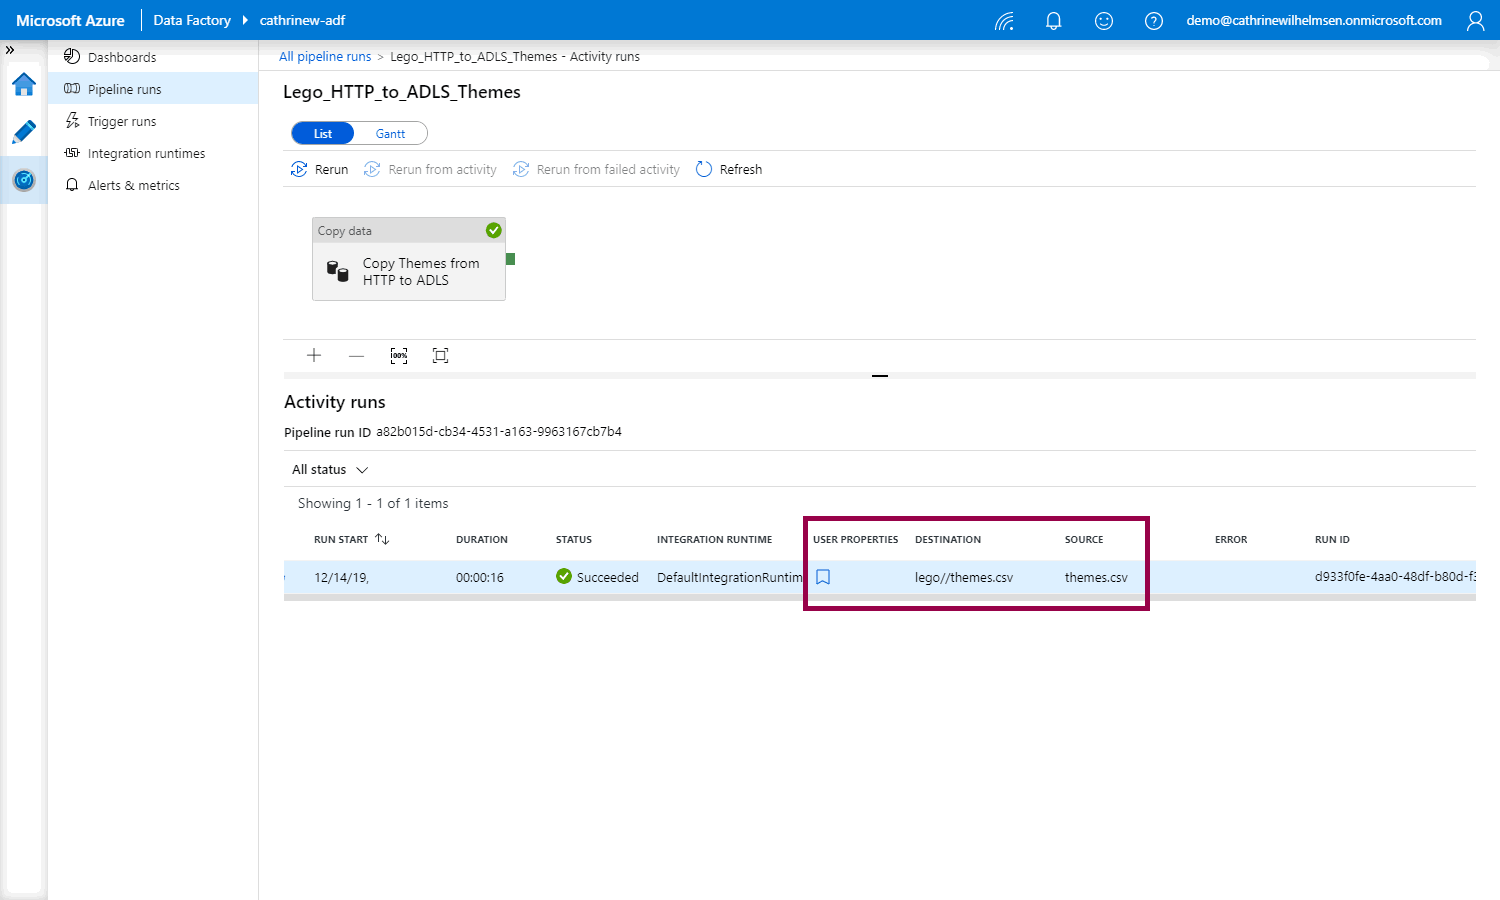
By adding user properties, you can easily see for example the source and destination files and tables directly in the monitoring view, without having to open the pipeline itself.
Summary
In this post, we looked at how to customize monitoring. We created annotations to easily filter and search for our factory resources. Then we created user properties so we could easily view our source and destination files and tables in monitoring without having to open the pipeline itself.
Now… At this point in the series, we have covered most of the basics when it comes to developing pipelines. But we have only worked with cloud data stores. What if we need to work with on-premises data? And what if we already have an on-premises SQL Server Integration Services (SSIS) solution and we don’t want to rebuild everything in Azure Data Factory?
In the next few posts, we will look at the different types of integration runtimes, how to work with on-premises data, and what SSIS Lift and Shift means.
About the Author
 Cathrine Wilhelmsen is a Microsoft Data Platform MVP, international speaker, author, blogger, organizer, and chronic volunteer. She loves data and coding, as well as teaching and sharing knowledge - oh, and sci-fi, gaming, coffee and chocolate 🤓